# Custom Inboxes
#### Using Custom Inboxes
Use a Custom Inbox to create a list of Contacts according to predefined filters. Custom Inboxes can help you tackle your to-do list as quickly as possible.
{% hint style="info" %}
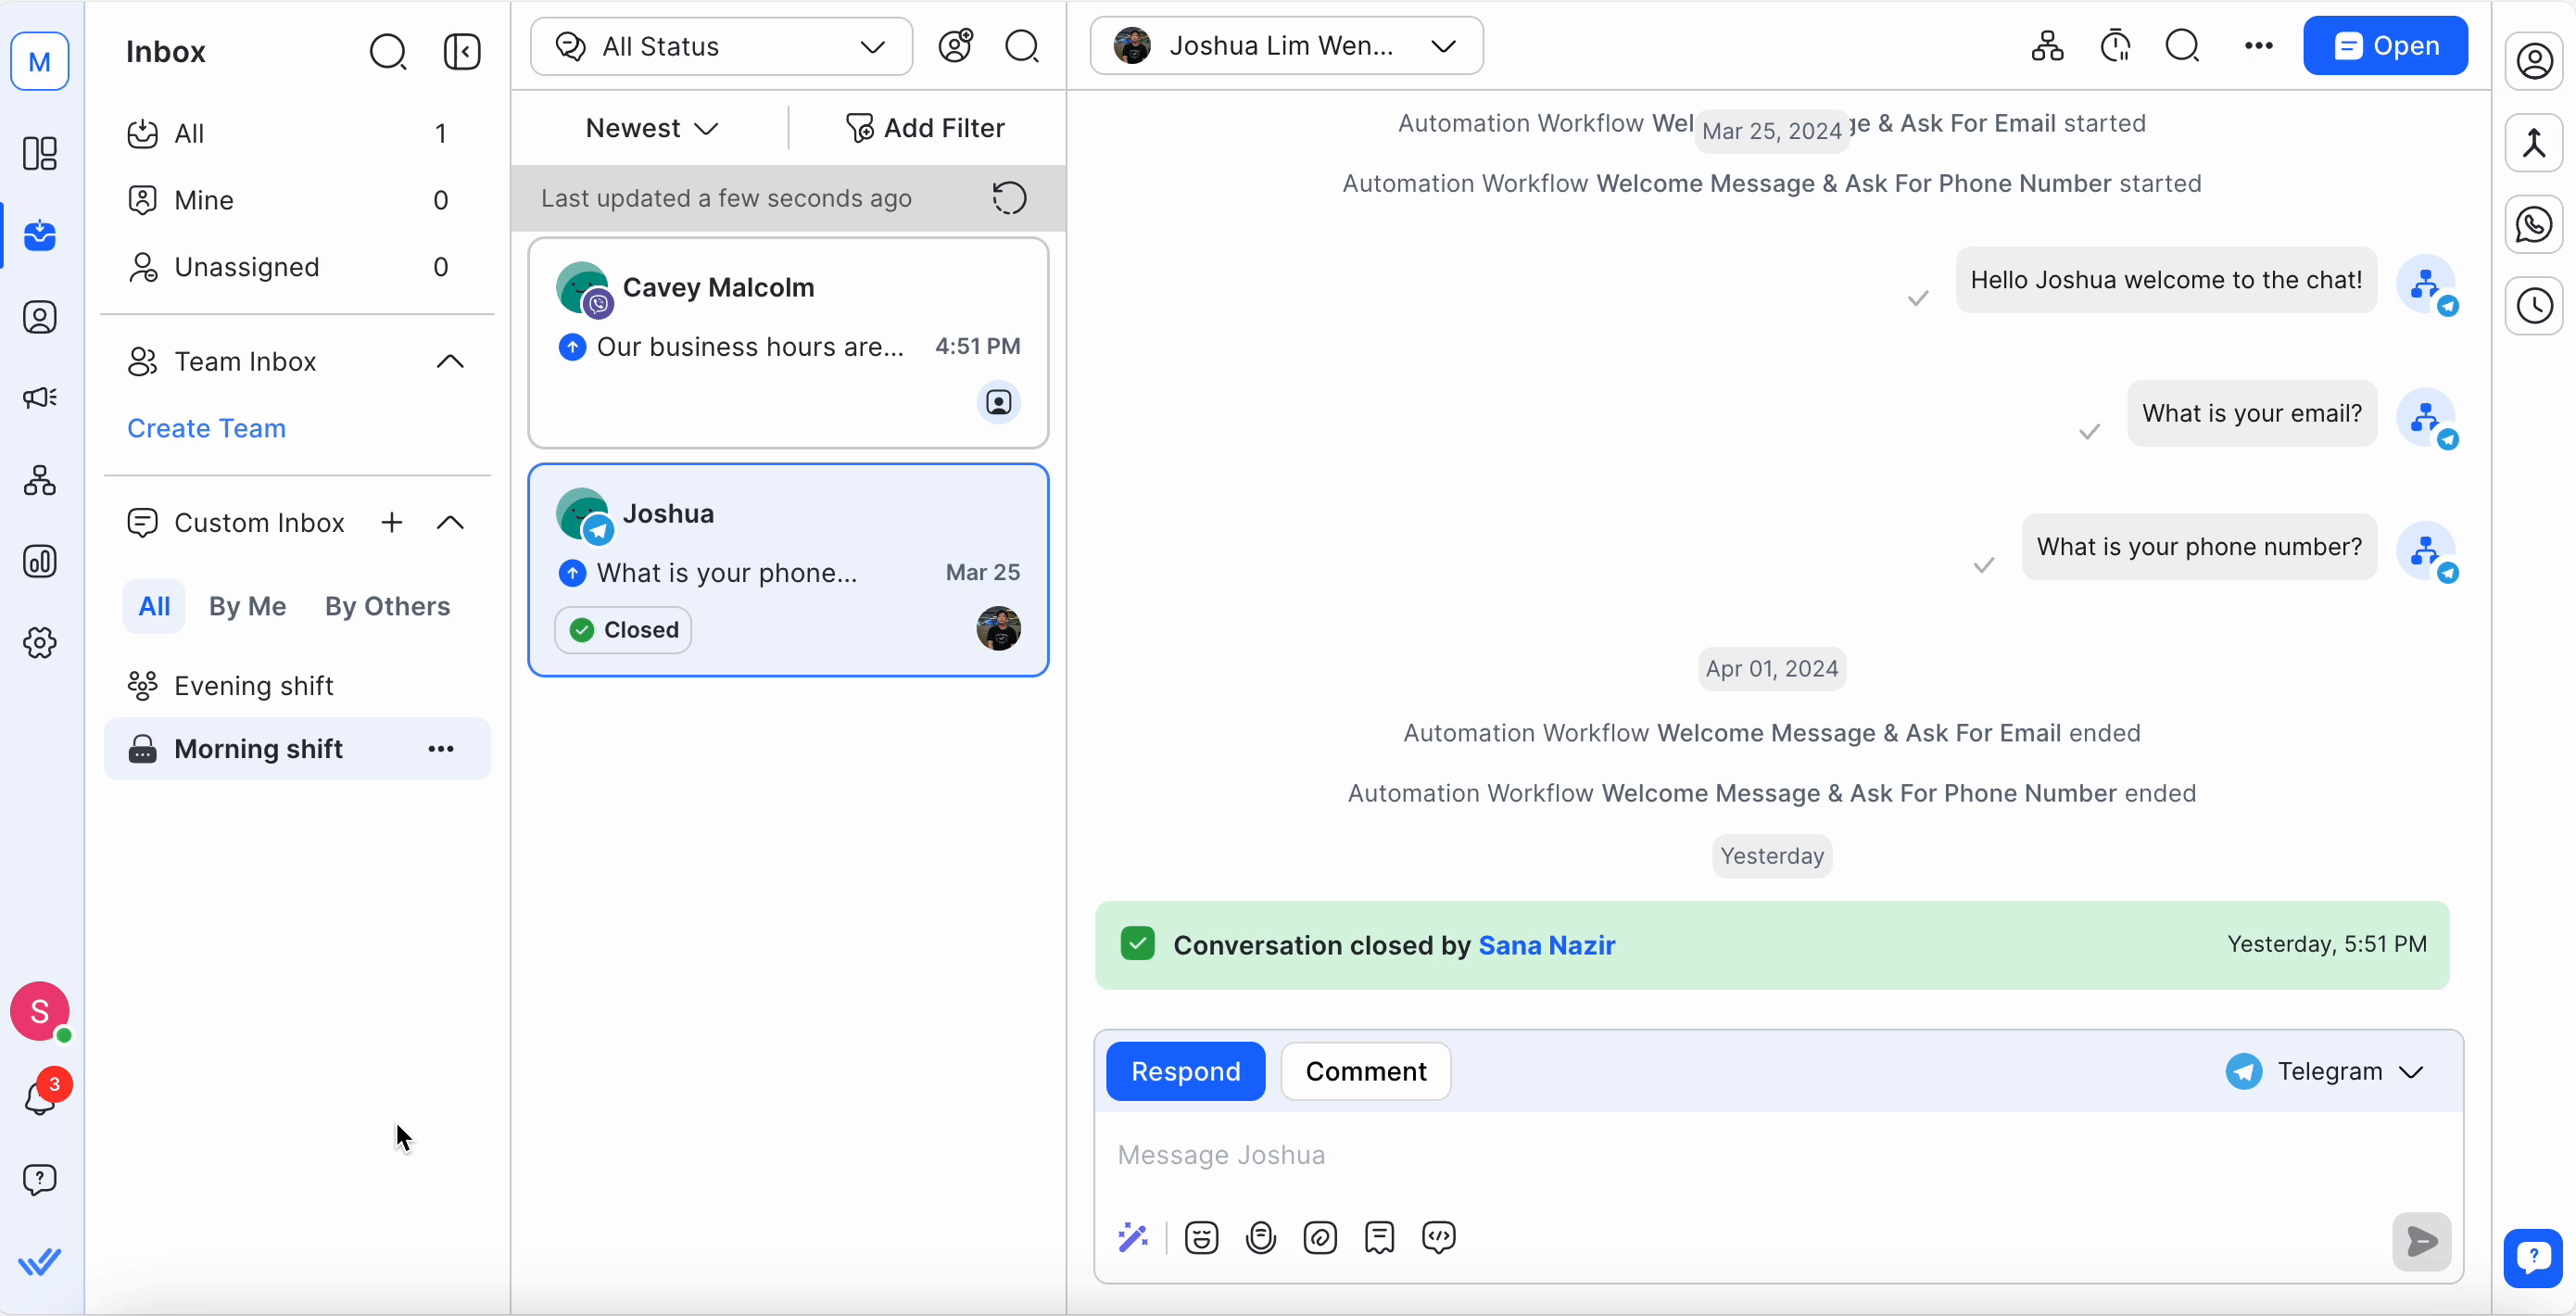
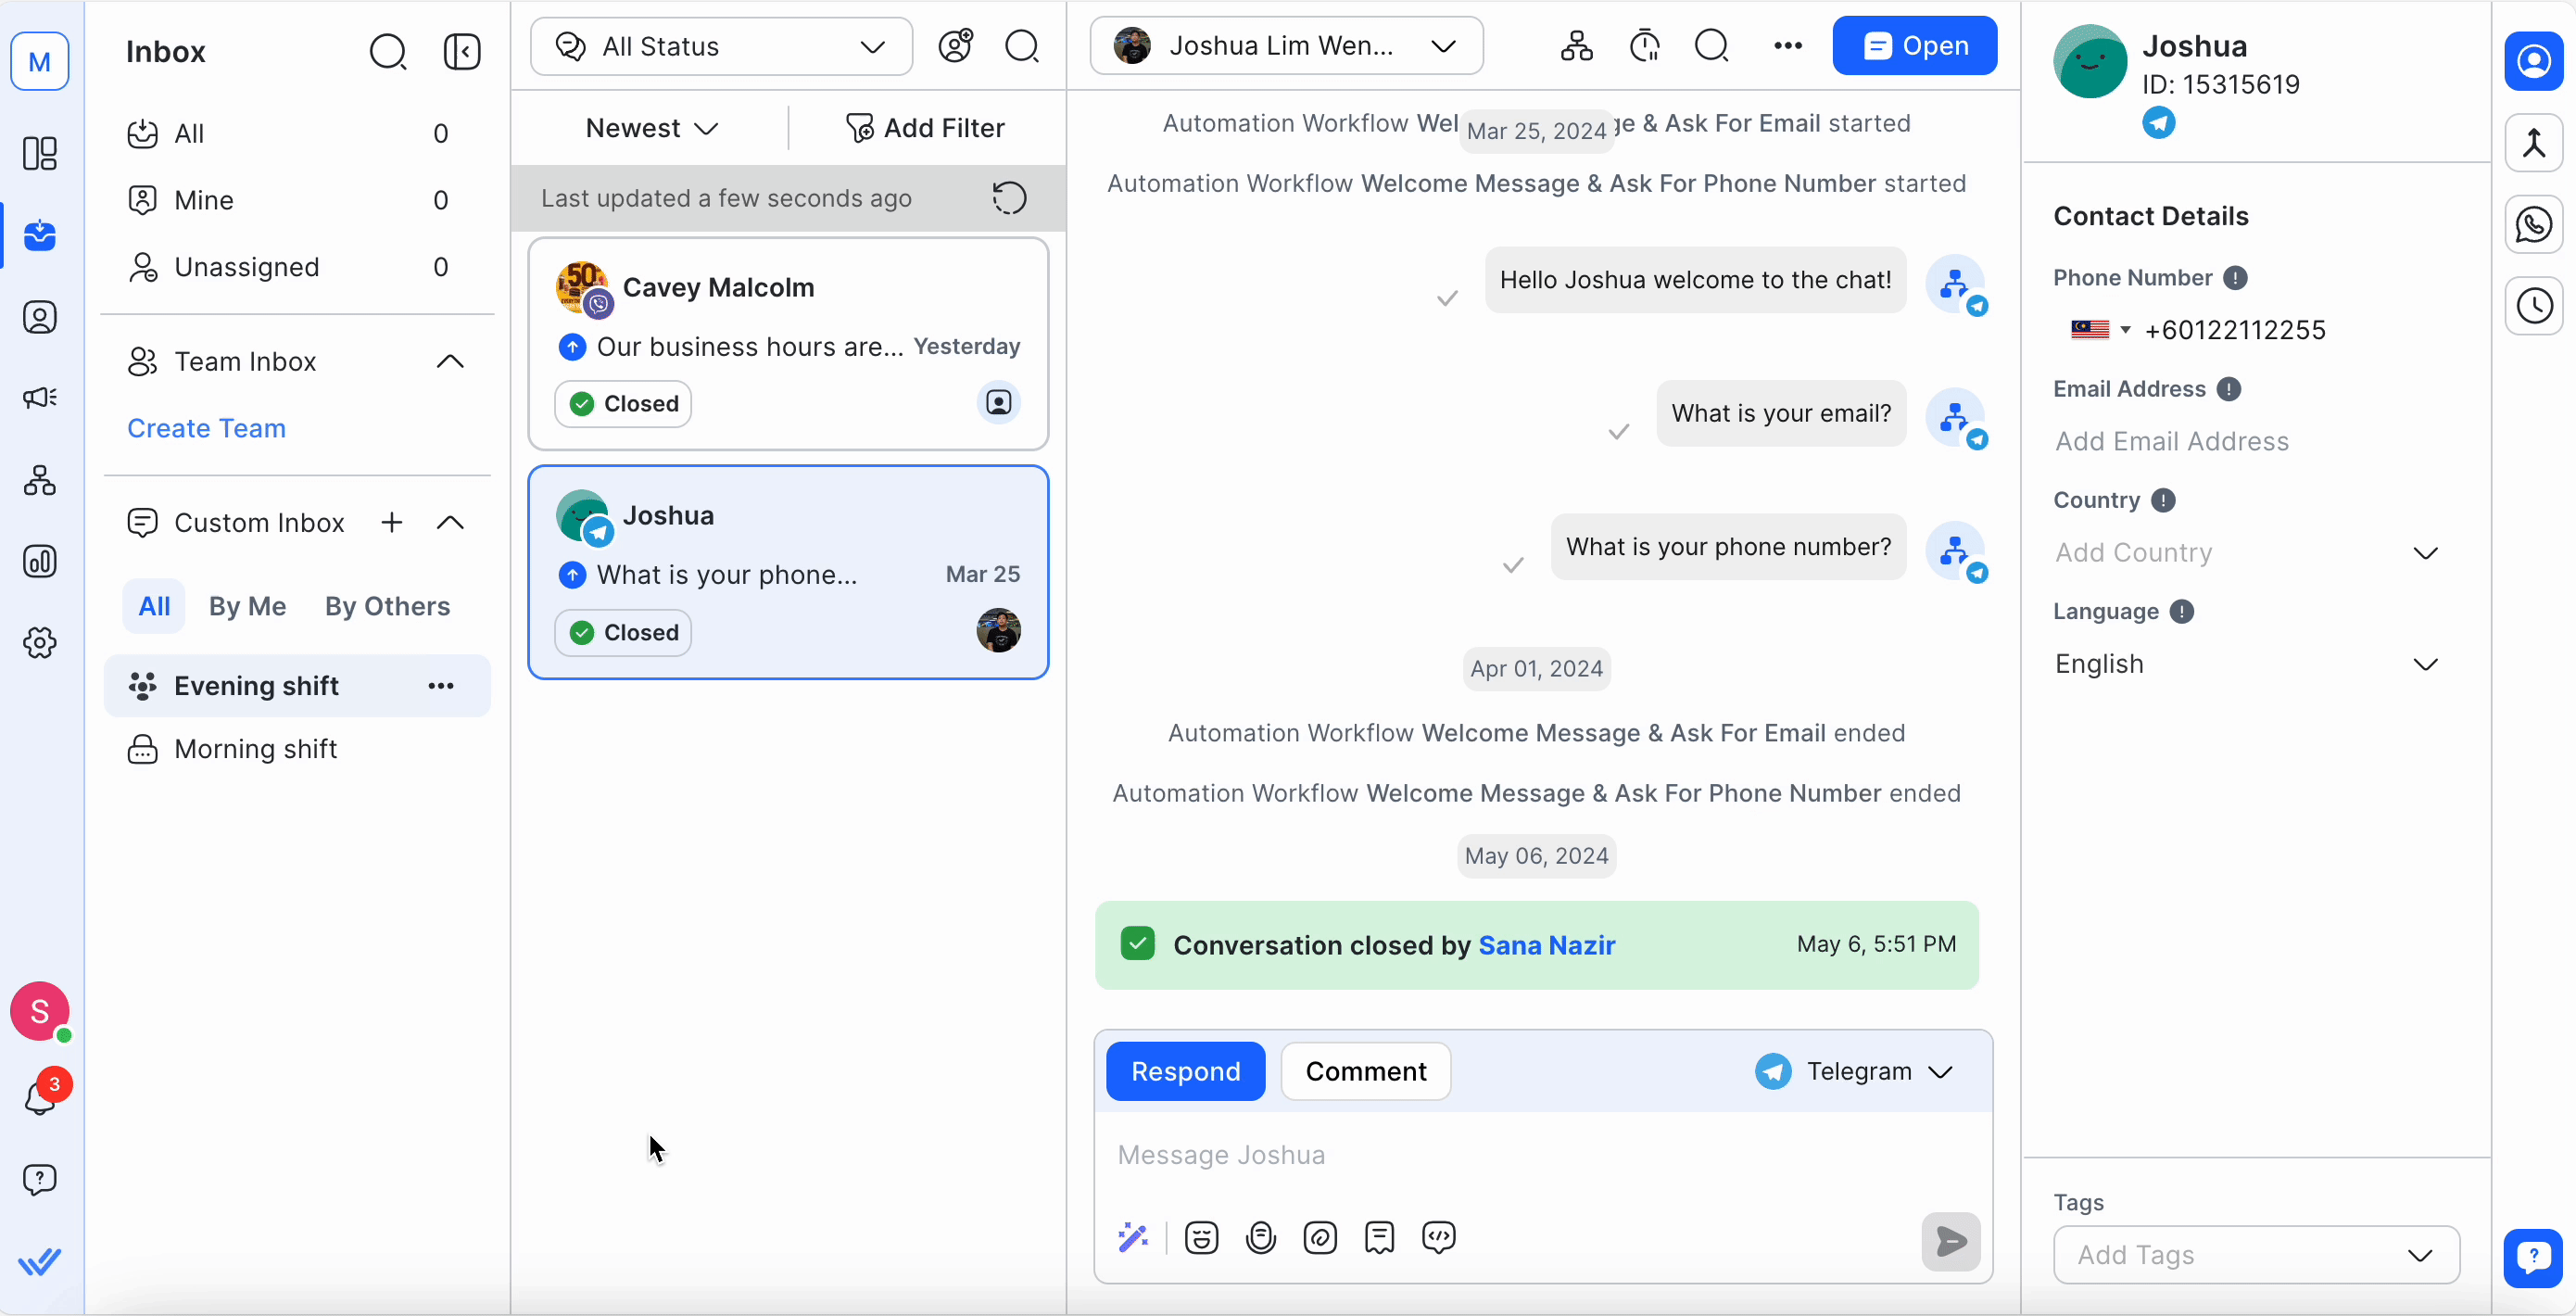
**Tip**: IS-Messenger also provides Standard and Team Inboxes. Depending on their access levels, Workspace users can use these to manage their Contacts and conversations. Learn more about the different inboxes [here](/ismessenger/modules/inbox/messages.md).
{% endhint %}
### Adding a Custom Inbox
If the Standard and Team Inboxes do not address your filtering needs, you can add a Custom Inbox to the Workspace and reuse it when necessary.
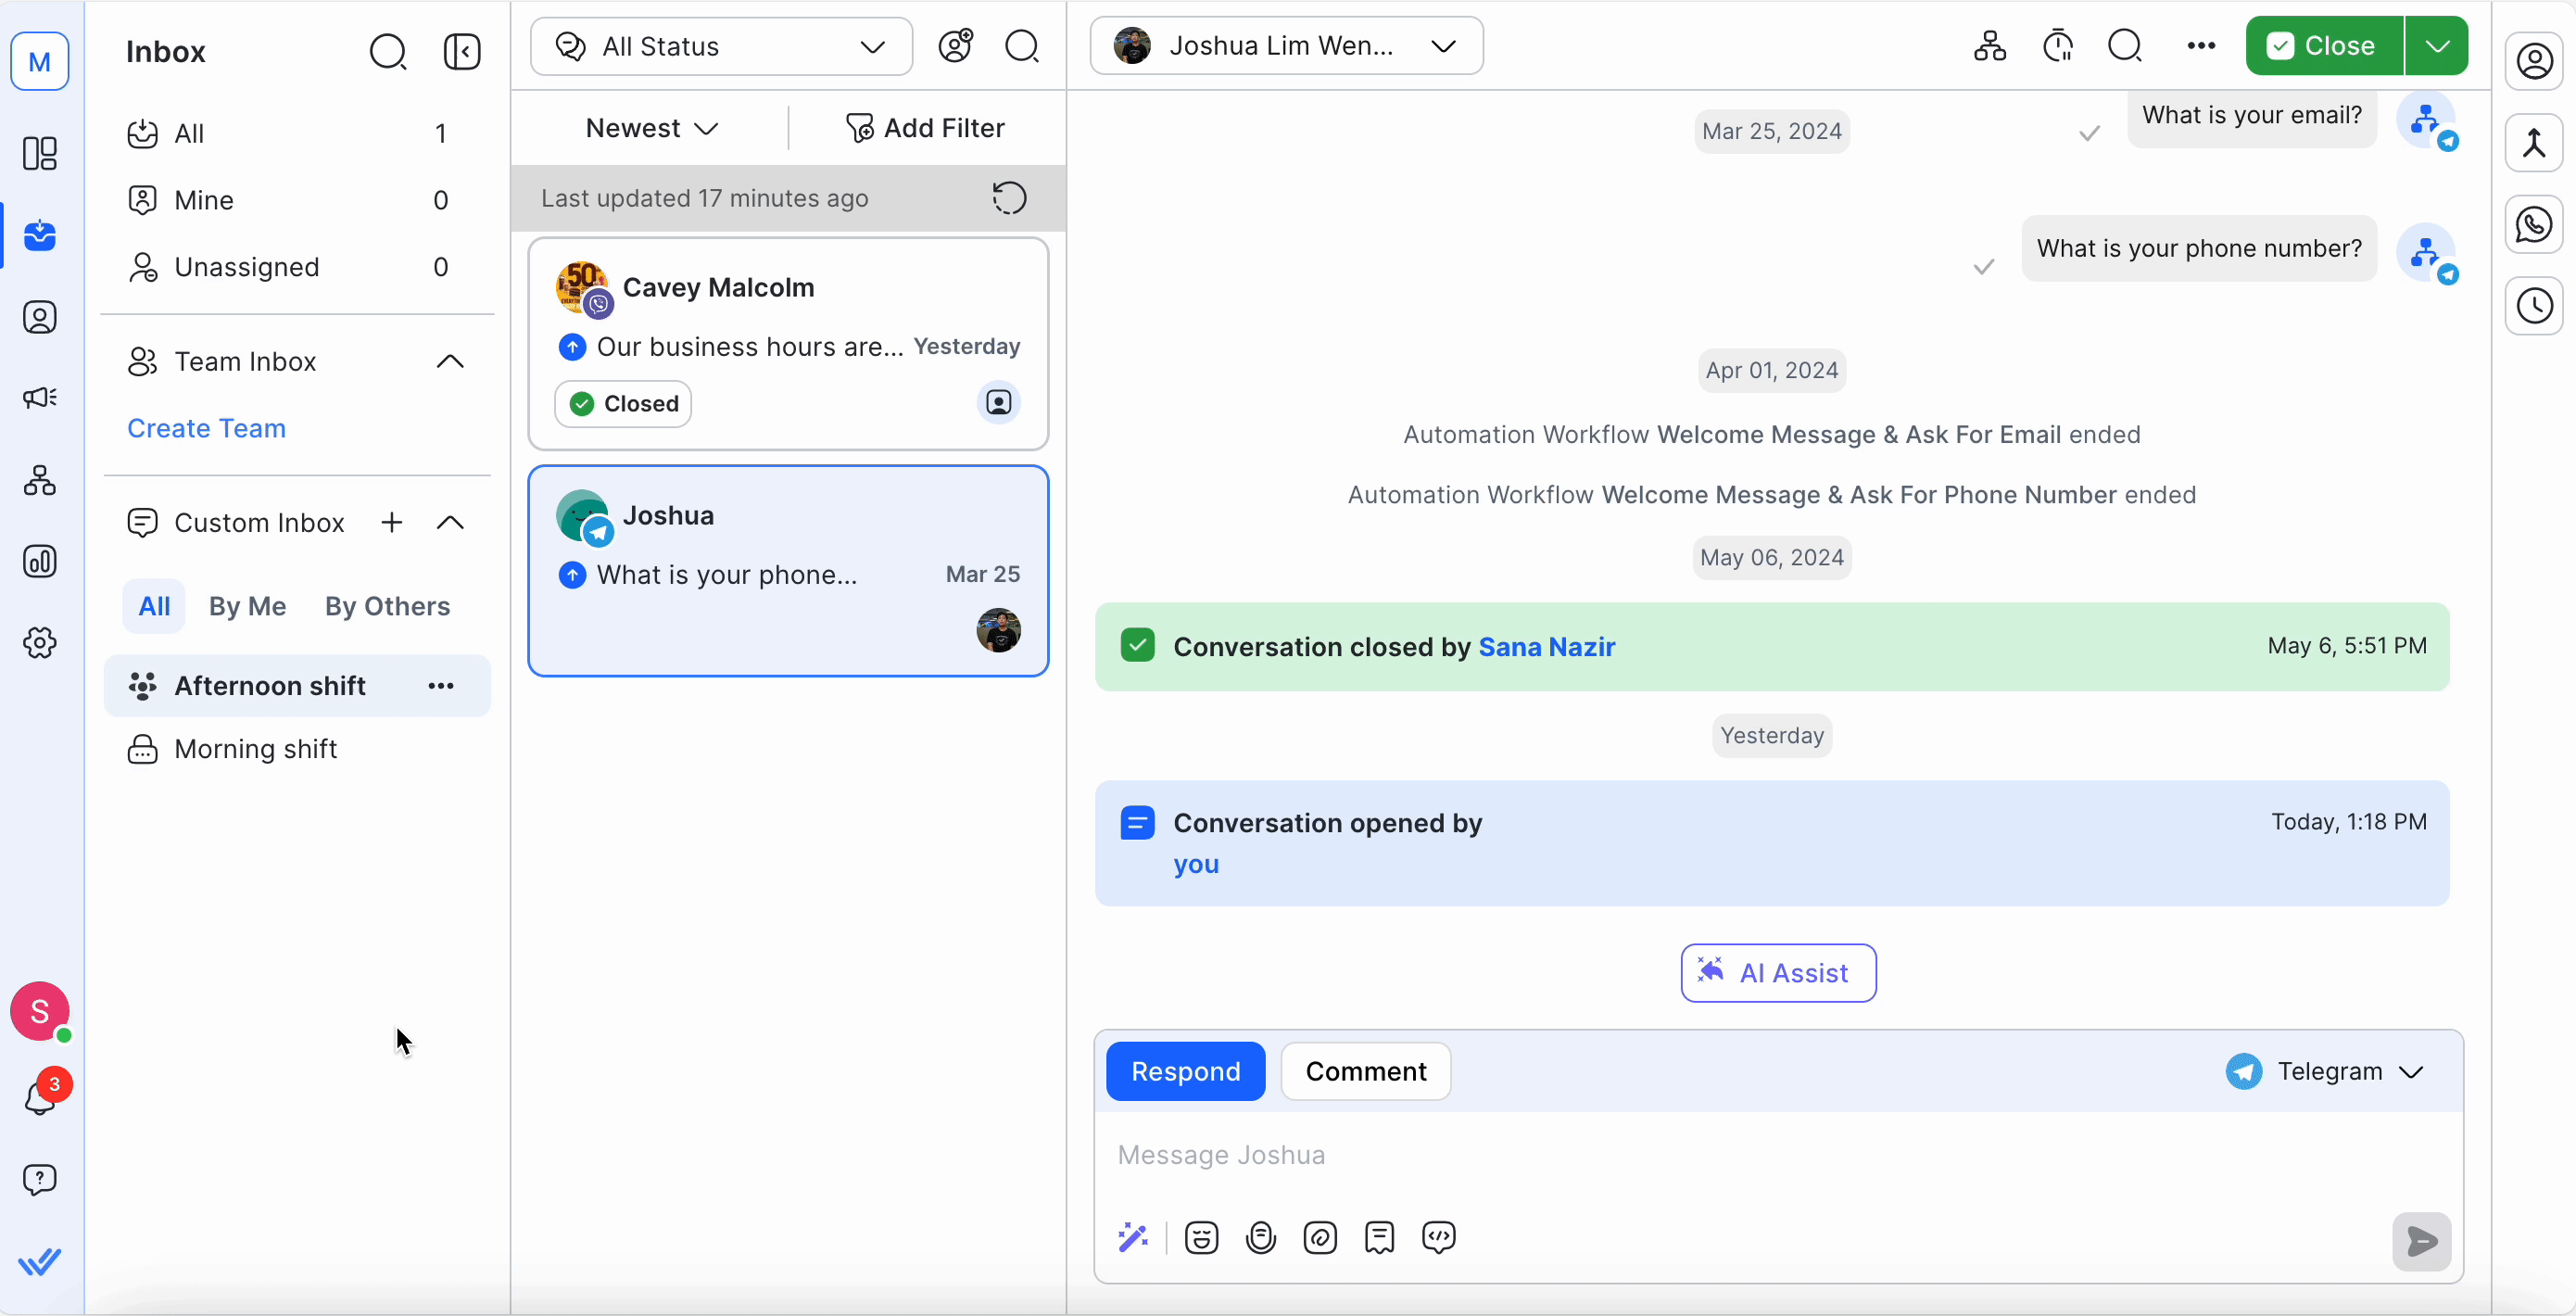
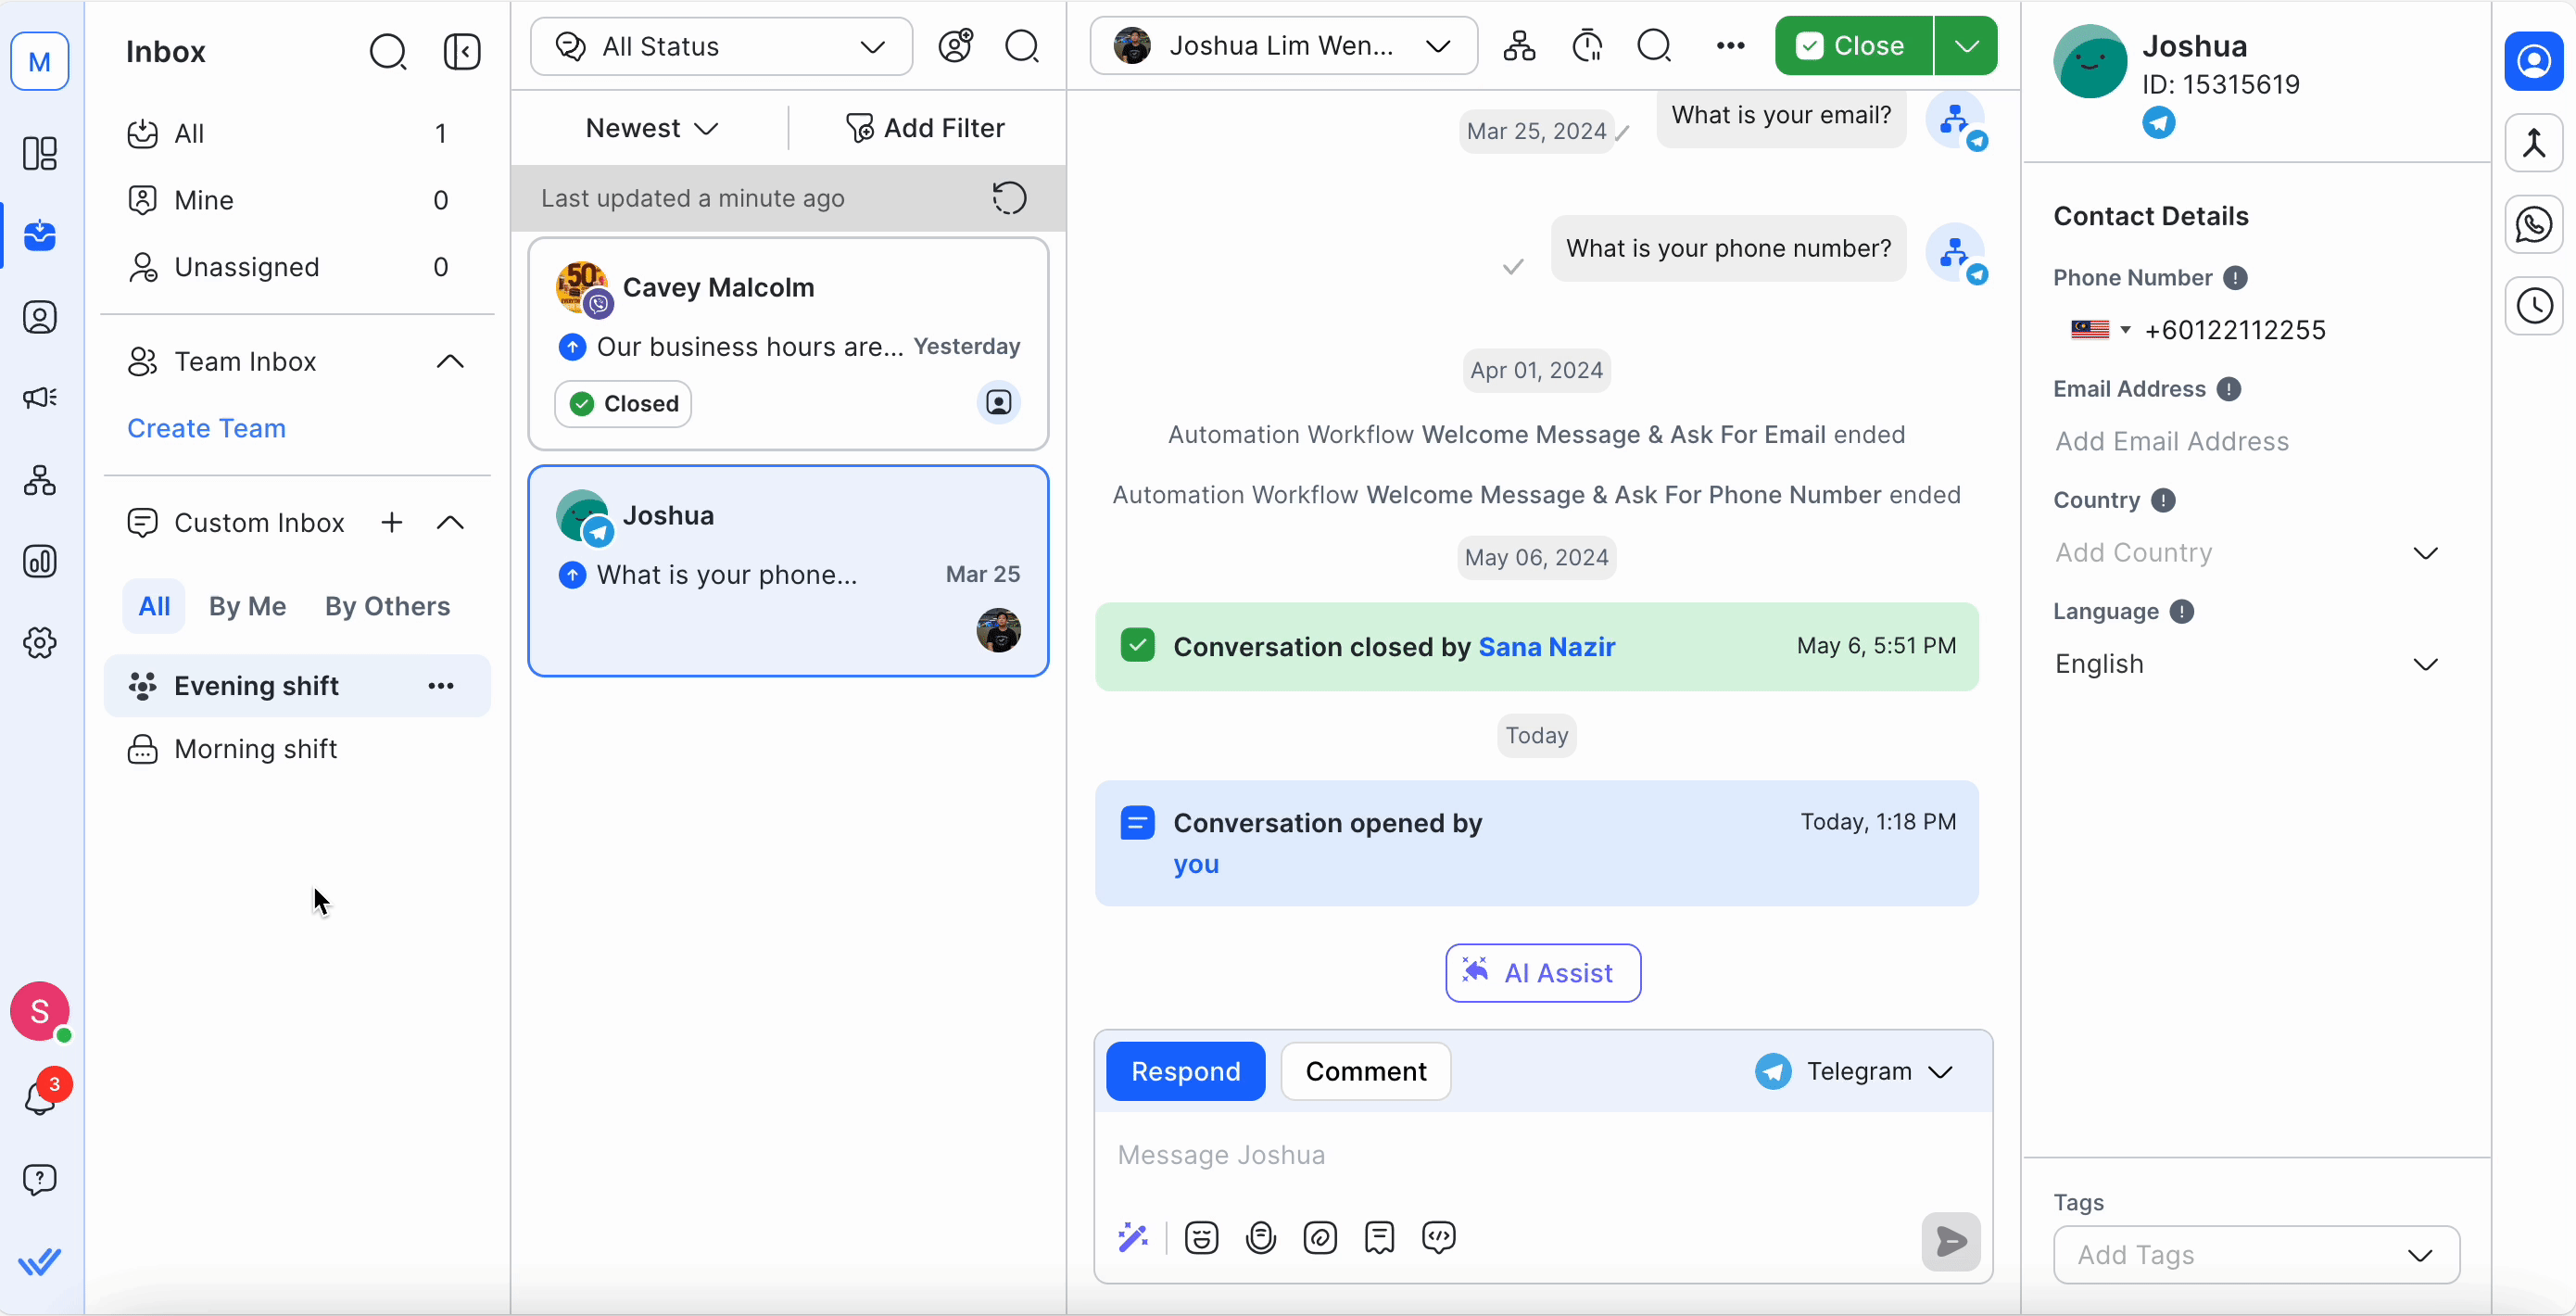
**Step 1:** Create a Custom Inbox in Messages Module by clicking the **+** button next to the Custom Inbox label.
**Step 2:** Name your Custom Inbox with an appropriate name for easy reference.
By default, newly created Custom Inboxes are only accessible by the creators. Creators may share their Custom Inboxes with their team or other Workspace users.
Select **Create** to create your Custom Inbox.
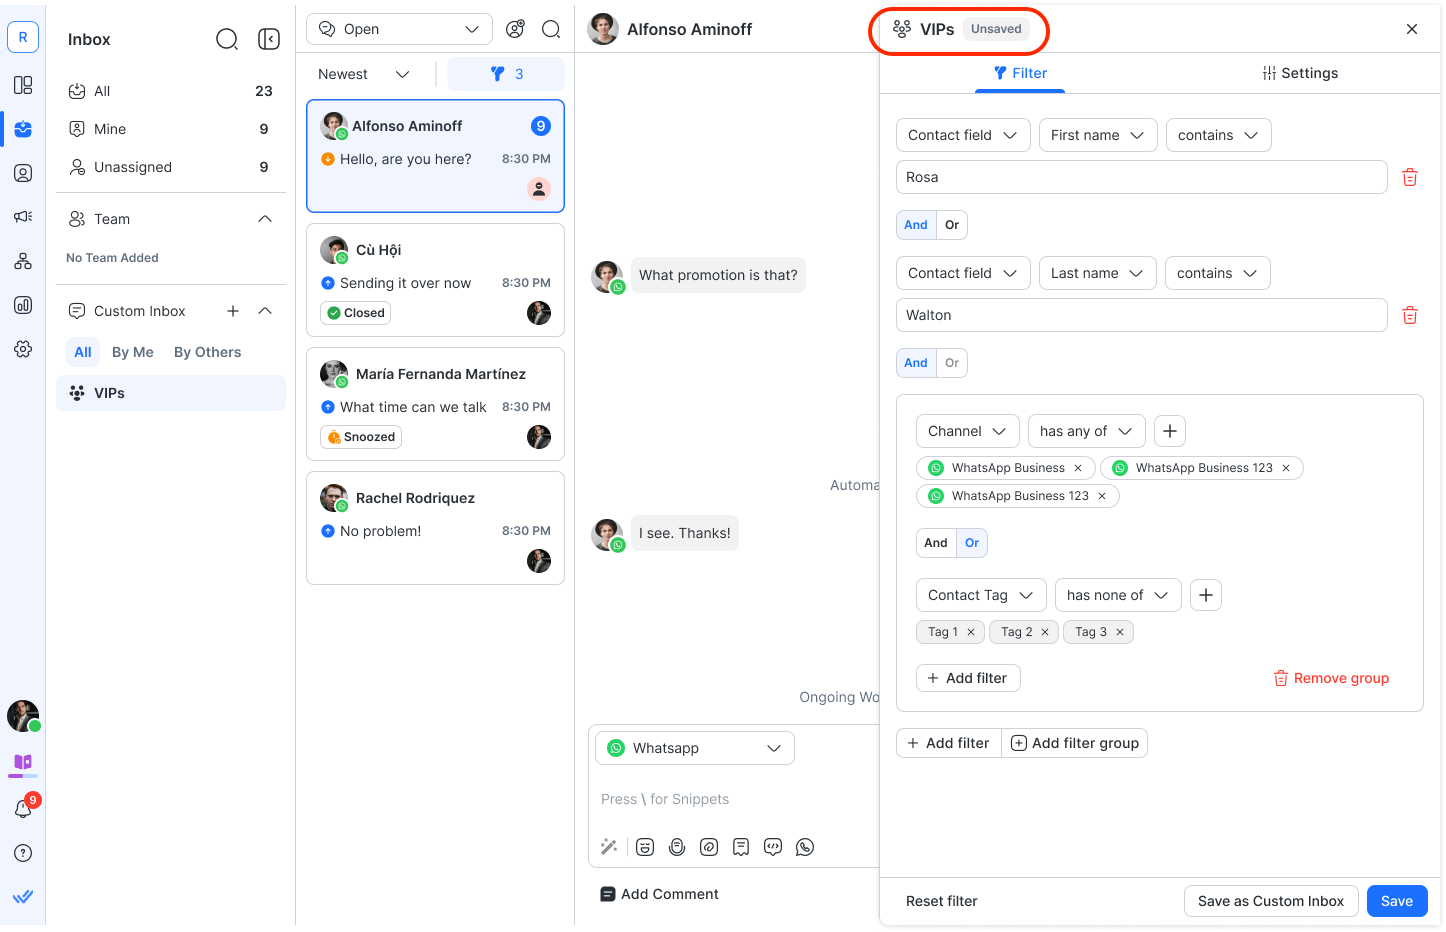
**Step 3:** Next, configure the filters for your Custom Inbox.
The categories available within a condition include:
* Contact Field (inclusive of all custom fields)
* Contact Tag
* Variables
* Last Interacted Channel
* Time Since Last Incoming Message.
{% hint style="info" %}
Nested conditions are now supported.
{% endhint %}
**Step 4:** Review the options and click **Save Inbox** to set the filters for the new inbox.
{% hint style="info" %}
By default, newly created Custom Inboxes are only accessible by the creators. Creators may share their Custom Inboxes with their team or other Workspace users.
{% endhint %}
### Renaming a Custom Inbox
You can edit a Custom Inbox’s name after creating it.
To do this, select the **Actions menu** next to your chosen Custom Inbox. Select **Edit** > **Settings** and edit its name under **Custom Inbox name**.
Save changes by selecting the **Save** button.
{% hint style="info" %}
**Tip**: Make sure the name is self-explanatory for easy reference.
{% endhint %}
### Sharing a Custom Inbox
You can share a Custom Inbox you created with other users or teams in the Workspace. Custom Inboxes can be shared with one of three different settings:
| **Share Settings** | **Icon** | **Description** |
| ------------------ | ---------------------------------------------------------------------------------------------------------------------------------------------- | ----------------------------------------------------- |
| Private | | The inbox can only be accessed by the creator. |
| Public | | The inbox can be accessed by all Workspace users. |
| Shared | | The inbox can be accessed by specific users or teams. |
**Step 1:** Select the Custom Inbox > click on the Actions menu > select Edit > select Settings
### **Step 2:** Select your preferred Share Option. If you select **Shared**, select the Users or teams you would like to grant inbox access to.
**Step 3:** Review and select **Save.**
A Custom Inbox can be shared with multiple users, multiple teams, or a combination of both.
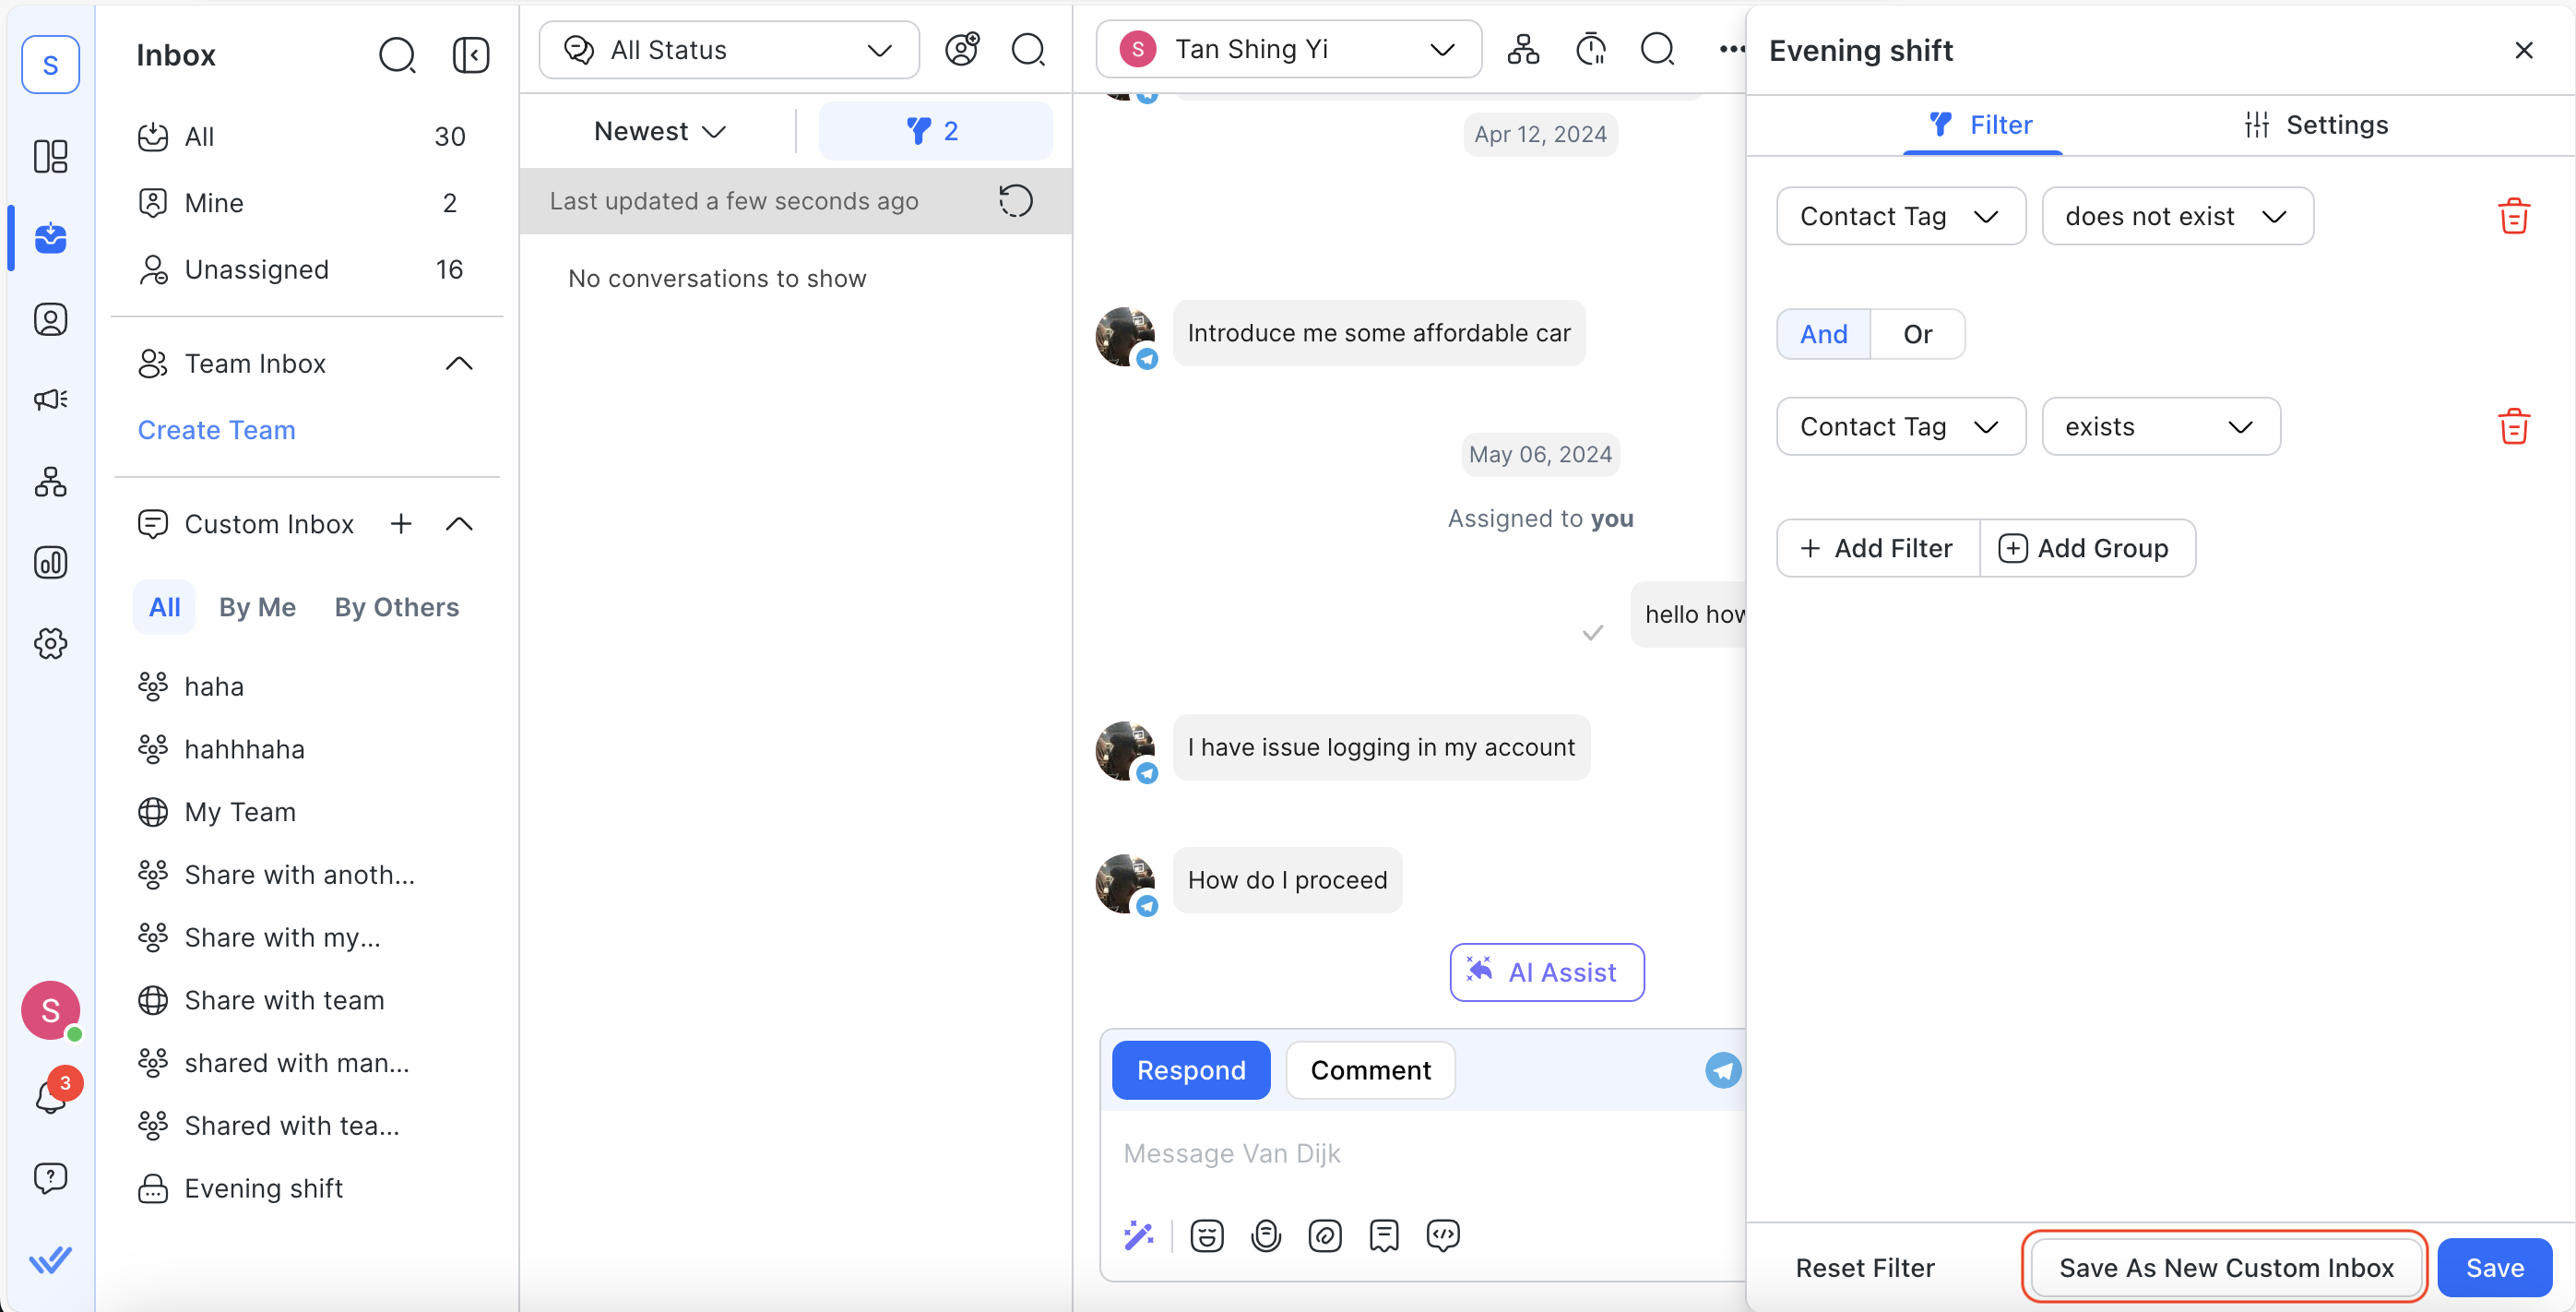
### Editing a Custom Inbox
**Step 1:** Navigate to the Custom Inbox configuration panel of a Custom Inbox by selecting the action menu next to the Custom Inbox name.
**Step 2:** Change the filtering options as desired. If any changes are made, the word "Unsaved" will be appended at the end of the Custom Inbox name.
**Step 3:** Save the Custom Inbox by clicking Save at the bottom. You can also select “Save as new Custom Inbox” to save the filters as a new inbox.
### Deleting a Custom Inbox
To delete a Custom Inbox, select **Delete** from the action menu.
{% hint style="info" %}
Only saved Custom Inboxes can be edited, renamed and deleted. Standard, Team (such as Mine) and Blocked Contacts Inboxes cannot be edited, renamed or deleted.
{% endhint %}
{% hint style="info" %}
Deleting a Custom Inbox affects all Workspace users it's shared with, and it can't be restored afterward.
{% endhint %}
---
# Agent Instructions: Querying This Documentation
If you need additional information that is not directly available in this page, you can query the documentation dynamically by asking a question.
Perform an HTTP GET request on the current page URL with the `ask` query parameter:
```
GET https://docs.is-messenger.com/ismessenger/modules/inbox/custom-inboxes.md?ask=
```
The question should be specific, self-contained, and written in natural language.
The response will contain a direct answer to the question and relevant excerpts and sources from the documentation.
Use this mechanism when the answer is not explicitly present in the current page, you need clarification or additional context, or you want to retrieve related documentation sections.
 | The inbox can only be accessed by the creator. |
| Public |
| The inbox can only be accessed by the creator. |
| Public |