# How to Automate Product Info Sharing in Conversations Initiated via CTC Ads
{% hint style="success" %}
In this use case article, you’ll discover how to automatically provide Contacts from Click-to-Chat ads with product information and offer them the option to talk to Sales or end the conversation based on their interest.
{% endhint %}
The beginning of a conversation with a lead is time-sensitive and presents an opportunity for rapport building. If a lead clicks a Click-to-Chat (CTC) ad and no human agent is available to respond either because it’s outside of business hours or the human agents are busy, a delayed response could lead to missed opportunities for valuable sales or upsells in your business.
On the other hand, if a lead promptly receives information, it increases the chances of converting their interest into a sale. This crucial stage can be automated for your business using the **Click to Chat Ads: Share Product Information + Route to Sales** Workflow template.
### **Benefits**
* Leads get answers to their initial queries without delays with company-sanctioned information. Faster response time helps establish brand integrity.
* The leads are empowered with product knowledge and can decide whether to take the conversation further. Therefore, only leads interested in buying the product are directed to sales.
* Automation reduces manual effort and frees the Sales team from more high-value tasks like closing deals. This enhances a business’s scalability without a proportionate increase in labor.
### **Workflow Setup**
To use the **Click to Chat Ads: Share Product Information + Route to Sales** workflow template, select **Workflows** > click **+ Add Workflow** > select **Click to Chat Ads: Share Product Information + Route to Sales** > click **Use Template**.
Workflow Steps and their functions:
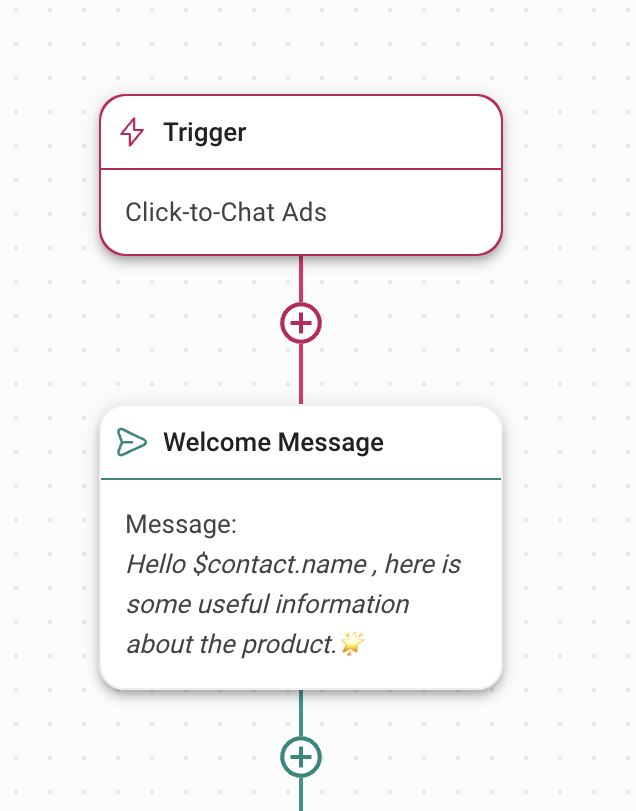
1. **Trigger:** The Workflow starts whenever a conversation is opened by a lead clicking a CTC ad. Select **Click-to-Chat Ads** as a trigger.
2. **Welcome Message**: Send a welcome message to the lead and let them know they will receive product information using the **Send a Message** step.
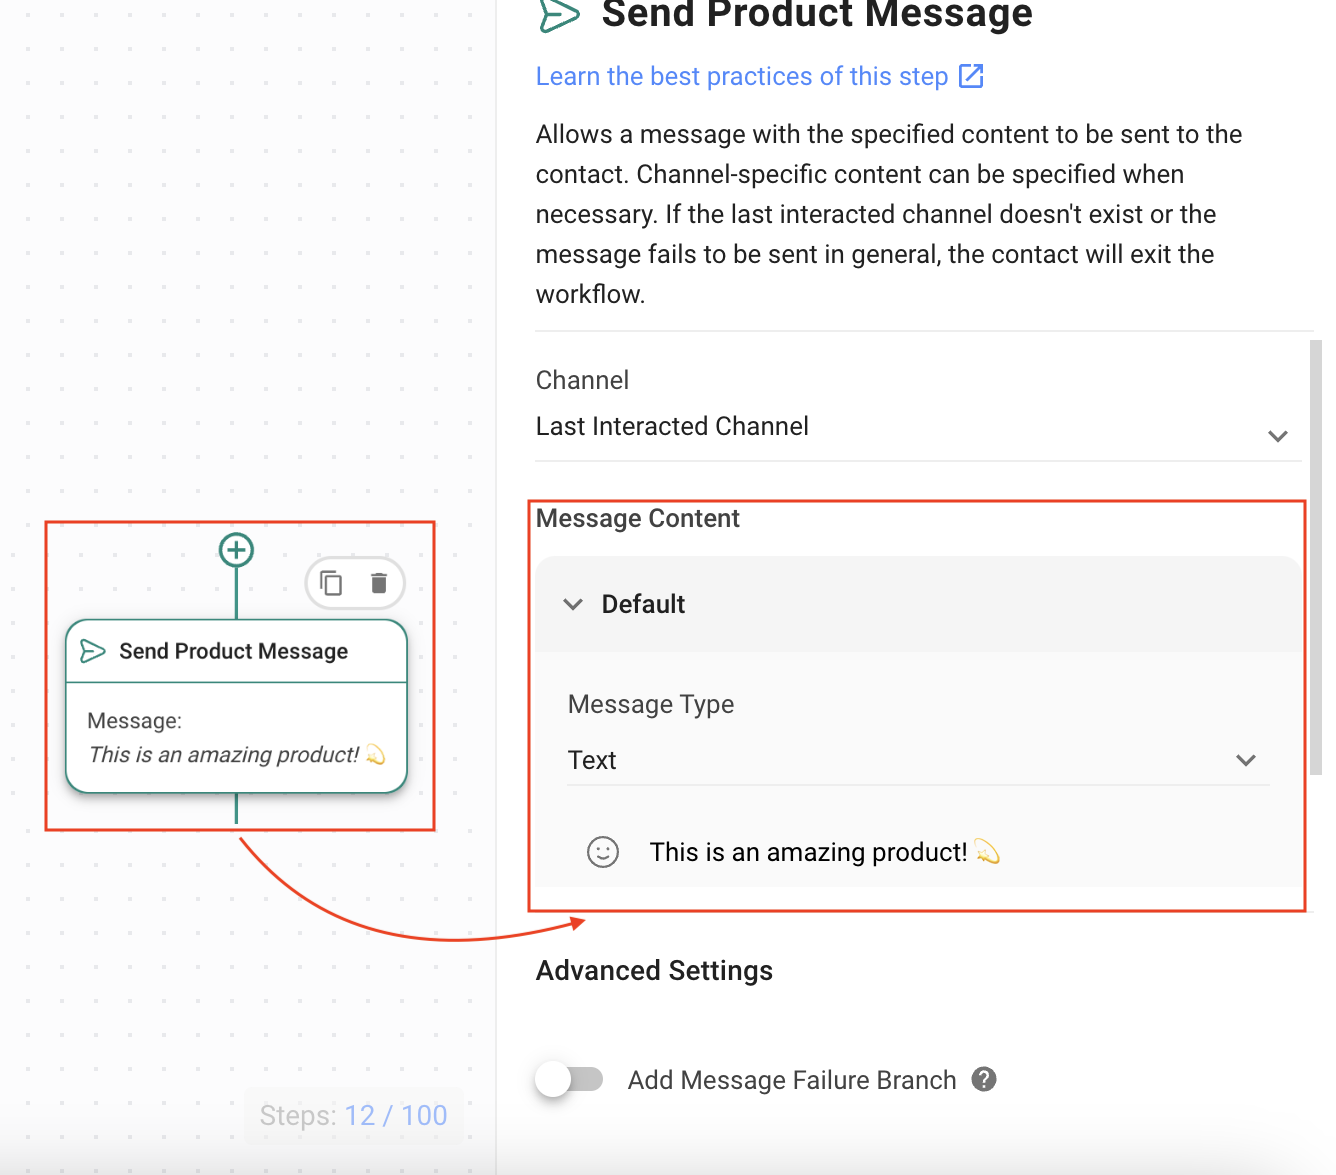
3. **Send Product Message**: Send product-related information using the **Send a Message** step and select **Message Type** as **Text**.
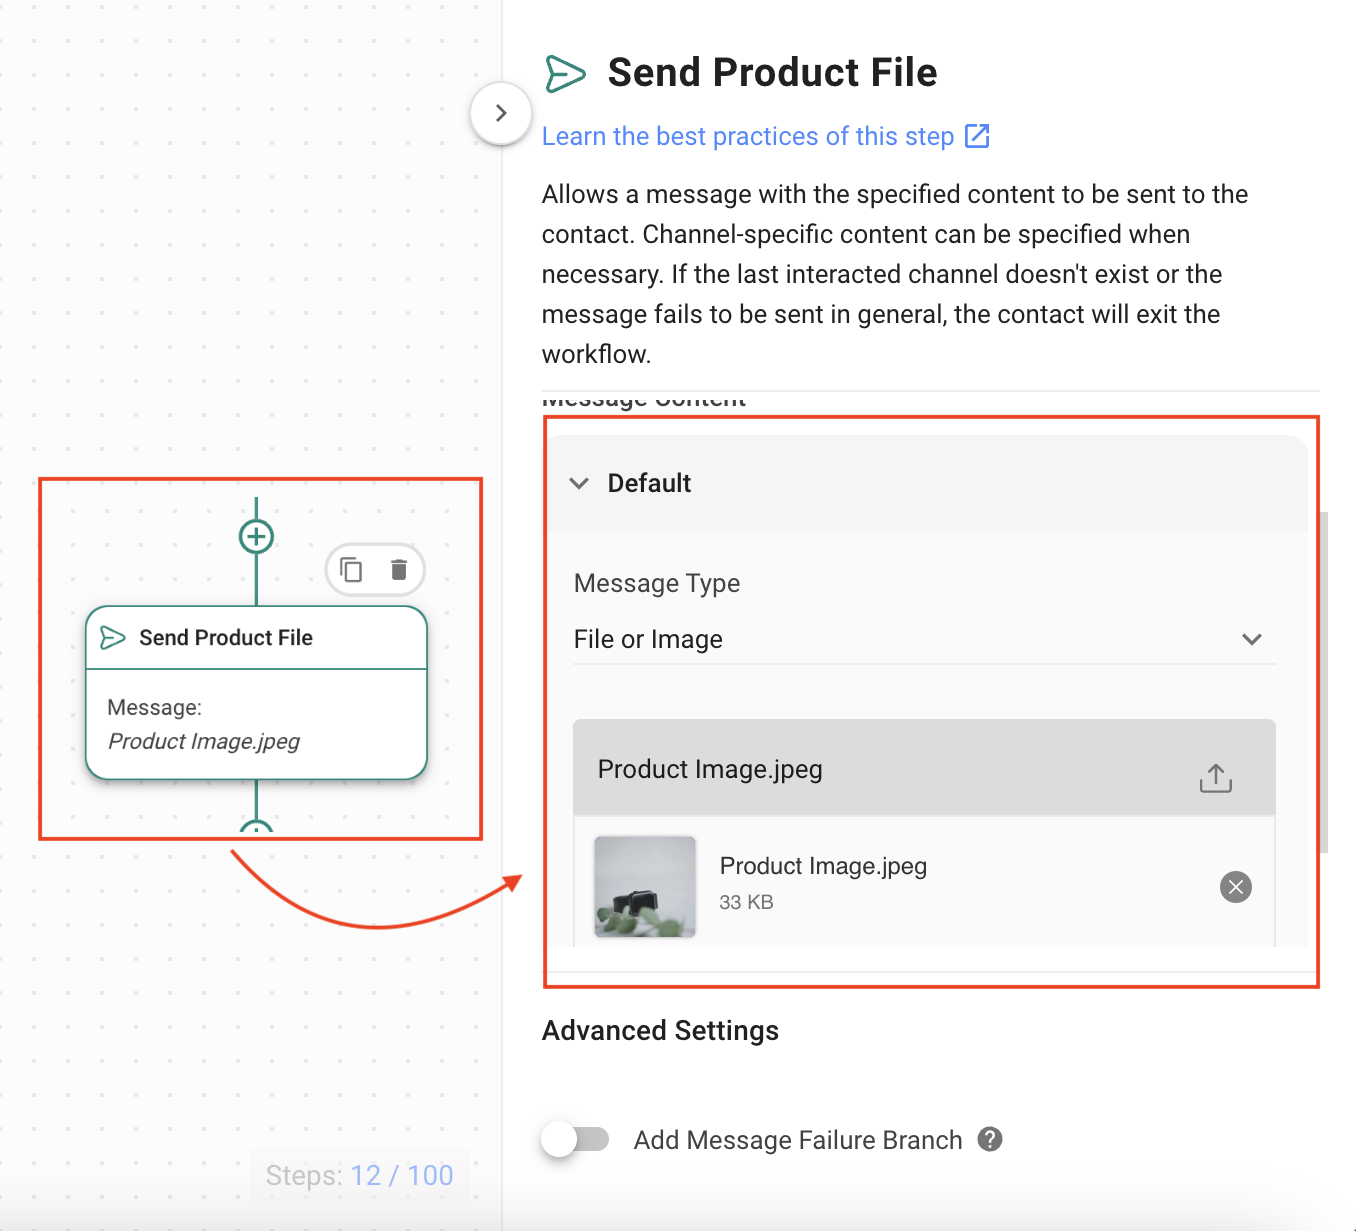
4. **Send Product File**: Send product-related information in an image file using the **Send a Message** step and selecting **Message Type** as **File or Image**.
5. **Add Product Tag**: Add the product’s tag to the Contact information for retargeting later.
6. **Wait for Contact to Review Files**: Optionally, you can wait for the Contact to review the product information using the **Wait** step.
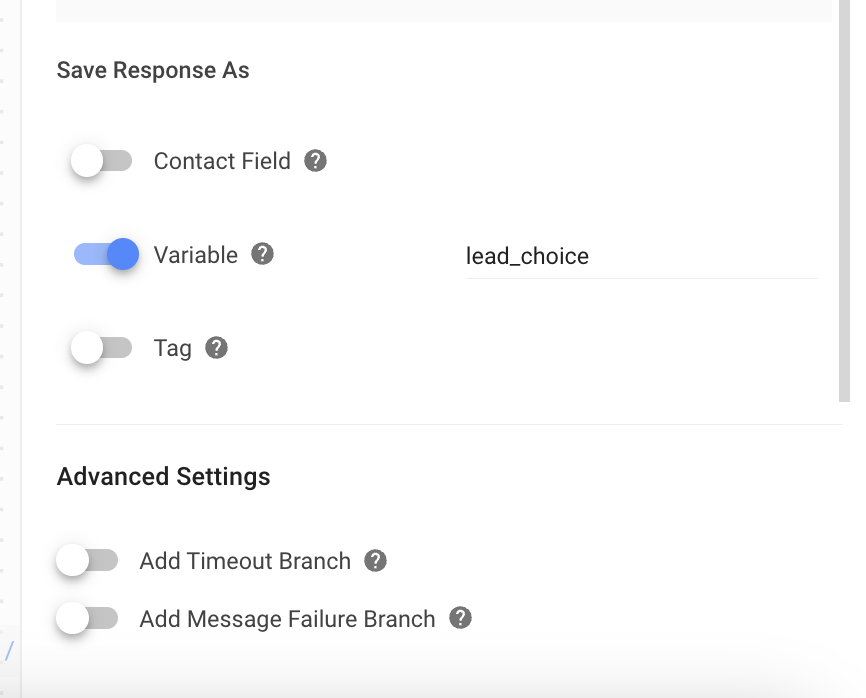
7. This step uses the **Ask a Question** step to provide a list of options to the Contact by selecting the **Question Type** as **Multiple Choice**. The answers will be saved as a variable to be used in the following branch steps. You can configure the answers to these steps based on your business needs. In this Workflow Template example, we have prepared answer options as follows:
* **Talk to Sales**
* **End Conversation**
The Contact’s response is saved as a variable called **lead\_choice**.
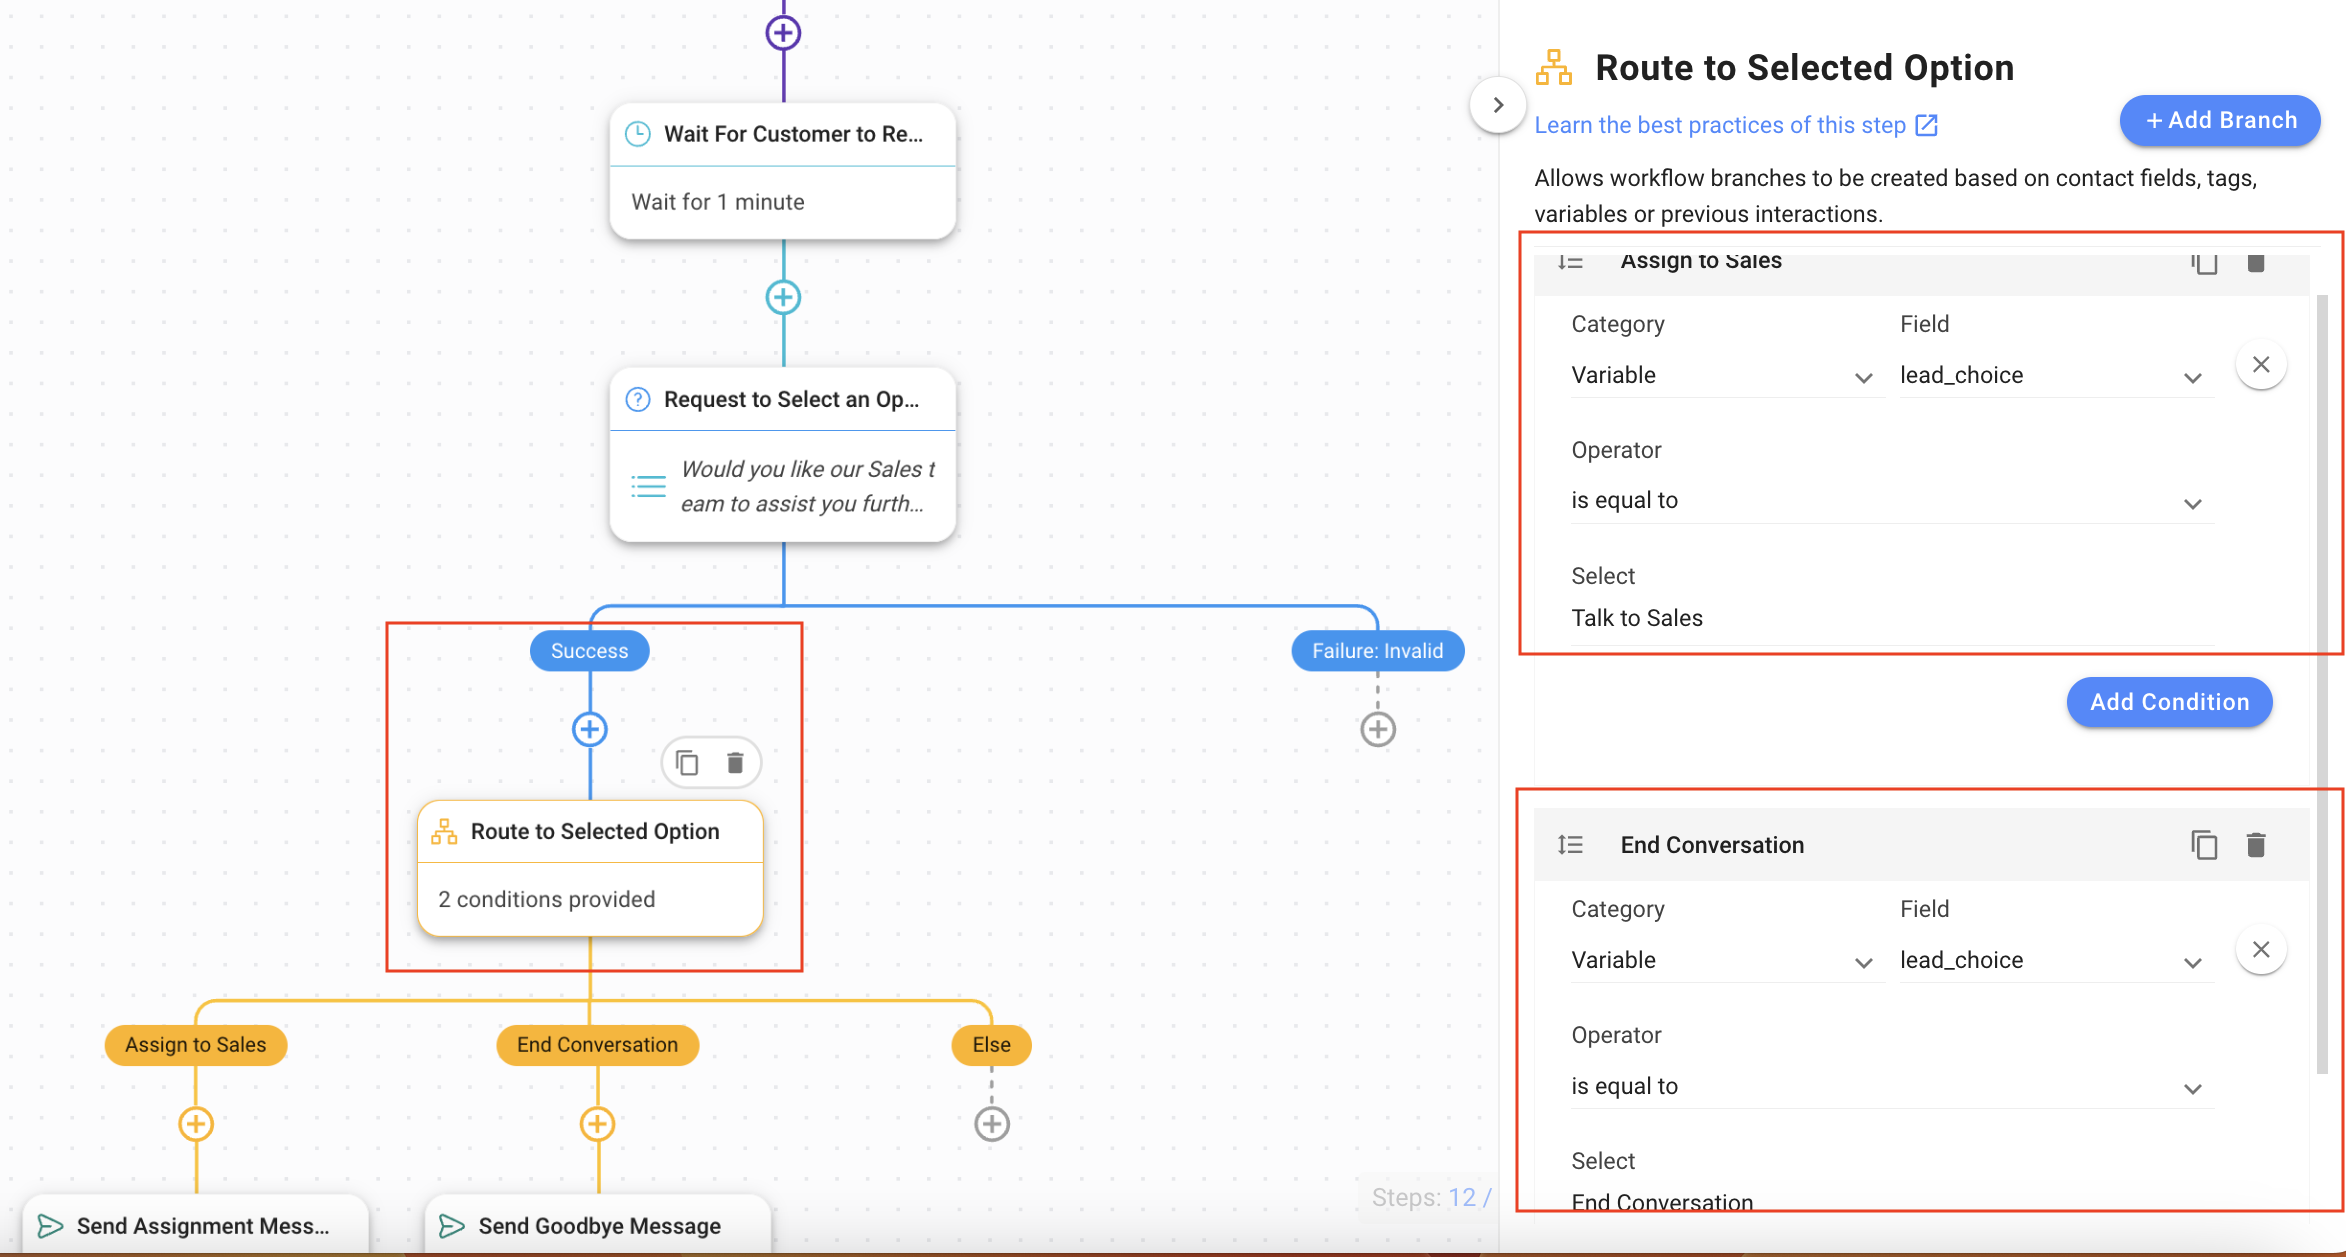
8. **Route Selected Chat Menu Options**: This step routes Contacts based on their responses. In this template, branches are created for two answers.
* **Assign to Sales**: Select the following options:
* **Category**: Variable
* **Field**: lead\_choice
* **Operator**: is equal to
* **Select**: Talk to Sales
* **End Conversation**: Select the following options:
* **Category**: Variable
* **Field**: lead\_choice
* **Operator**: is equal to
* **Select**: End Conversation
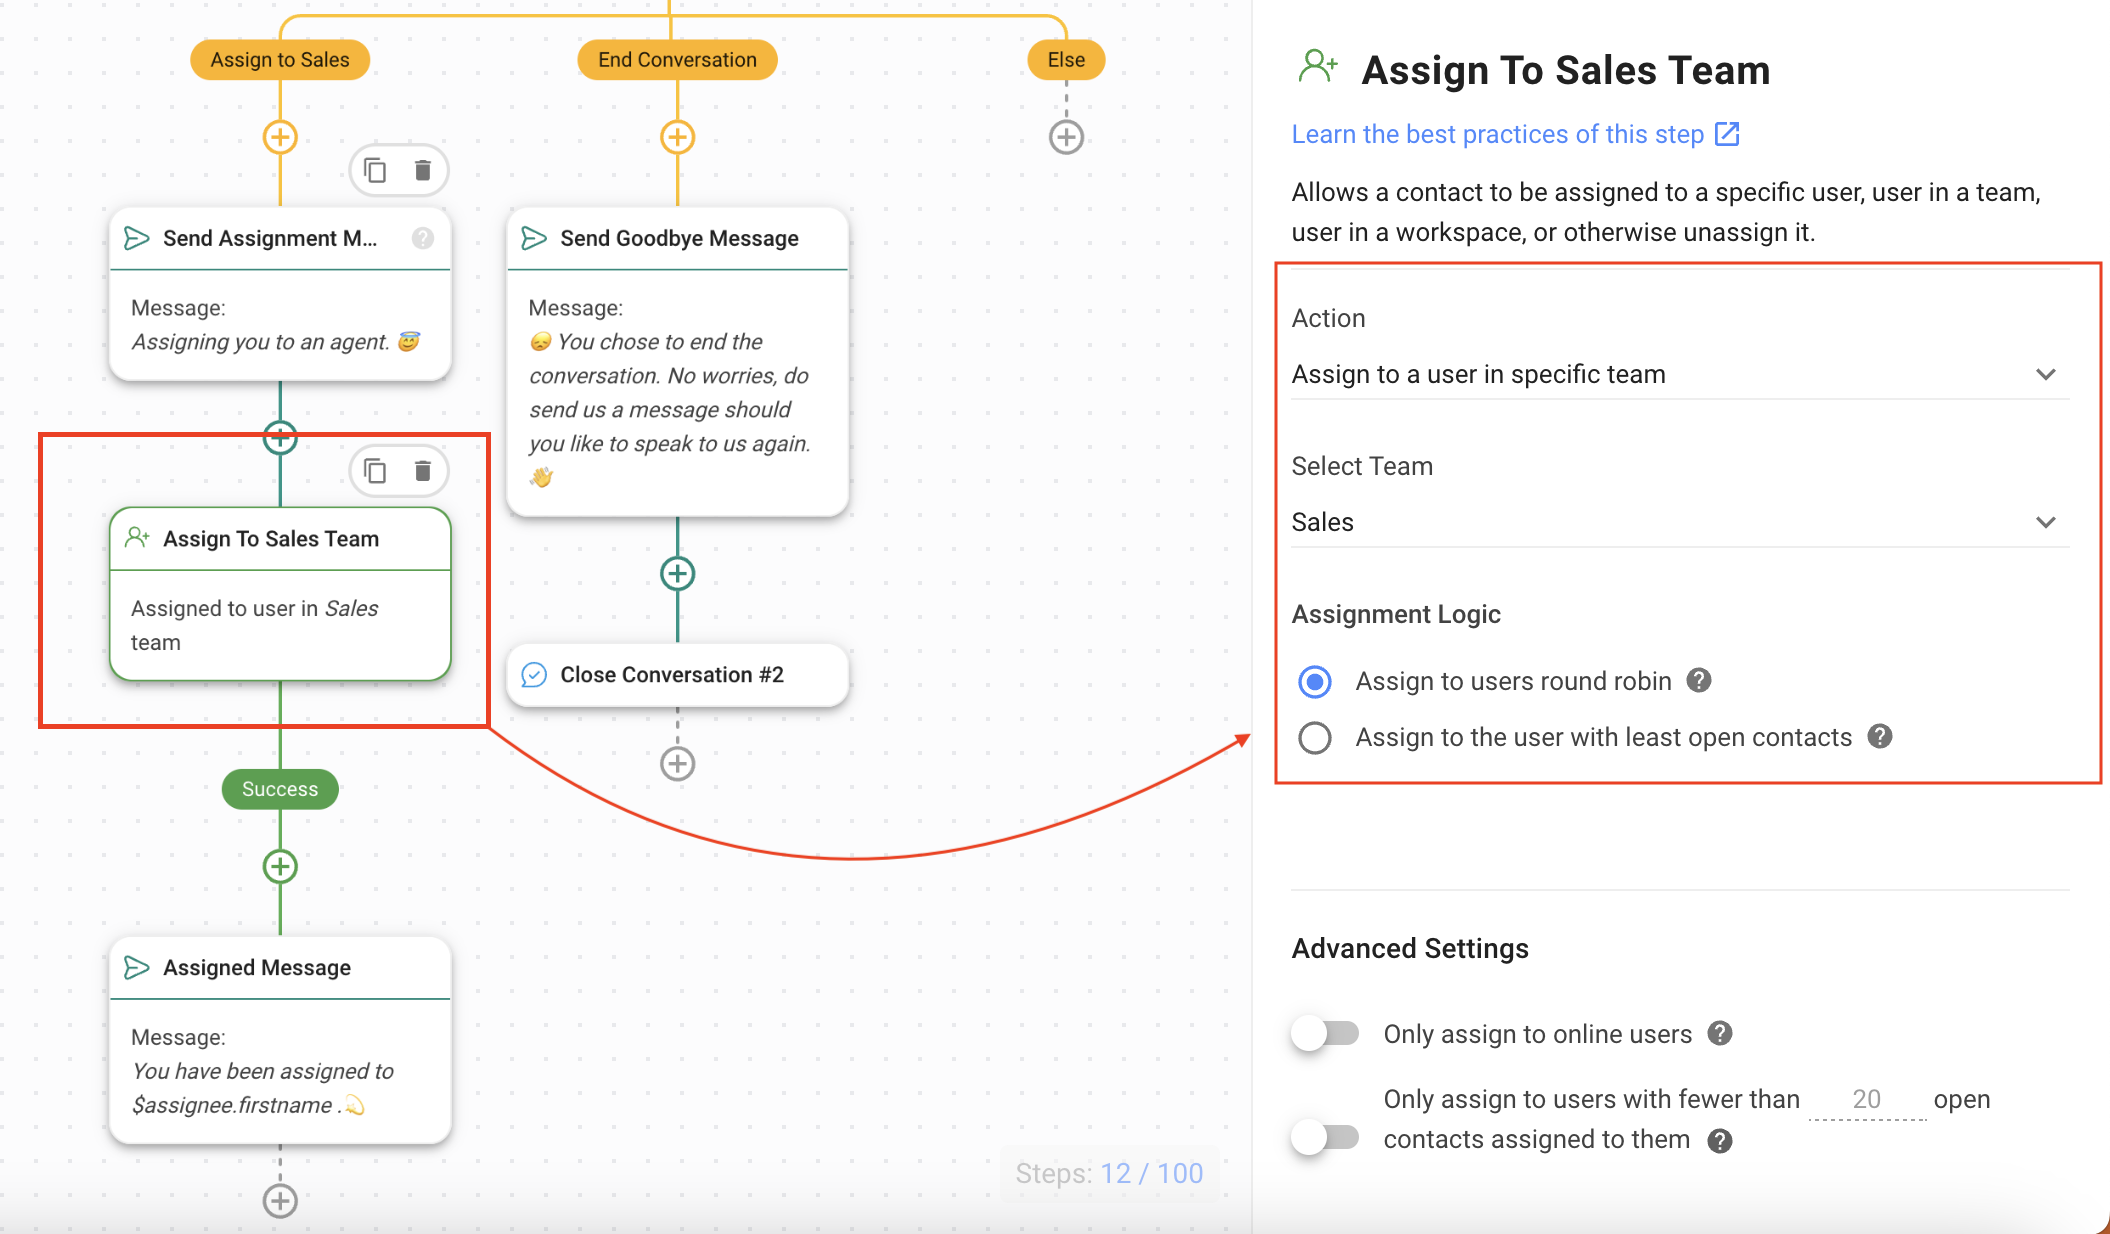
9. **Talk to Sales:** The Contact selects this option if they are interested in the product. The **Assign to Sales** branch handles this.
* **Send Assignment Message:** Send a message to the Contact that they are being assigned to an agent.
* **Assign to Sales Team**: Assign to a sales agent using the **Assign To** step.
* **Assigned Message**: The Contact is informed that they have been assigned to a sales agent.
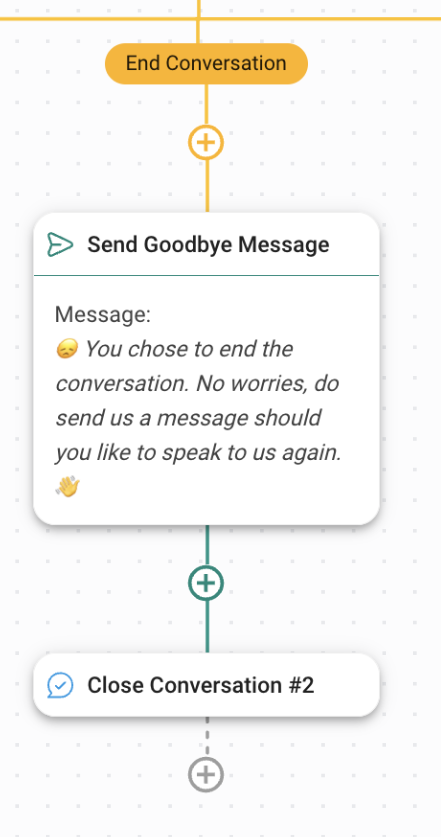
10. **End Conversation:** The Contact selects this option if they are not interested in the product. The **End Conversation** branch handles this.
* **Send Goodbye Message**: Send a goodbye message to the Contact informing them that the conversation is ending.
{% hint style="success" %}
Once you have completed the setup, publish your Workflow to start sharing product information and route Contacts according to the selection they have made on the menu.
{% endhint %}
---
# Agent Instructions: Querying This Documentation
If you need additional information that is not directly available in this page, you can query the documentation dynamically by asking a question.
Perform an HTTP GET request on the current page URL with the `ask` query parameter:
```
GET https://docs.is-messenger.com/ismessenger/capture-conversations/how-to-automate-product-info-sharing-in-conversations-initiated-via-ctc-ads.md?ask=
```
The question should be specific, self-contained, and written in natural language.
The response will contain a direct answer to the question and relevant excerpts and sources from the documentation.
Use this mechanism when the answer is not explicitly present in the current page, you need clarification or additional context, or you want to retrieve related documentation sections.