# Workspace Settings: Growth Widgets
A Growth Widget allows you to embed a single channel or multichannel widget on your website so visitors can connect with you via their preferred messaging apps.
{% hint style="info" %}
If you are looking to add a Website Chat Widget, learn more [here](/ismessenger/messaging-channels/website-chat-widget.md).
{% endhint %}
#### Getting Here
{% hint style="warning" %}
This setting is accessible by Owners and Managers only.
{% endhint %}
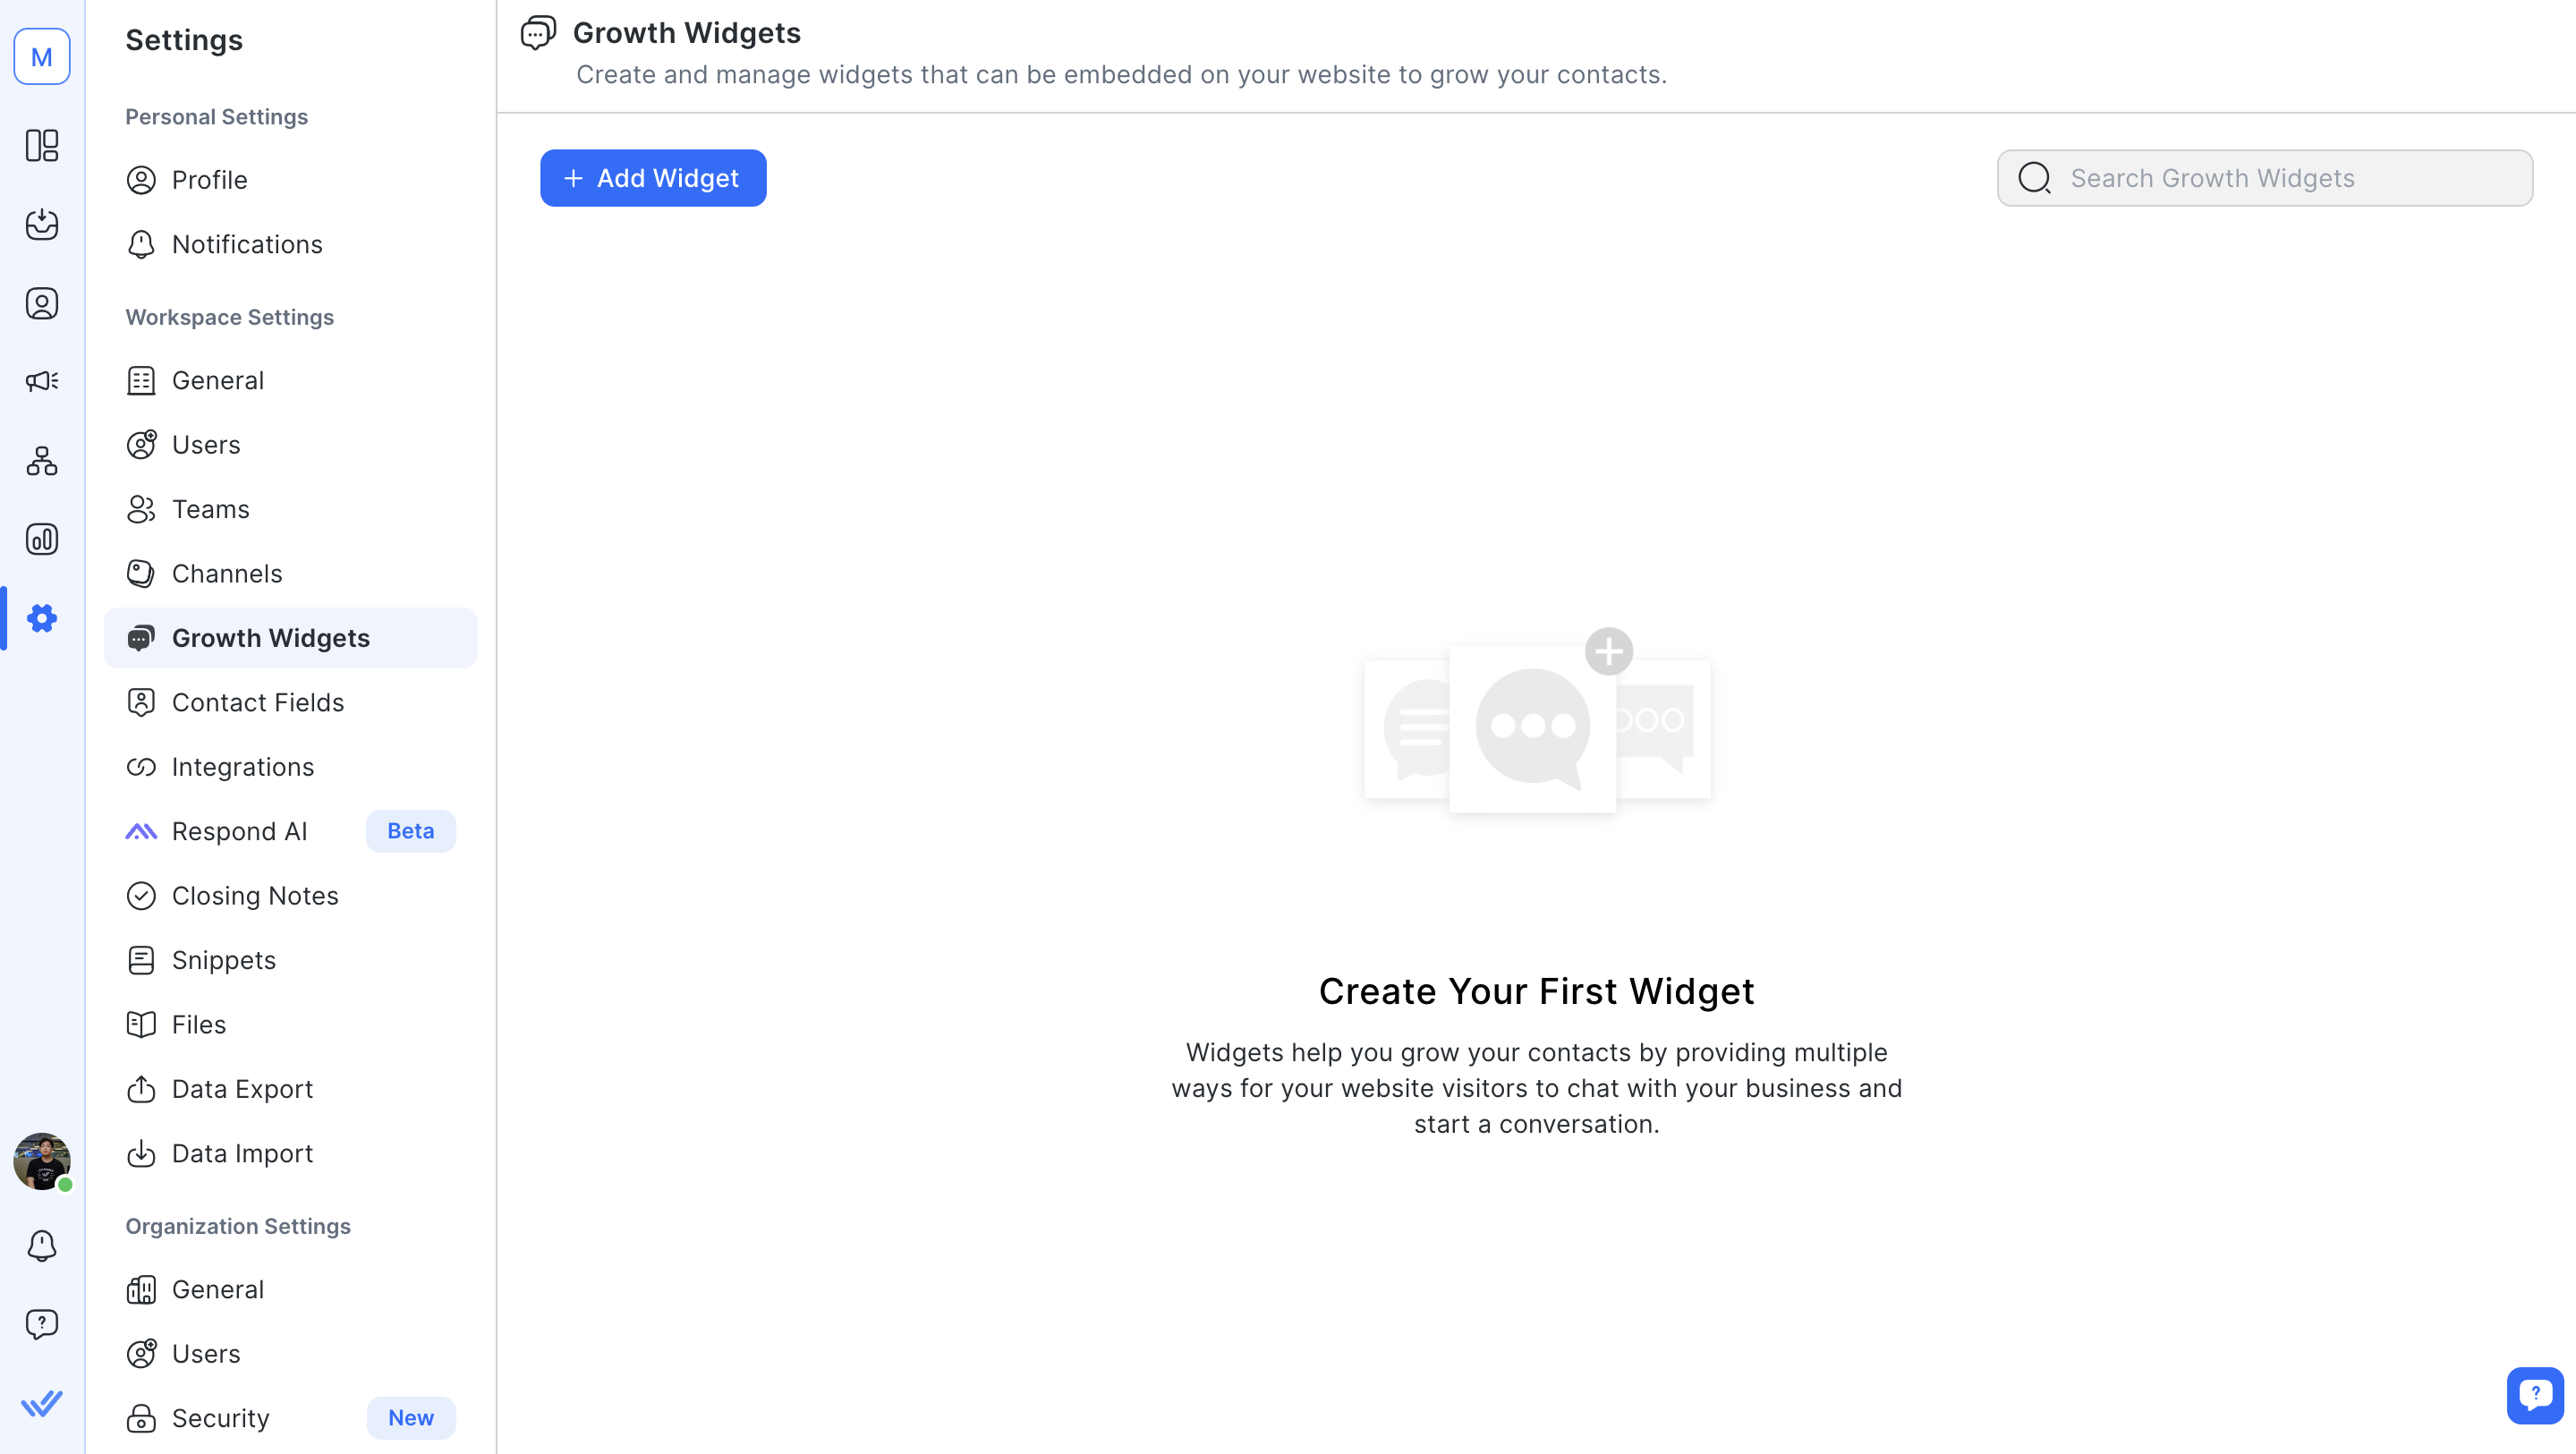
This setting can be accessed from the **Settings** navigation menu under the **Workspace Settings** sub-menu item, **Growth Widgets**.
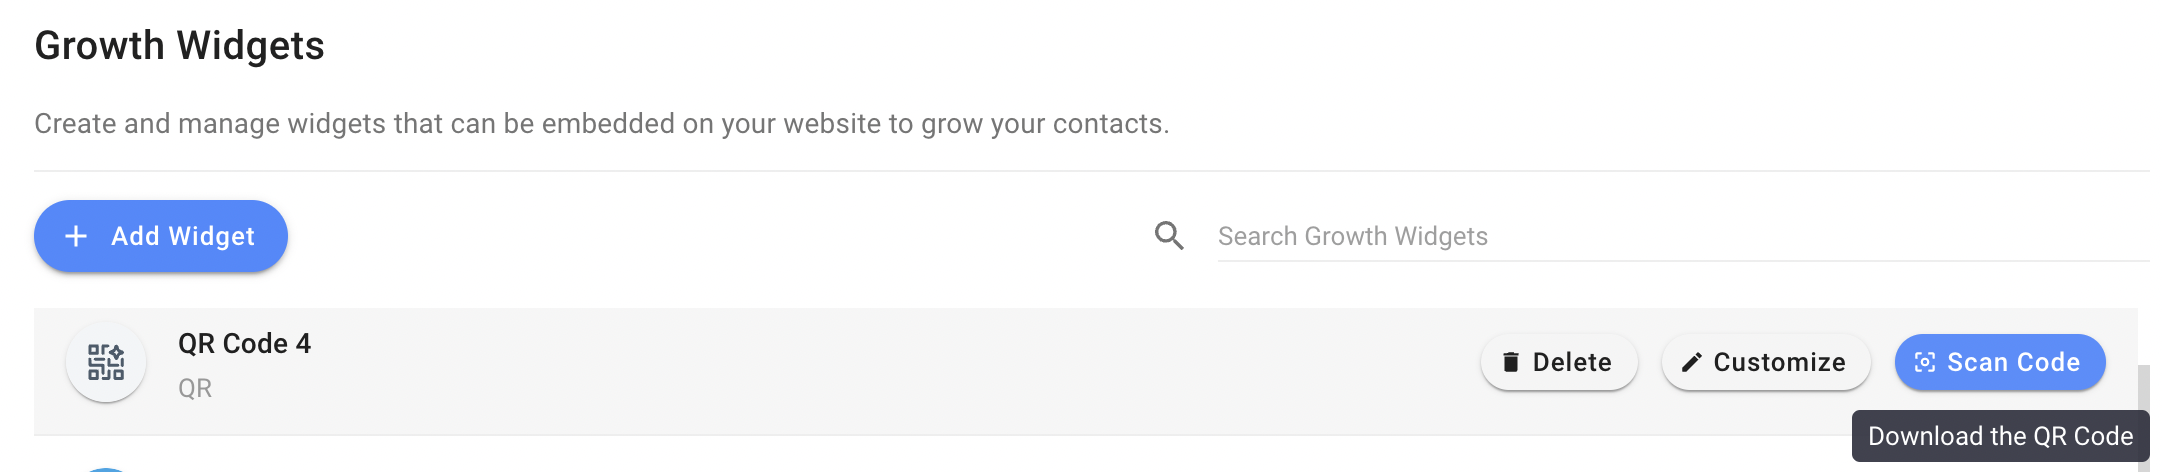
Under the Growth Widget Settings section, you can see a list of existing widgets in your Workspace. Here, you can edit and manage these widgets or create new ones.
In this setting, you can:
* Create a widget
* Manage existing widgets
* Delete a widget
#### Creating Widget
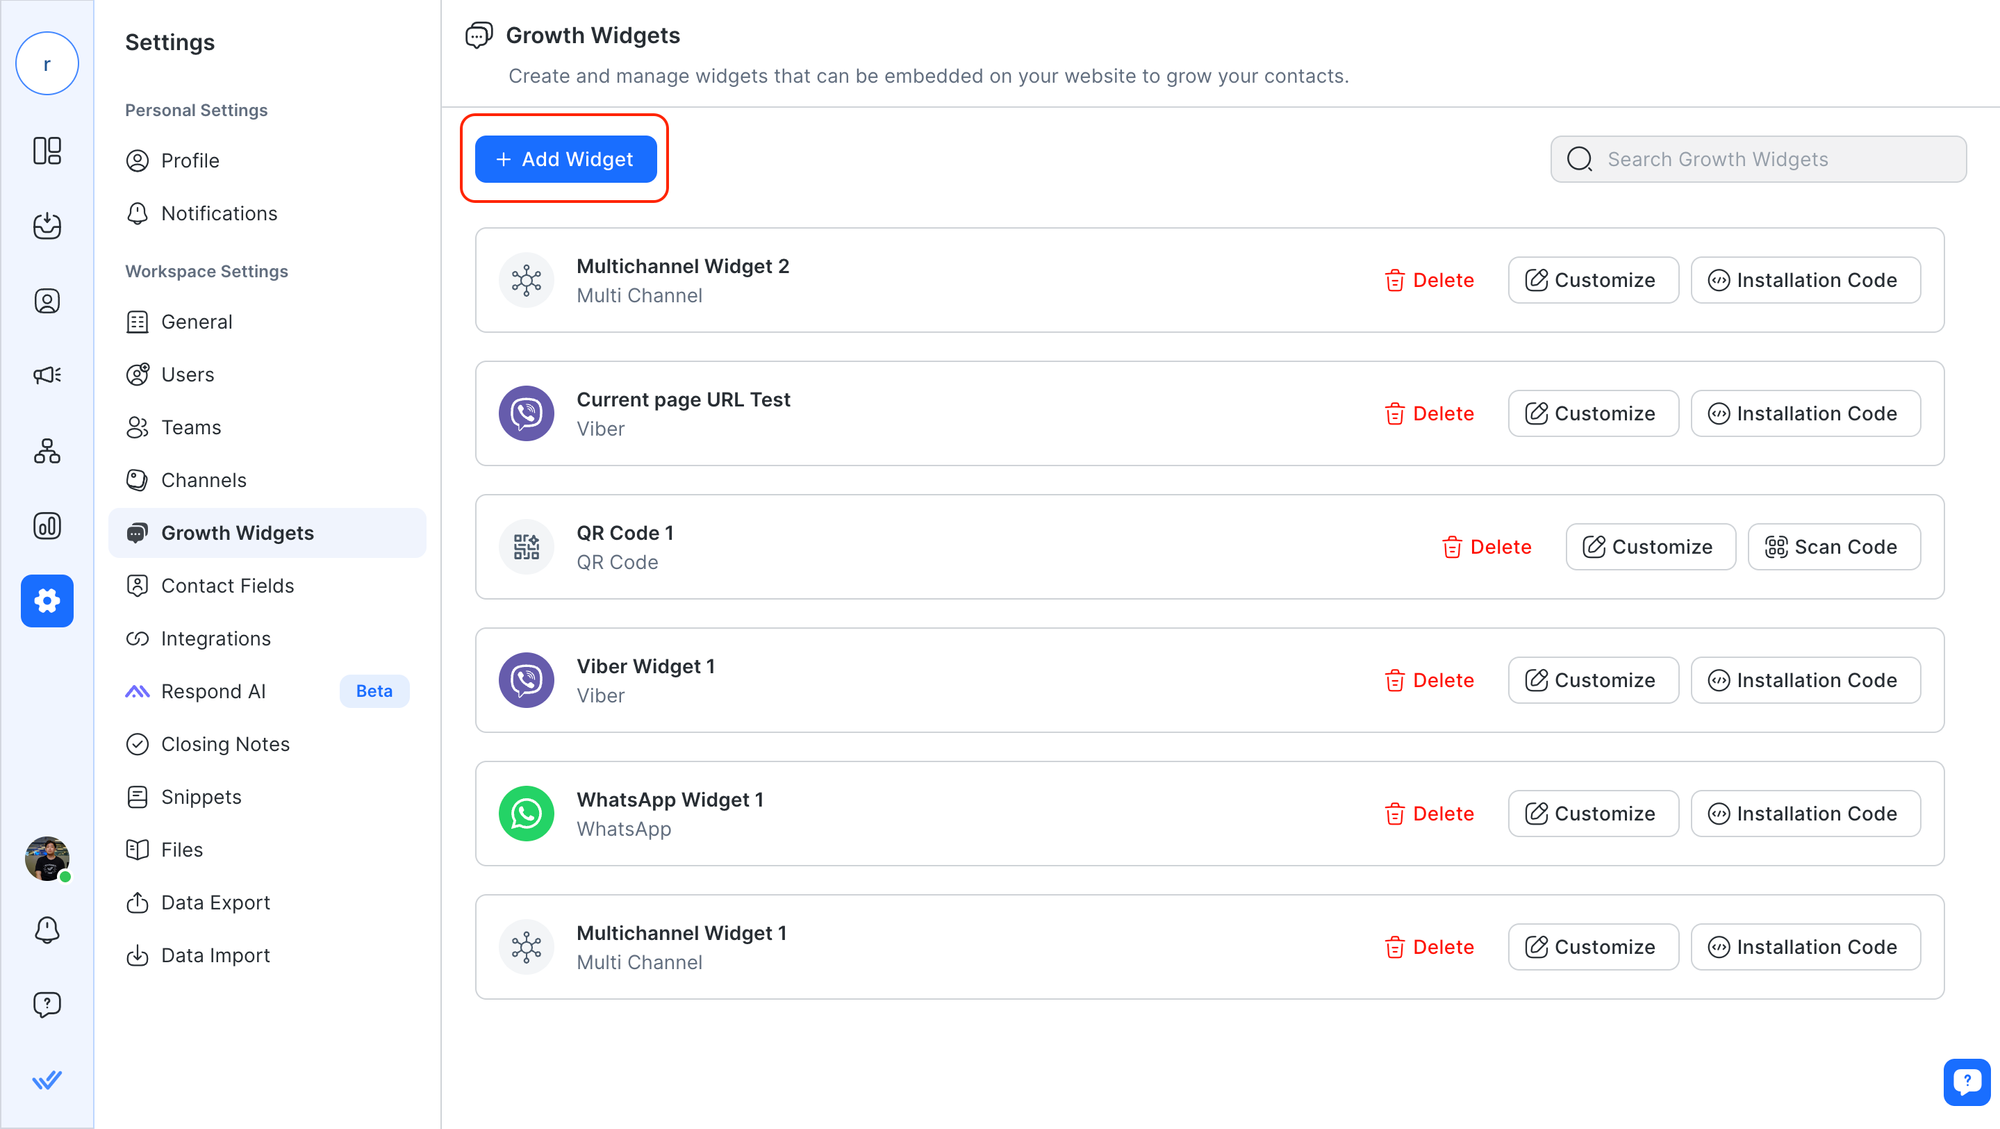
**Step 1:** Click the **Add Widget** button to explore all the available widgets.
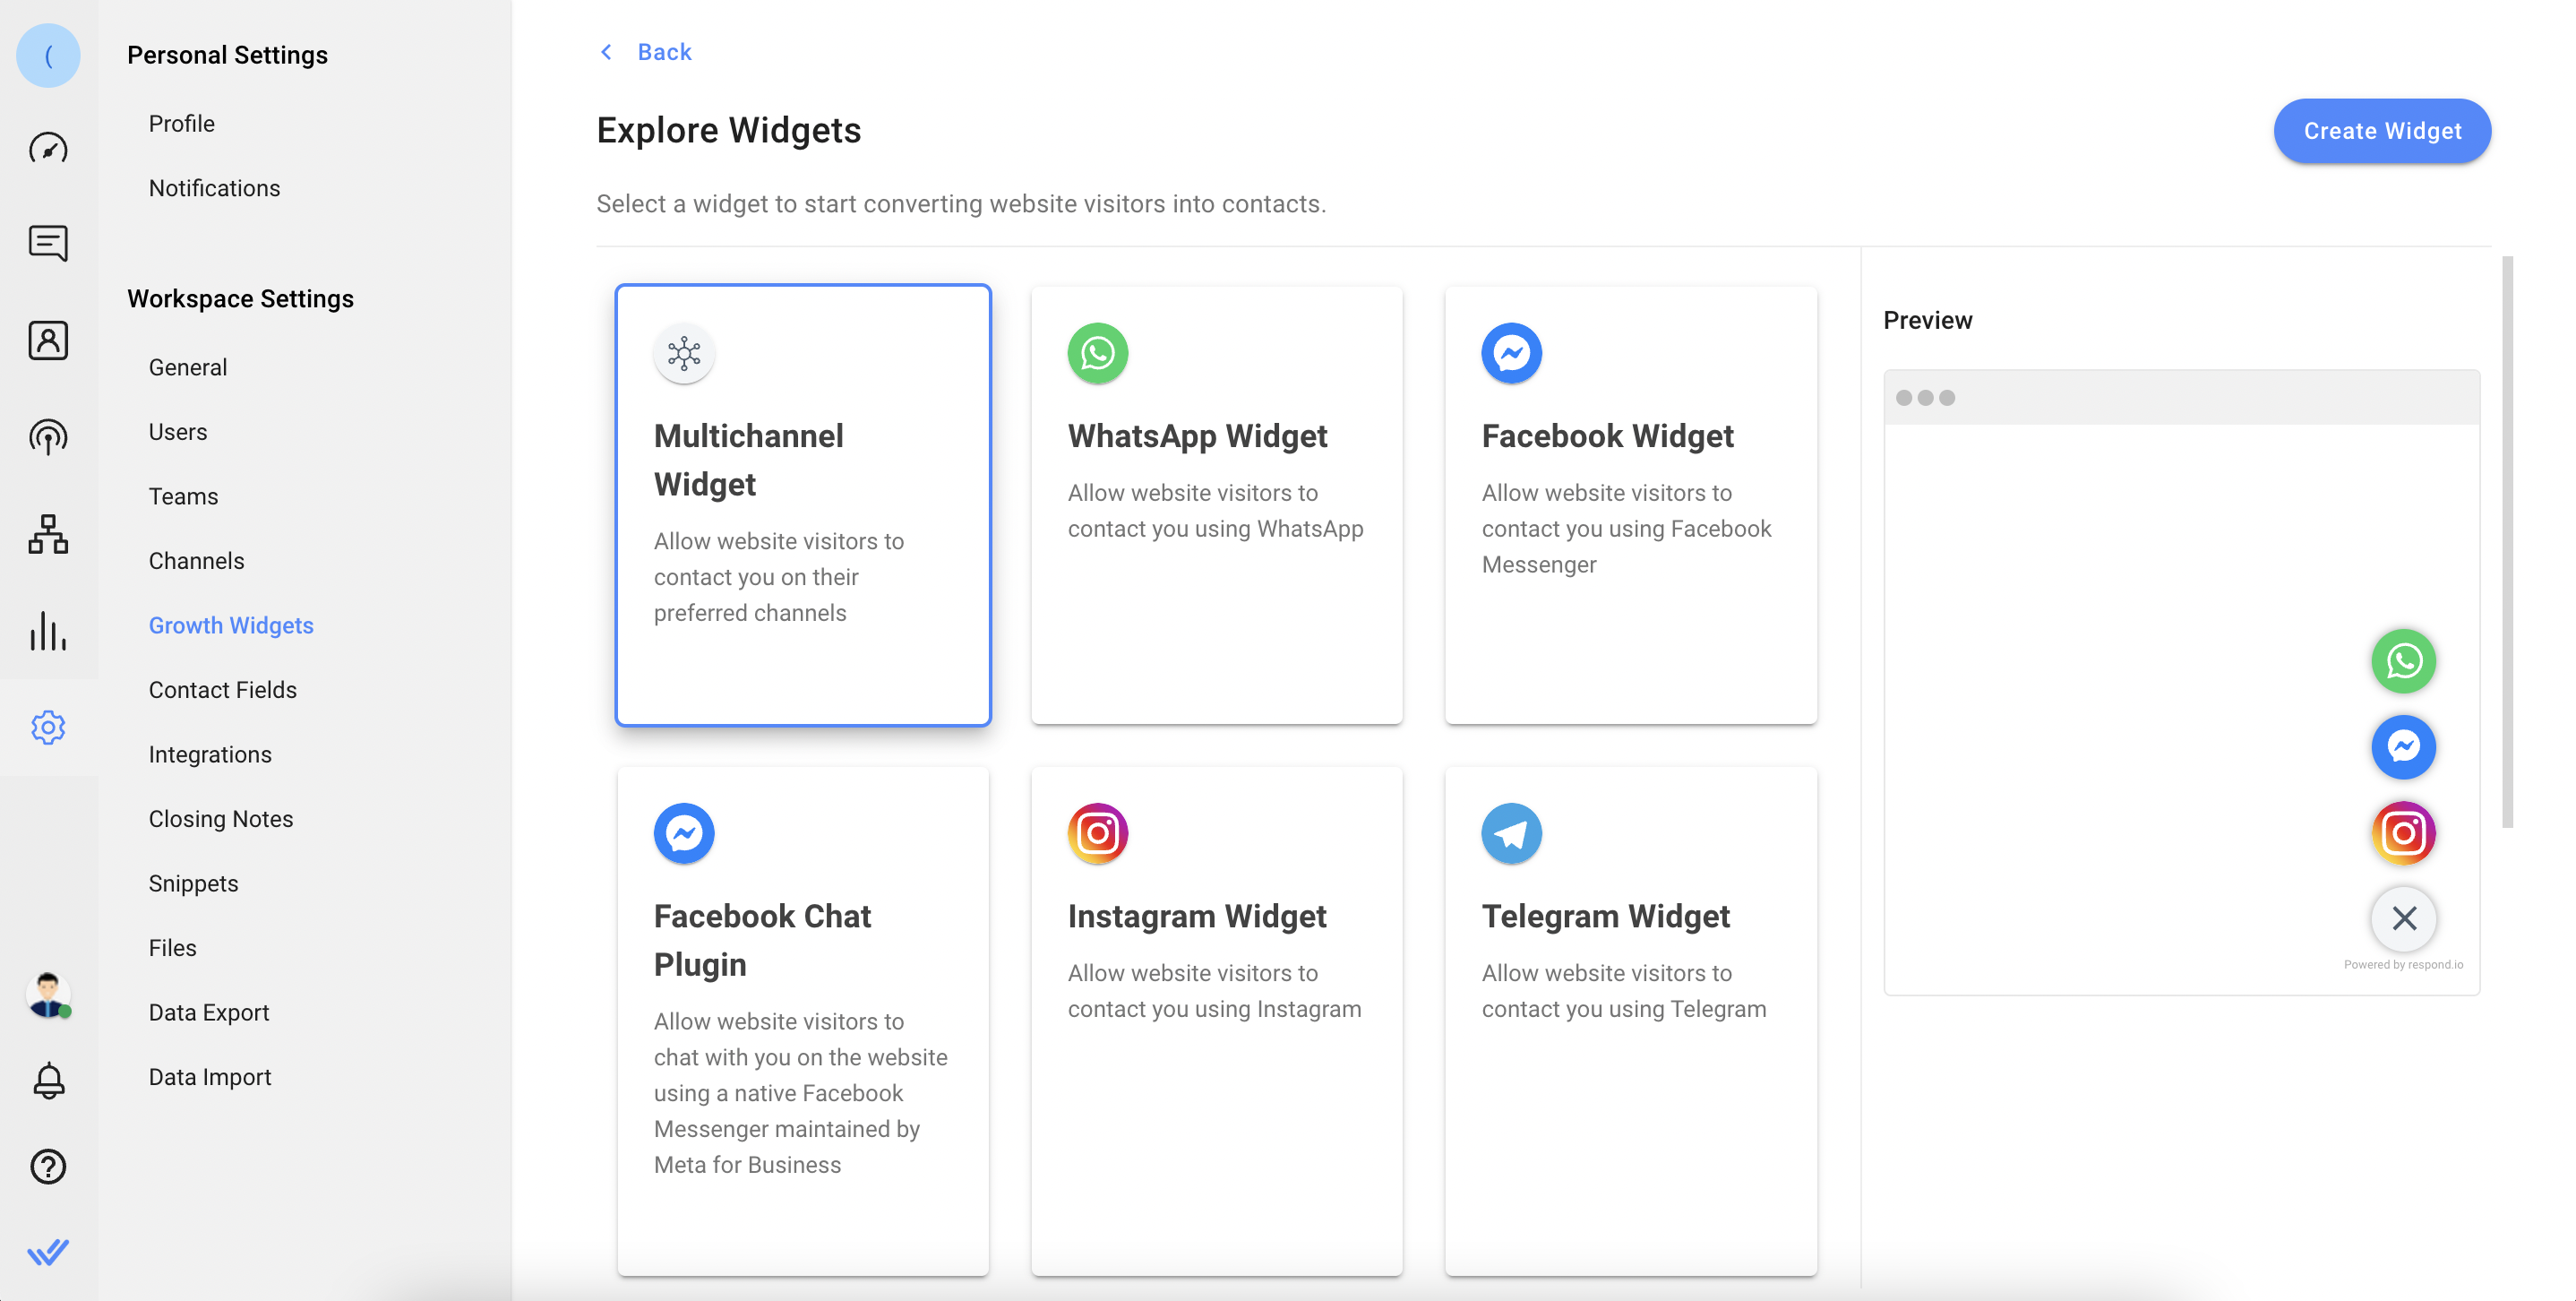
**Step 2:** Select the widget you would like to create > click the **Create Widget** button
{% hint style="info" %}
You can only select single-channel widgets if the Channel is connected to the Workspace.
{% endhint %}
**Configure Widget**
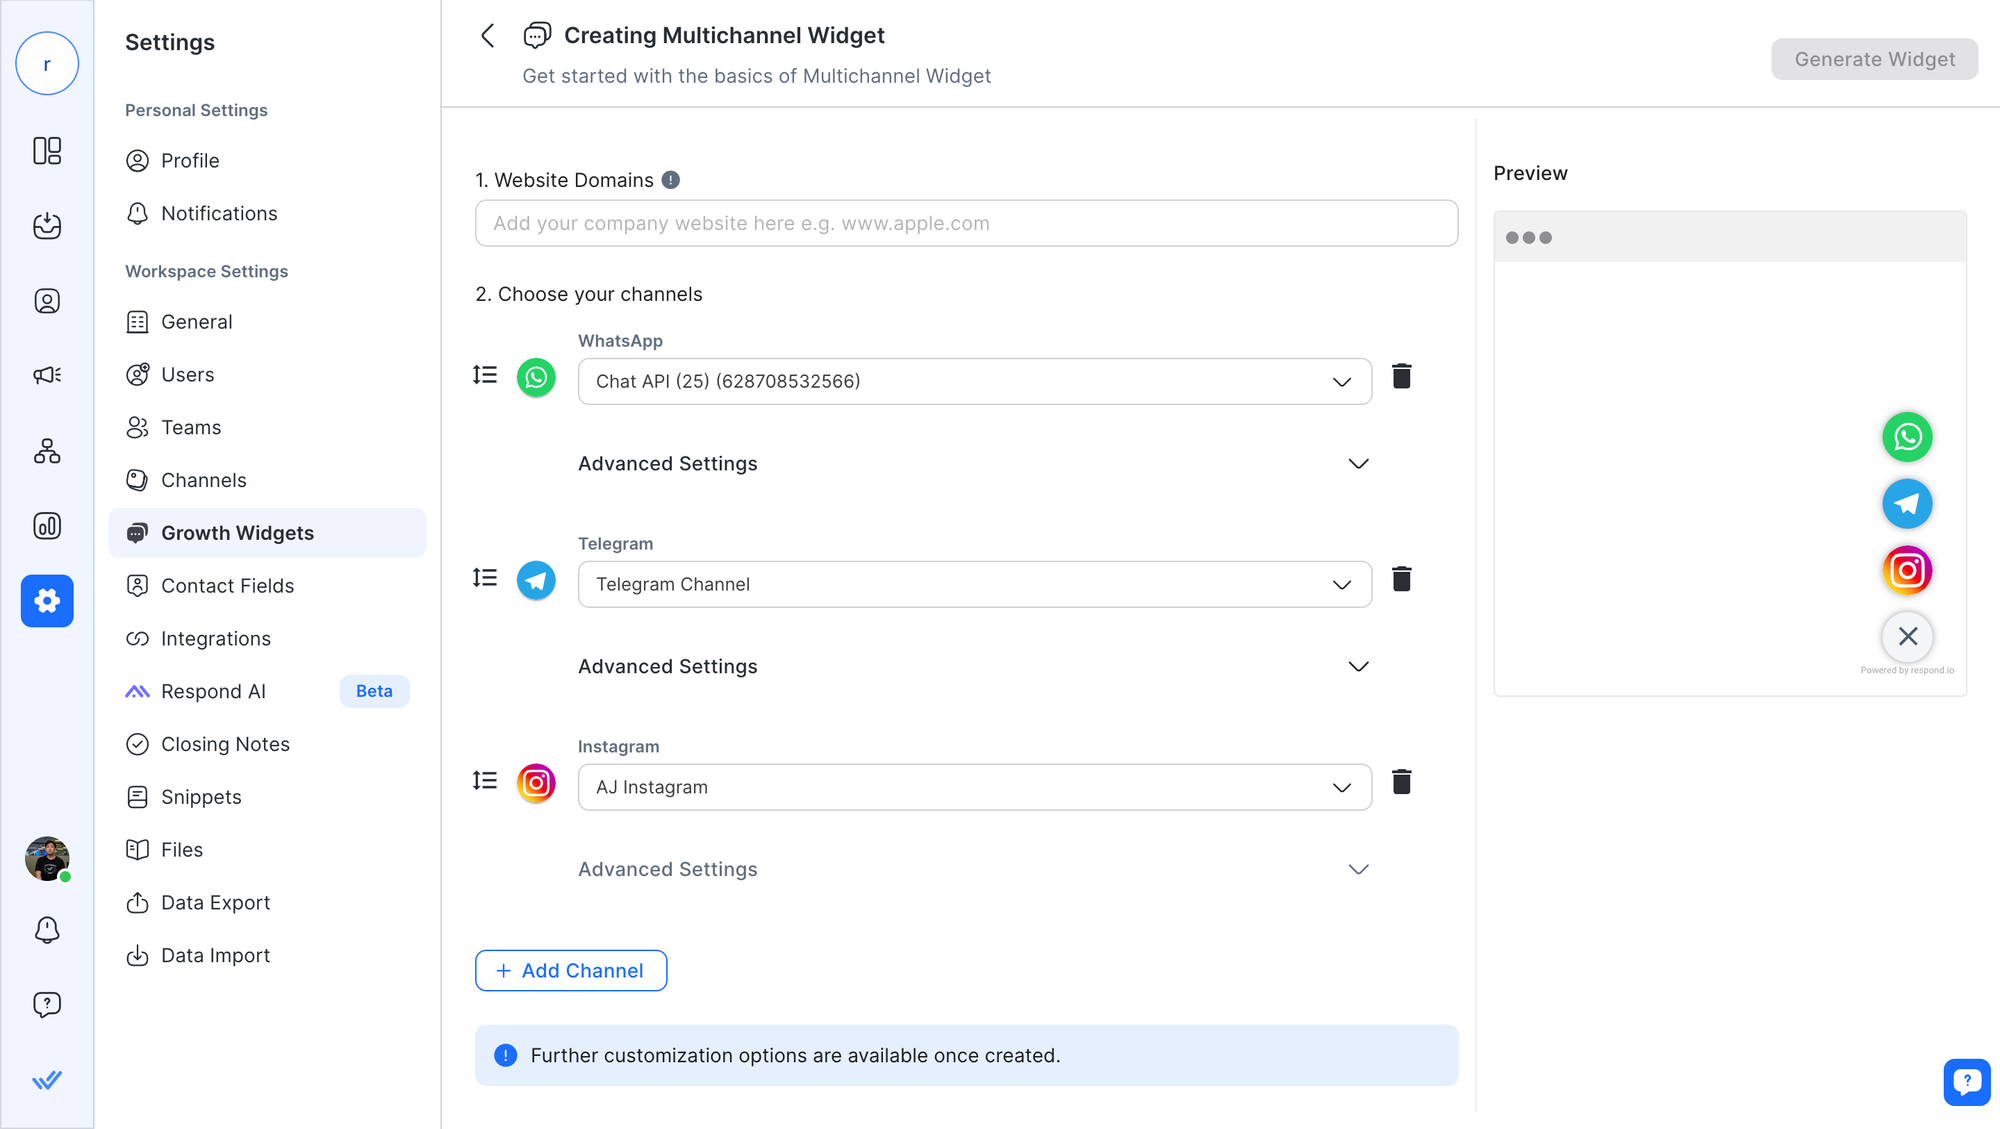
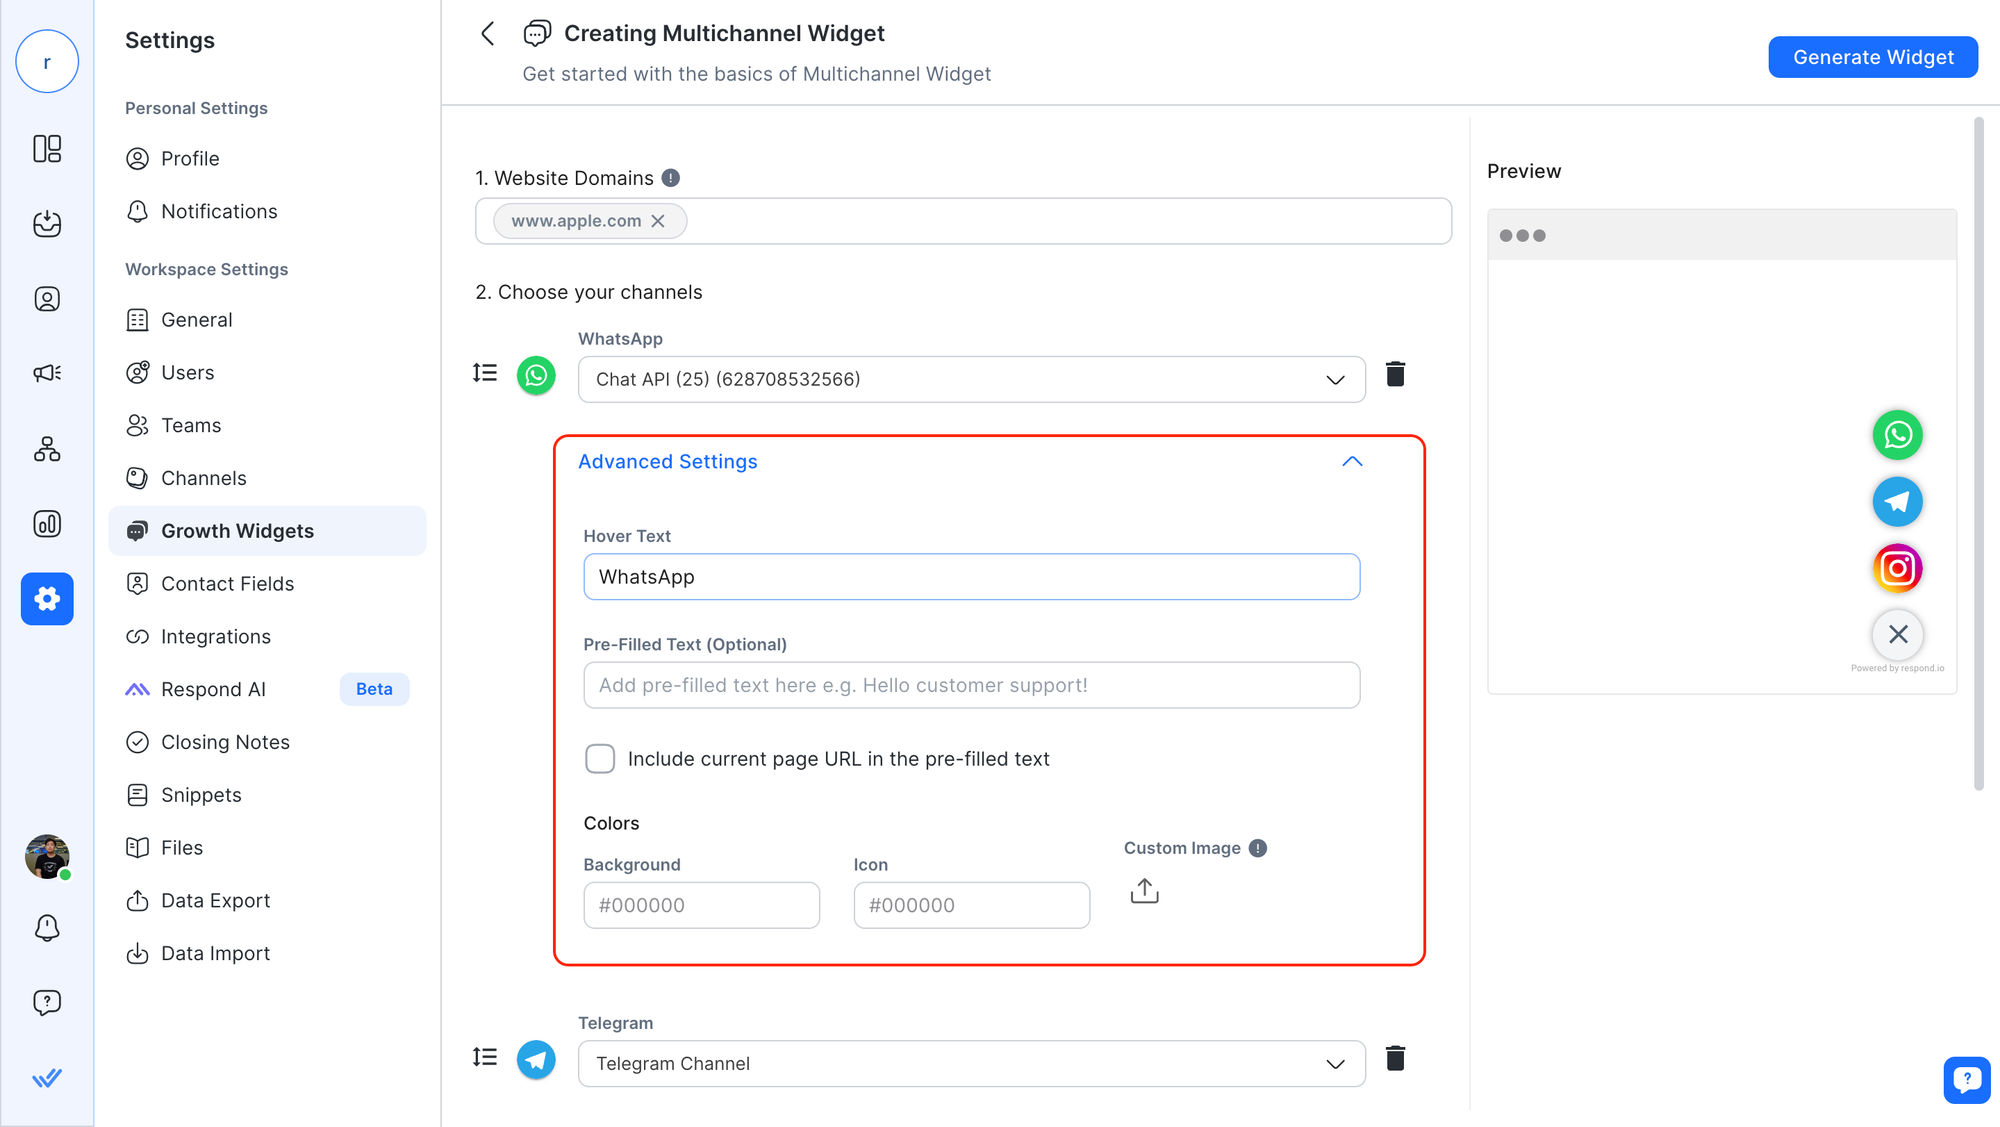
Configure the selected widget according to the required fields.
**Website Domains**
Add website(s) where the Widget will be added in the Website Domains field. Here's how to whitelist websites:
* If the user adds `https://app.is-global.com` , then only `https://app.is-global.com` will be whitelisted. Any other subdomain or root should not work.
* If the user adds `https://*.is-global.com` , then all subdomains including the root domain will be whitelisted.
* If the user adds `https://is-global.com` , then only the root domain will be whitelisted.
**Choose your Channels**
Select the Channel you want to create a widget for from the dropdown list of available Channels.
**Advanced Settings**
You may click the **Advanced Settings** button to further configure the optional fields.
* **Hover Text:** Display when hovering over the widget
* **Pre-filled Text (Optional):** Prefilled text before sending a message
* **Include current page URL:** Check this checkbox to include the current page URL in the pre-filled text
{% hint style="warning" %}
The “include current page URL” feature is only available for WhatsApp, Viber, and email Channels.
{% endhint %}
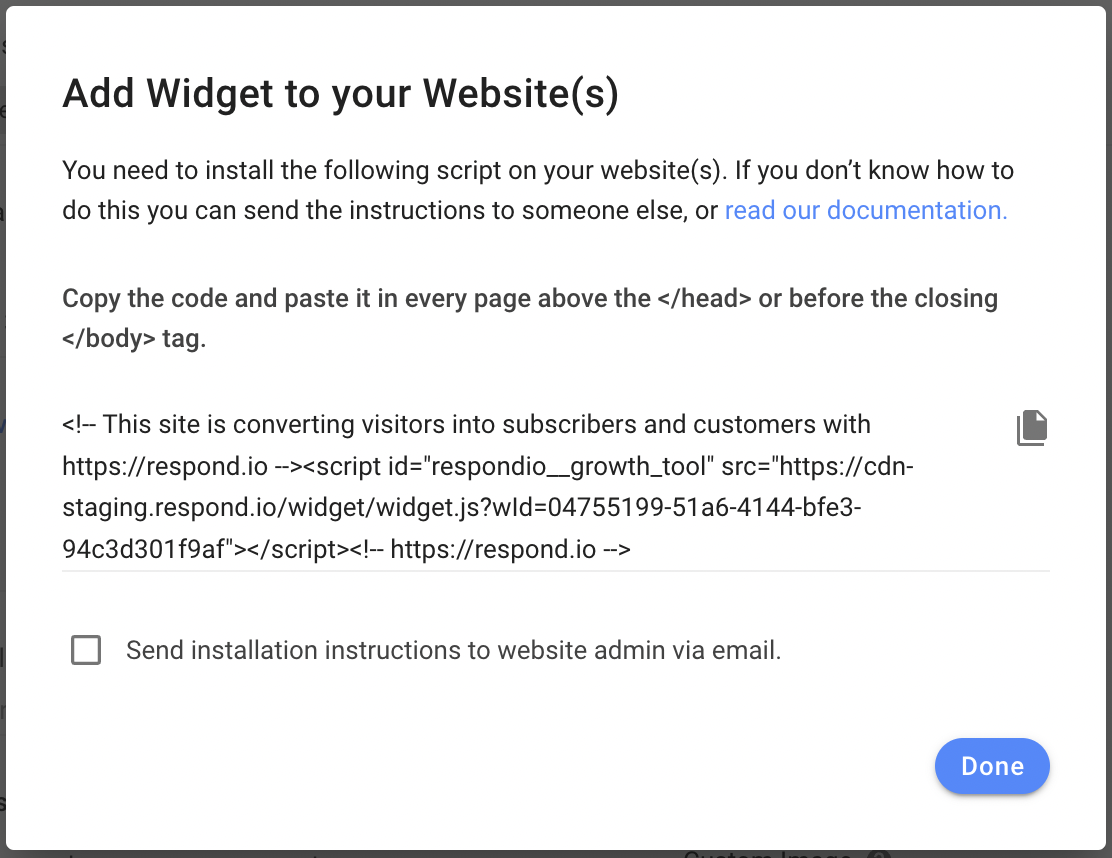
**Install the Script**
Copy the generated script to install it on your website and click the **Done** button. Alternatively, forward the installation instructions via email.
{% hint style="info" %}
Refer [here to learn how to install the script on your website](/ismessenger/messaging-channels/website-chat-widget.md)
{% endhint %}
{% hint style="success" %}
Click the Generate Widget button in the top right corner once done.
{% endhint %}
#### Managing Widgets
Once you have created a widget, you can manage it as below.
**Open the Installation Code**
To see or copy the installation code (script) of the created widget, click the **Installation Code** button and follow the instructions on the screen.
{% hint style="warning" %}
This function is not applicable to the QR Code Generator.
{% endhint %}
**Download the QR Code**
To download the generated QR Code, click the **Scan Code** button, then the **Download** button and select your desired pixel dimensions for your scannable code.
{% hint style="success" %}
This is only applicable to the QR Code Generator, not the other messaging widgets.
{% endhint %}
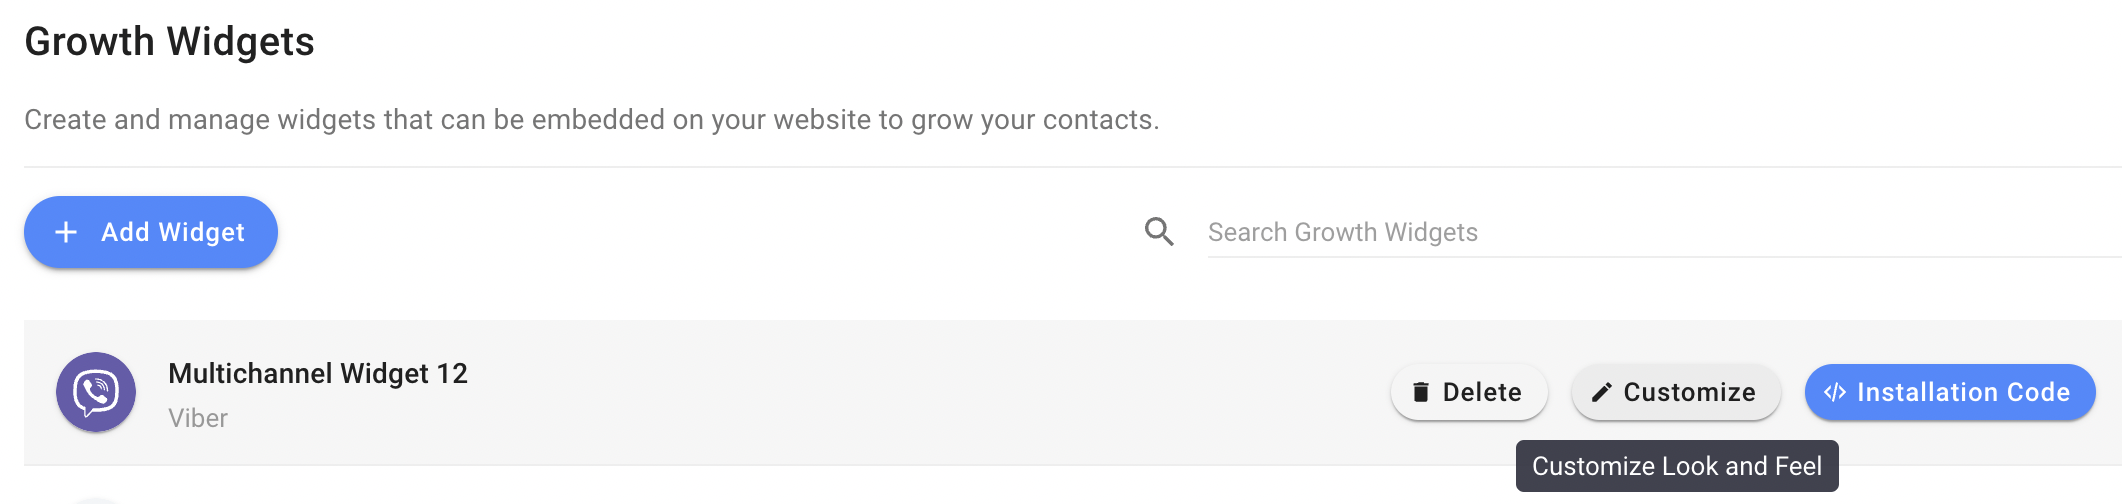
**Customizing the Widget**
To customize existing widgets, click the **Customize** button to open the customization page.
There are 5 sections you can customize depending on the type of widget:
**General**
You may configure the following general settings:
* **Widget Name:** Name used internally to identify the widget
* **Website Domains:** The websites on which the widget is to be installed. If you do not add your website to this list, your widget will not load. You can enter multiple URLs if you plan on installing the widget on multiple websites.
**Channels**
You may customize the following to define the behavior of the widget based on the selected channel:
* **Hover Text:** The hover text is shown in a tooltip when hovering over the widget.
* **Pre-Filled Text:** The pre-filled text is an input suggestion when a Contact starts a conversation.
* **Reference:** The reference will appear when a conversation is opened and allow you to track the source of the contact.
* **Colors:** Choose the channel icon’s background color and icon appearance in the widget.
**Display & Appearance**
You may customize the following to change the display appearance of the widget on your website:
* **Popup Message:** The popup message is shown to website visitors once per day 5 seconds after the page loads. If it is not defined, no popup message will appear.
* **Widget Size:** Choose from the Large, Standard or Small widget size.
* **Display Options:** Choose to display this widget on desktop, mobile devices or both.
**Position**
You may change the position of the widget on your website based on the following settings:
* **Alignment:** Specify if you would like to display the widget on the bottom left or right of the website.
* **Vertical Spacing:** Specify the amount of vertical spacing between the widget and the bottom of the screen.
* **Horizontal Spacing:** Specify the amount of horizontal spacing between the widget and the edge of the screen.
**Additional Settings**
Additional customization for widgets:
* **Hide IS-Messenger Branding:** Remove the IS-Messenger branding from your widget.
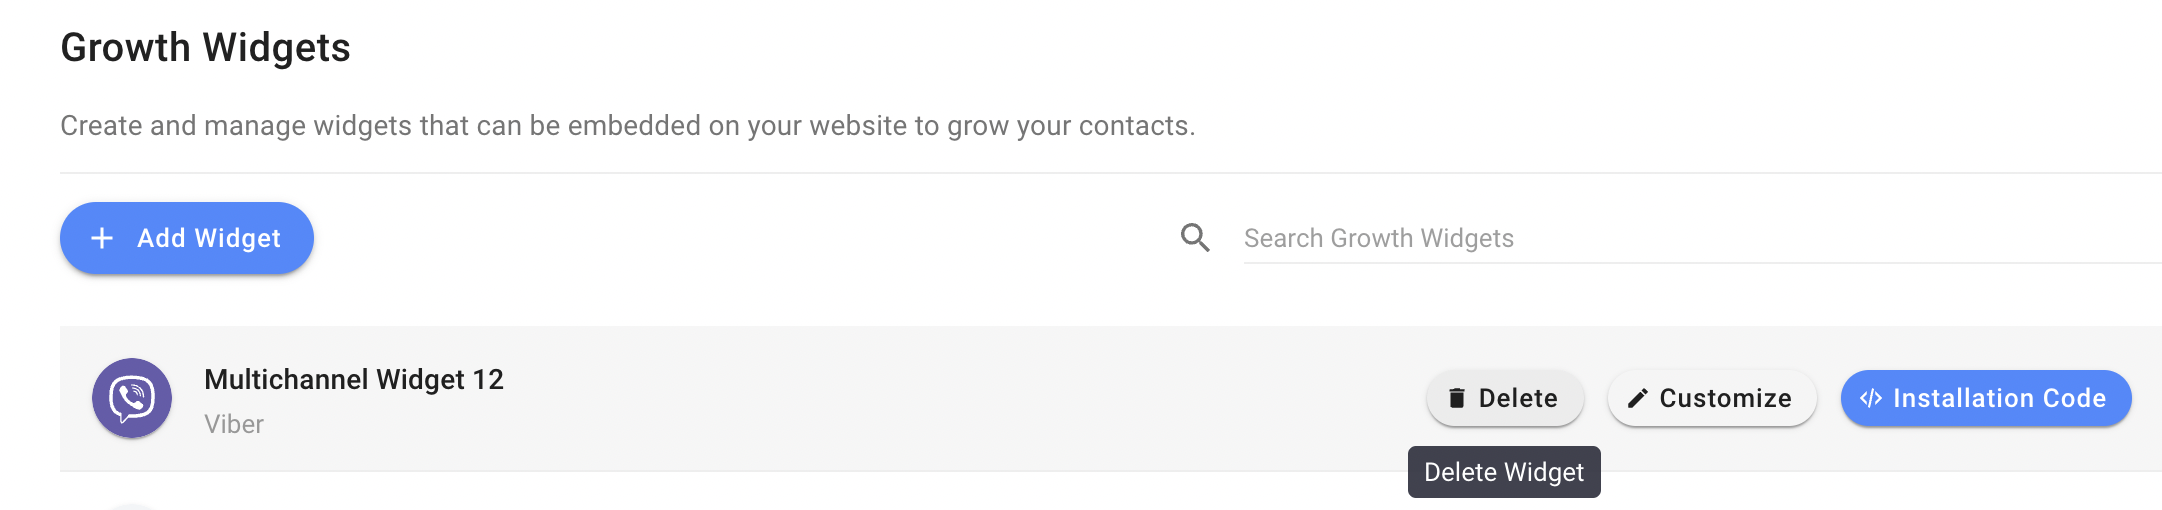
#### Deleting a Widget
To delete an existing widget, click the **Delete** button and follow the instructions on the screen. Doing so will completely remove the widget from your Workspace.
{% hint style="warning" %}
Be careful when deleting a widget from your Workspace. When a widget is deleted, all its configurations will be deleted. Deletion cannot be undone.
{% endhint %}
---
# Agent Instructions: Querying This Documentation
If you need additional information that is not directly available in this page, you can query the documentation dynamically by asking a question.
Perform an HTTP GET request on the current page URL with the `ask` query parameter:
```
GET https://docs.is-messenger.com/ismessenger/workspace-setting/growth-widgets/workspace-settings-growth-widgets.md?ask=
```
The question should be specific, self-contained, and written in natural language.
The response will contain a direct answer to the question and relevant excerpts and sources from the documentation.
Use this mechanism when the answer is not explicitly present in the current page, you need clarification or additional context, or you want to retrieve related documentation sections.