# LINE Quick Start
{% hint style="info" %}
To connect LINE, a LINE Official Account is required. Read our [guide](/ismessenger/messaging-channels/line/line-quick-start.md) to create a LINE Official Account.
{% endhint %}
LINE is a popular messaging app in Asia, with over 800 million users. This LINE Official Account integration lets you respond to messages directly from our platform.
{% hint style="warning" %}
**Limitation**: LINE desktop app doesn't support Quick Replies
{% endhint %}
{% hint style="info" %}
If you do not have a LINE Official account, proceed with [Creating the LINE Official Account](https://help.respond.io/channels/line#creating_the_line_official_account).\
If you have a LINE Official account, proceed with [Configuring the LINE Official Account](https://help.respond.io/channels/line#configuring_the_line_official_account).
{% endhint %}
### Creating the LINE Official Account
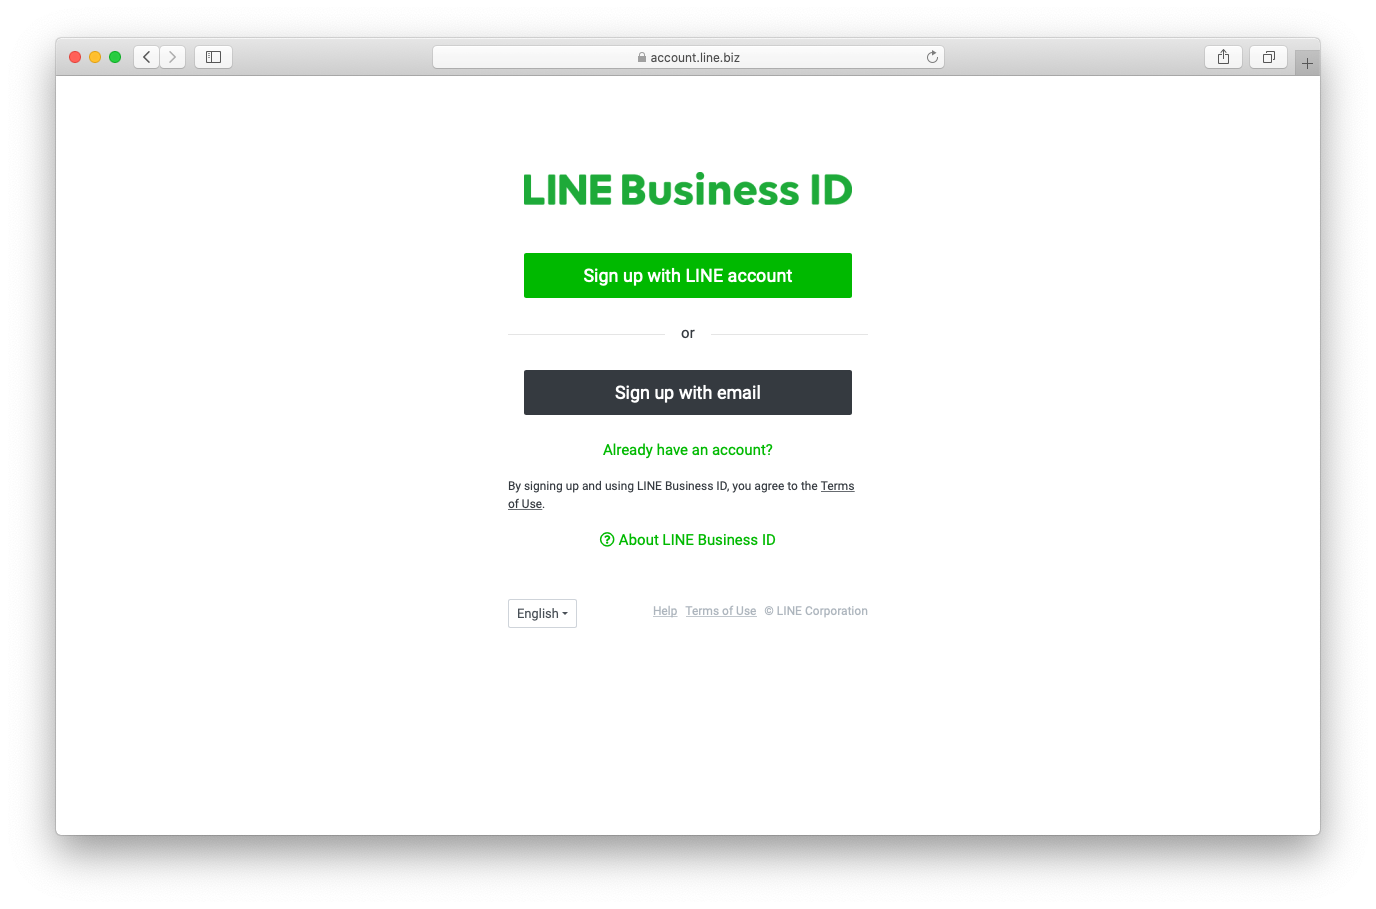
**Step 1**: Go to [this page](https://manager.line.biz/) and sign up for a LINE Official account
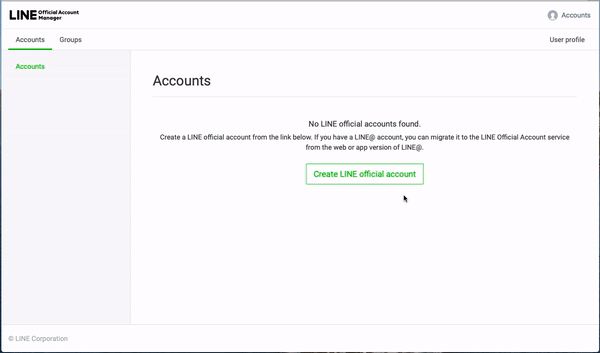
**Step 2**: Click **Create LINE official account** and fill up the required information.
#### Configuring the LINE Official Account
Once you have your LINE Official Account ready, you may start configuring LINE Official Account.
**Step 1**: Sign in to the [LINE Official Accounts Platform](https://manager.line.biz/account) using your LINE account credentials.
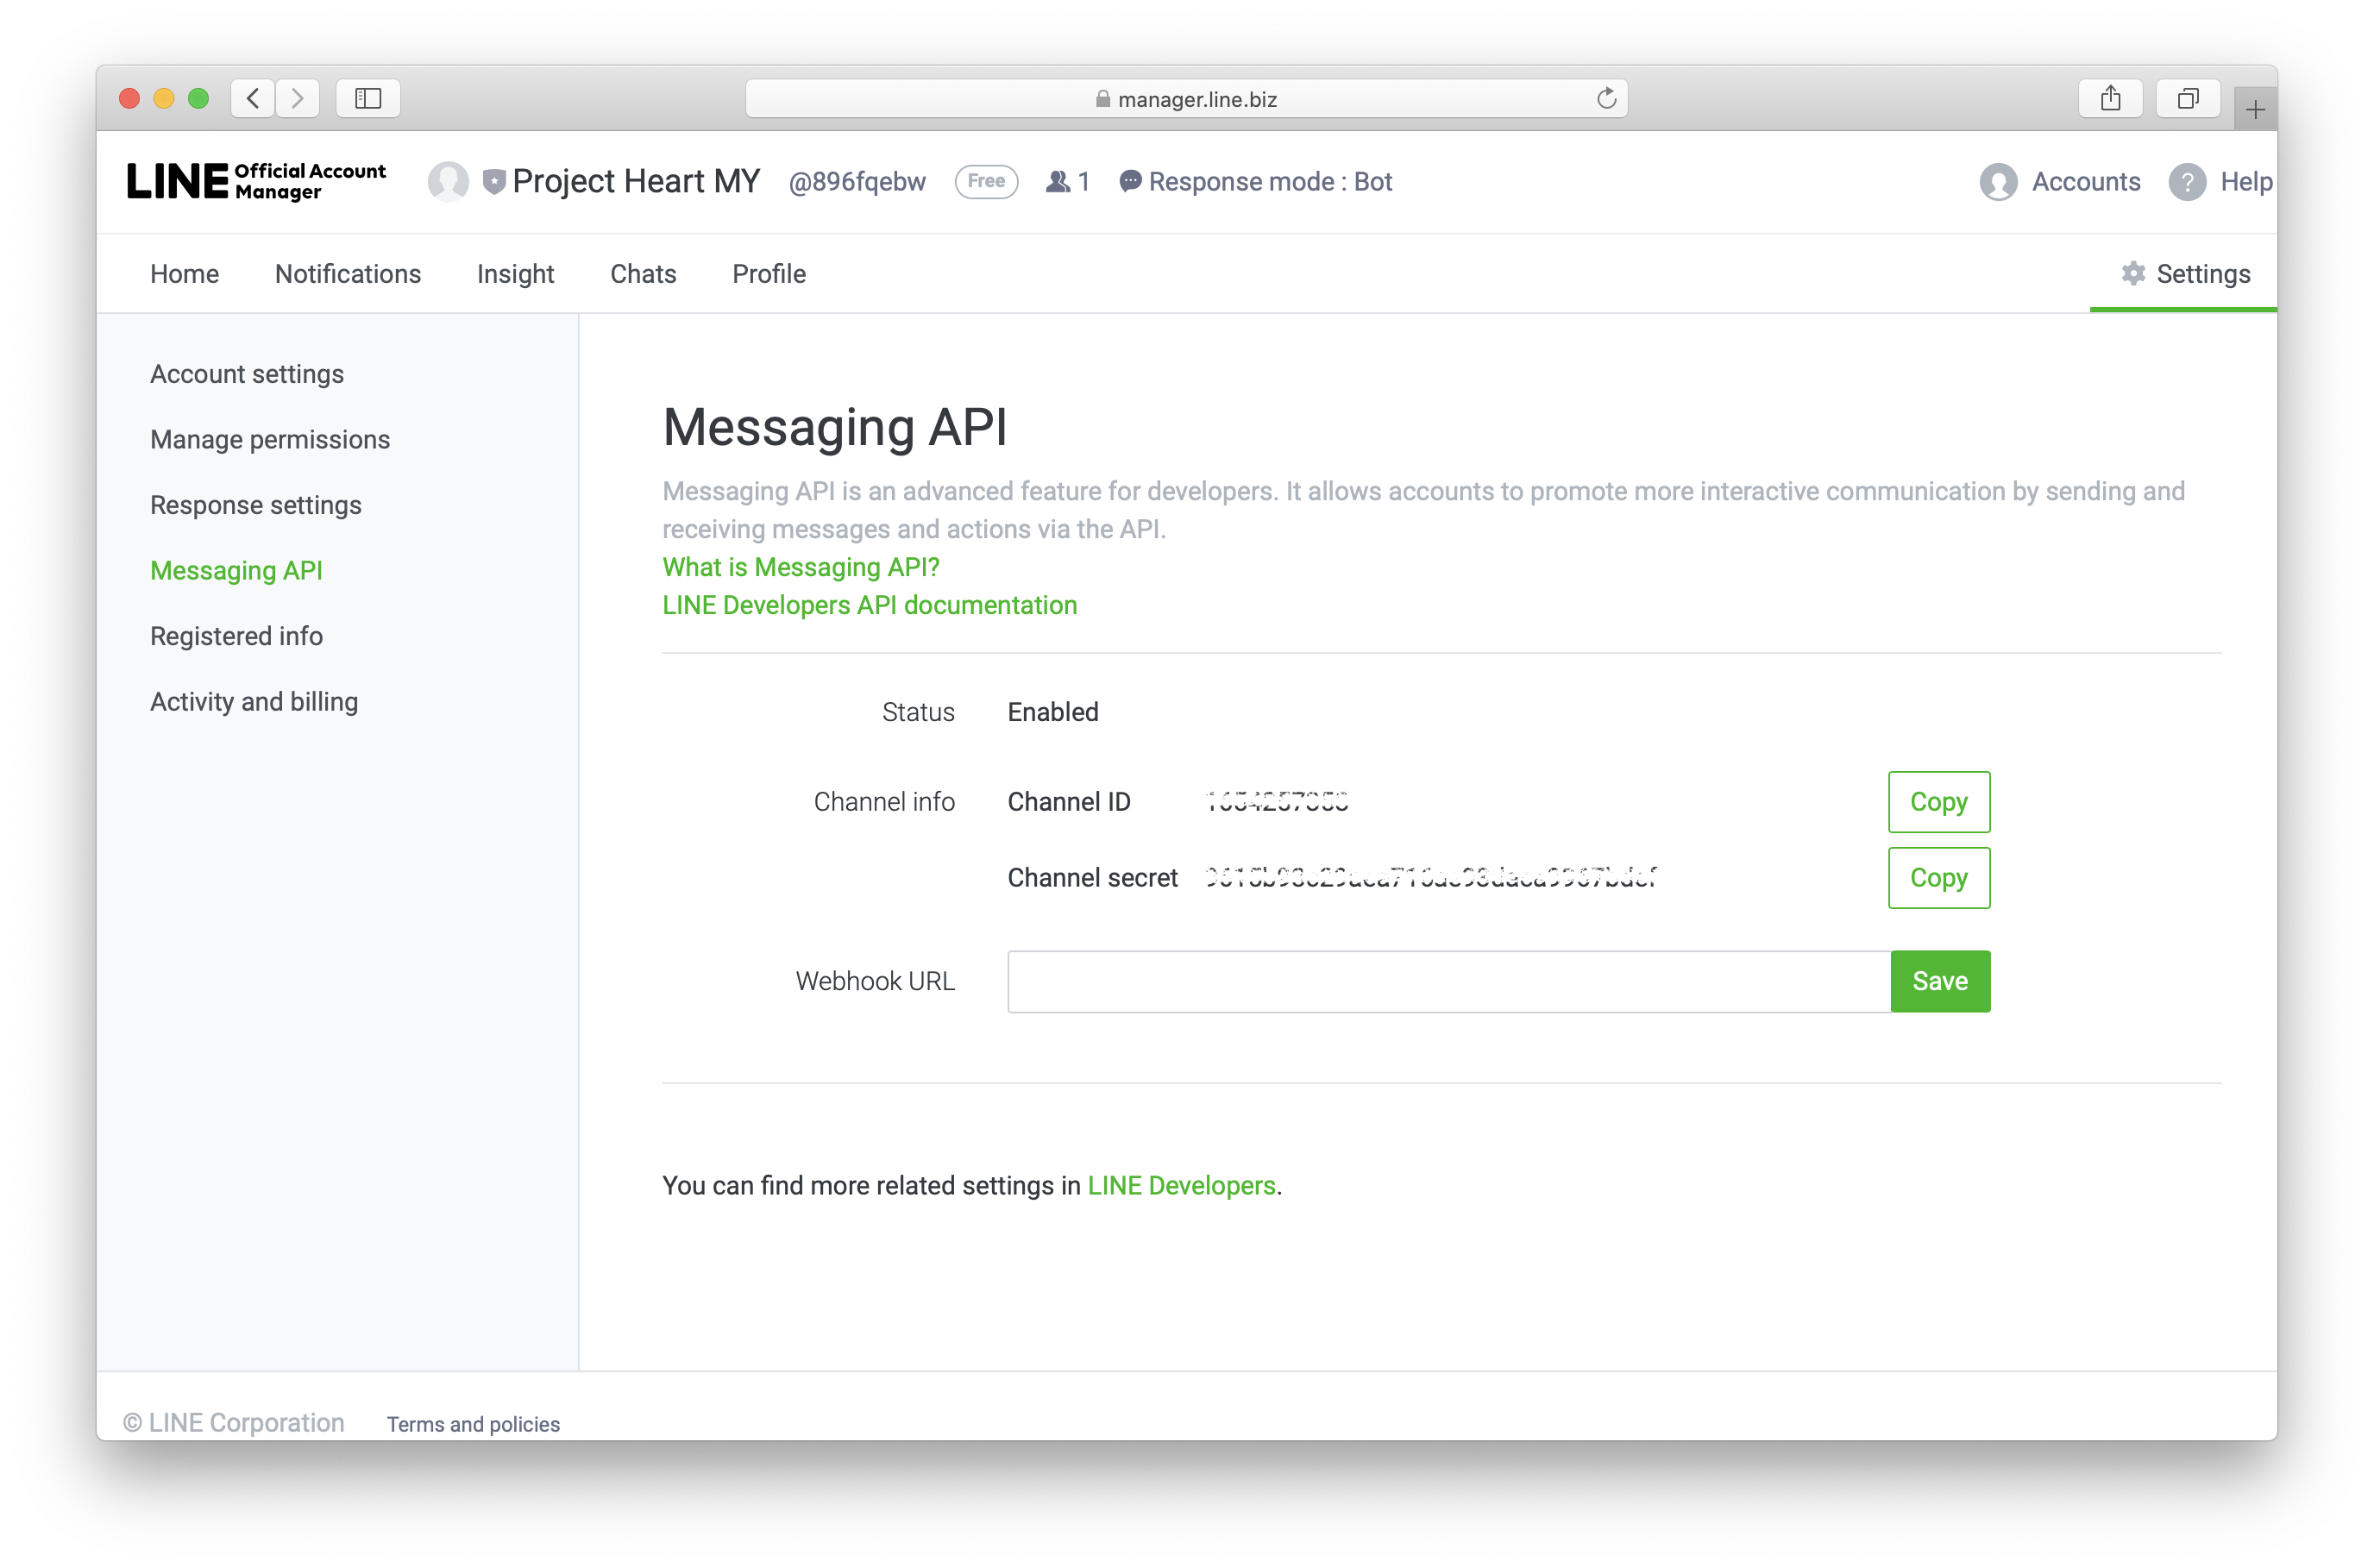
**Step 2**: Go to **Settings** > Select **Messaging API** from the side navigation menu > Click **Enable Messaging API**.
**Step 3:** Use your LINE account to link or register a Developer account.
**Step 4:** Enter a Provider name or select an existing Provider.
**Step 5:** Add the link to your business's Privacy Policy and Terms of Use. This is optional, so you can skip it if you don't have this information.
**Step 6:** Click **OK** to save changes. You will need the Channel info to connect your LINE Official accounts to the IS-Messenger platform.
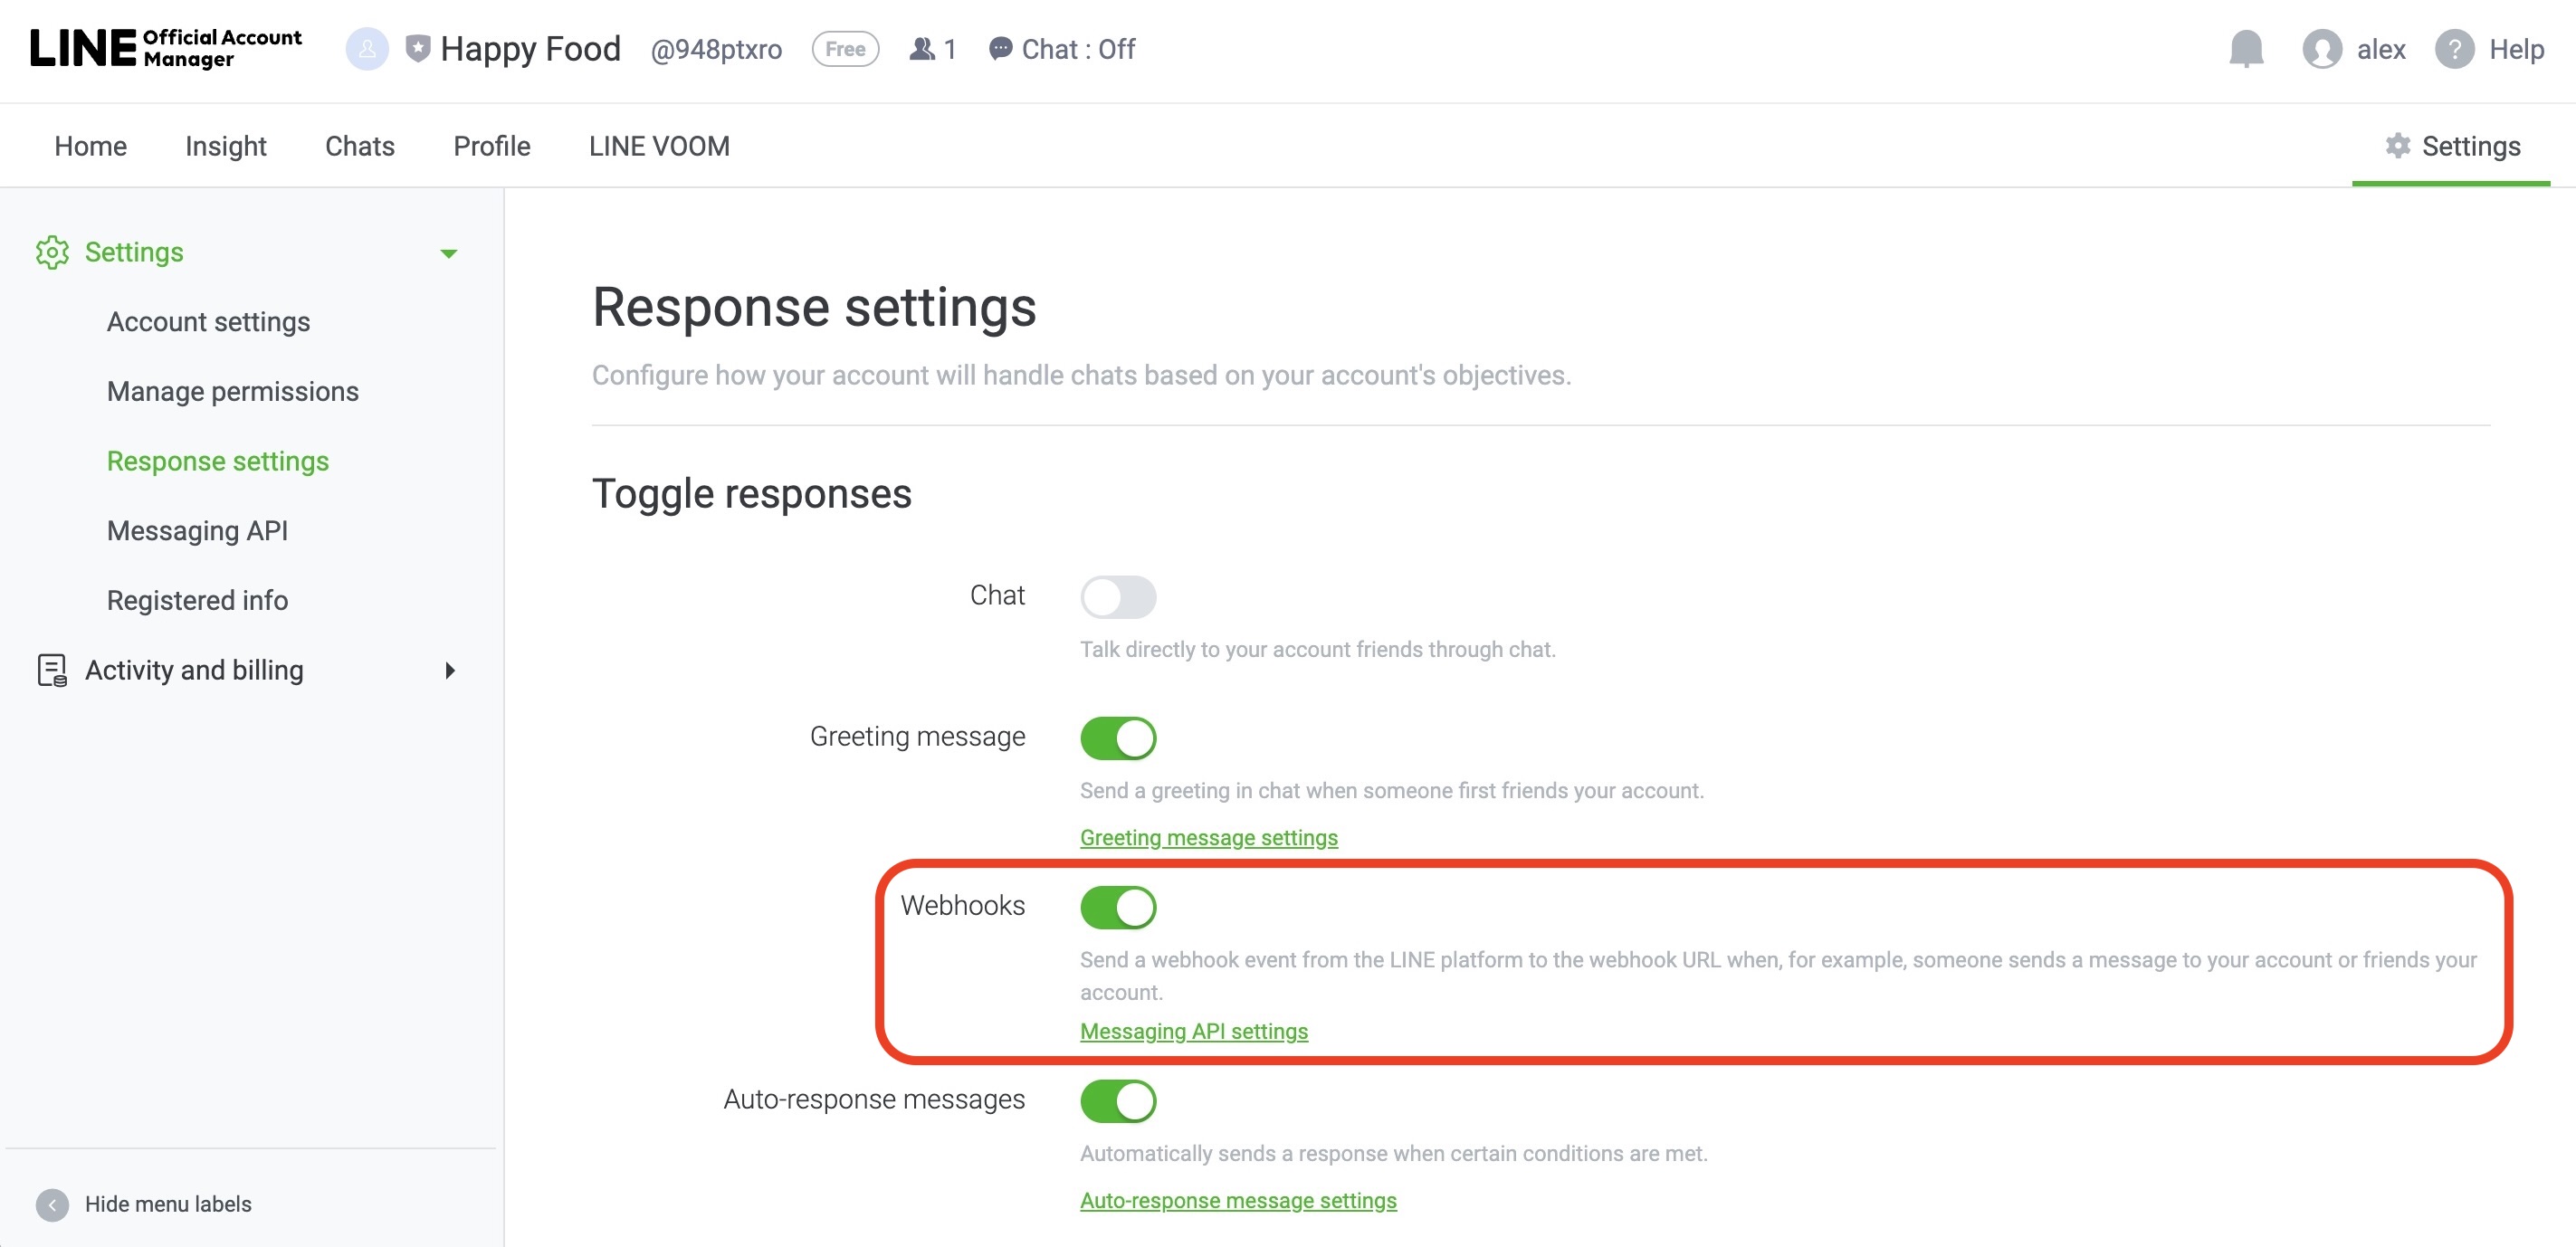
**Step 7**: Navigate to Response Settings > enable **Webhooks**. Once you have configured your LINE Official account, you are ready to connect your LINE Official account to the IS-Messenger platform.
### Connecting the LINE Official Account
{% hint style="warning" %}
Before you move to this step, ensure you've made and set up a LINE Official account.
{% endhint %}
In order to connect to a LINE Official account, you will need the following:
* LINE Channel ID
* LINE Channel Secret
* LINE Channel Access
* Webhook URL provided by IS-Messenger platform
**Step 1:** Go to **Settings > Channels**
**Step 2:** Click **Add Channel > LINE > Connect**
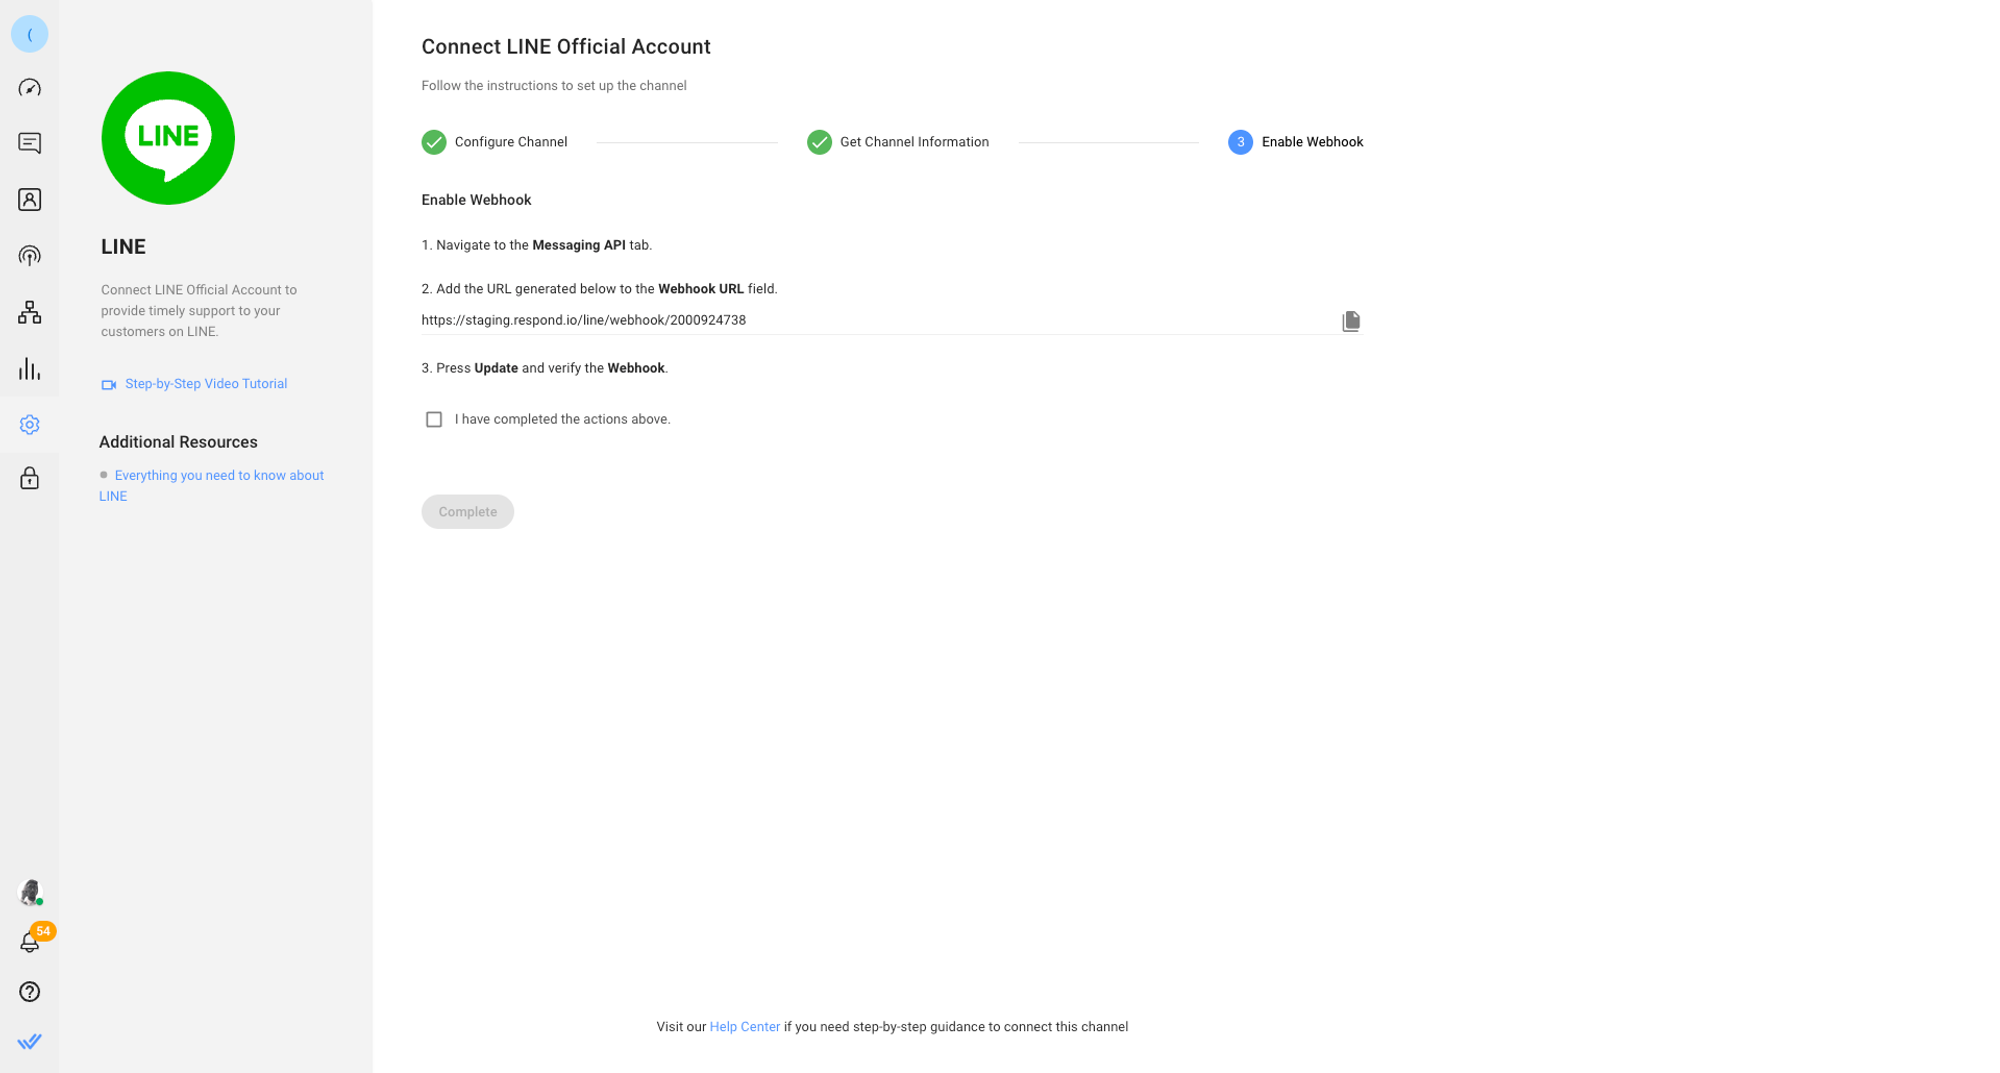
**Step 3**: Follow the instructions under **Configure Channel** > Tick the checkbox and click **Next**
**Step 4**: Follow the instructions under **Get Channel Information** > **Next**
**Step 5**: Under **Enable Webhooks**, set **Webhook URL** on the IS-Messenger platform. Add the URL to LINE Official Accounts Platform and save it.
**Step 6:** Click **Save Changes** to complete the setup.
{% hint style="success" %}
Once you've completed the setup, any messages sent to your LINE Official Account will now be received in your Workspace.
{% endhint %}
{% hint style="info" %}
Once the Channel is connected, [scan the QR code](https://help.respond.io/l/en/line/line#channel_configuration) to send a test message and make sure everything is working properly.
{% endhint %}
### Channel Configuration
{% hint style="info" %}
LINE channel can be configured with a unique channel name.
{% endhint %}
**Step 1:** Click **Settings** > **Channels**
**Step 2:** Locate the LINE Channel > click **Manage**
**Step 3:** In the **LINE Configuration page** you will see the following configurations:
* **Chat Link** - A click-to-chat link is a shortened URL that directs customers to start or continue a conversation with your LINE account. You can share this link to refer customers to a new or existing thread, based on whether the user has previously messaged your LINE account. You can also generate a QR code to share the chat link to your Contacts.
* **Channel Name** - The Channel Name can be changed and is used internally to identify the Channel.
* **Channel Secret** - Channel access tokens as a means of authentication for Channels.
**Step 4**: Click **Save Changes** to update the Channel configuration
{% hint style="warning" %}
Ensure the details are correct for messages to be received successfully in your LINE account.
{% endhint %}
{% hint style="warning" %}
For the other details, take extra note while updating as it might fail to receive messages from your LINE Official Account.
{% endhint %}
### Messaging Limits
To ensure a smooth experience for all users, LINE has certain messaging limits. These limits are in place to prevent spam and misuse of the platform.
The free plan allows you to send 500 to 1,000 messages per month depending on your region. There are a few ways to send additional messages above your plan's limit.
**If you are currently on a free plan, you can:**
* [Upgrade your plan](https://help2.line.me/official_account/android/pc?lang=en\&contentId=20014000) to send more messages.
**If you are already on a subscription plan, you can:**
* [Change your additional message limit](https://help2.line.me/official_account/android/pc?lang=en\&contentId=20013992). This will incur additional fees for every message sent.
* Upgrade to a higher tier subscription plan.
{% hint style="warning" %}
Ensure your plan suits your messaging needs to prevent [hitting your monthly limit](/ismessenger/messaging-channels/line/line-quick-start.md).
{% endhint %}
### Broadcast Capabilities
{% hint style="info" %}
Learn more about [how to send a broadcast here](/ismessenger/modules/broadcast/broadcast.md).
{% endhint %}
LINE has no restrictions on broadcast message content; however, under the free plan, businesses are limited to sending 500 messages per month.
Broadcast messages that exceed the monthly limit will fail to send.
{% hint style="info" %}
Learn how to [deal with failed broadcast messages here](/ismessenger/modules/broadcast/broadcast.md).
{% endhint %}
### FAQ and Troubleshooting
**Can I connect to a personal LINE account?**
To connect a LINE Channel, a LINE Official Account is required. You can create a LINE Official Account [here](https://manager.line.biz/).
**How much does a Line Official account cost?**
LINE Official Accounts are free to create. However, the Free plan has a messaging limit of 500 or 1,000 messages depending on the region. LINE provides two additional paid plans, Light and Standard. You can learn more about the plans [here](https://respond.io/blog/line-business#toc-mobile-5).
**Can I customize my Line ID?**
You can purchase a Premium ID for $12.00 (Yearly).
**Can I start a conversation with a LINE Contact?**
LINE rules say contacts must message you first before you can message them back. You can share your QR code or [line.me](http://line.me/) link with your Audience.
However, if a user has subscribed to your LINE official account and did not message you first, a "Conversation opened by Contact" message will be triggered on the IS-Messenger platform. This allows you to start a conversation with the Contact.
**Do you support LINE stickers?**
You can now receive stickers on LINE. However, sending stickers is not supported for now. You can upvote our feature request [here](https://roadmap.respond.io/feature-request/p/support-stickers-eg-line-whatsapp-etc).
**Do you support LINE flex message?**
You can use a flex message in a DialogFlow custom payload response, but it won't appear on the platform. You can support our feature request by upvoting it [here](https://respond.canny.io/feature-request/p/line-flex-message).
**How can I create a QR Code for my LINE account?**
You can access this through the LINE Configuration page:
1. Click **Settings** > **Channels**
2. Locate the LINE Channel > click **Manage**
3. In the **LINE Configuration page**, click **Generate QR Code**
4. Click **Download** and select the size of the QR code you want to save.
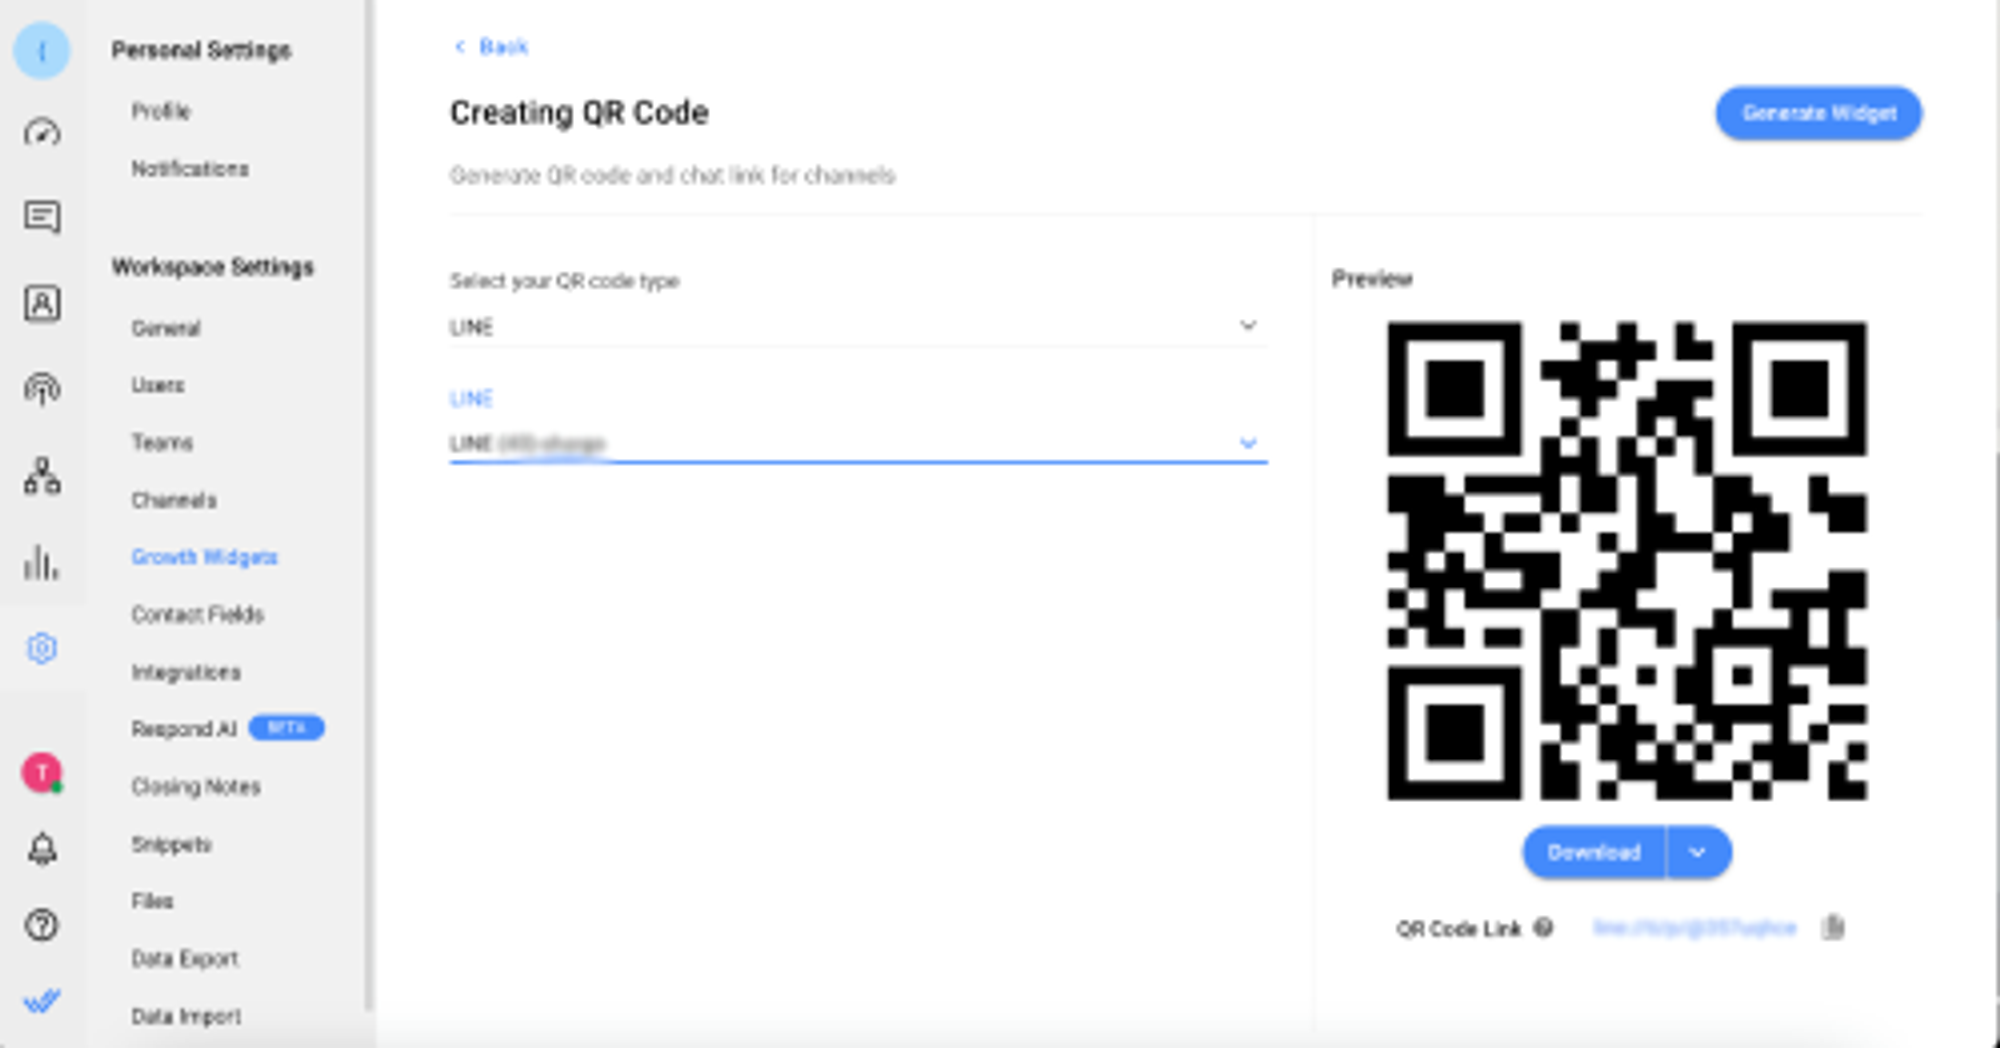
Alternatively, you can access the QR code through the Settings page:
1. On the IS-Messenger platform, click **Settings** > **Growth Widgets** > **Add Widget**
2. Select **QR Code** option > click **Create Widget**
3. Select LINE as the QR code type > Select the connected LINE Channel that you want to create the QR code for.
4. Click **Download** and select the size of the QR code you want to save.
**How can I get a chat link for my LINE account?**
{% hint style="warning" %}
You need to have the app installed on your mobile device or desktop to use the generated link.
{% endhint %}
1. In your Workspace, go to **Settings** > **Channels** > **Manage** > Select your connected LINE Channel > **Configure**
2. Copy the Chat Link shown
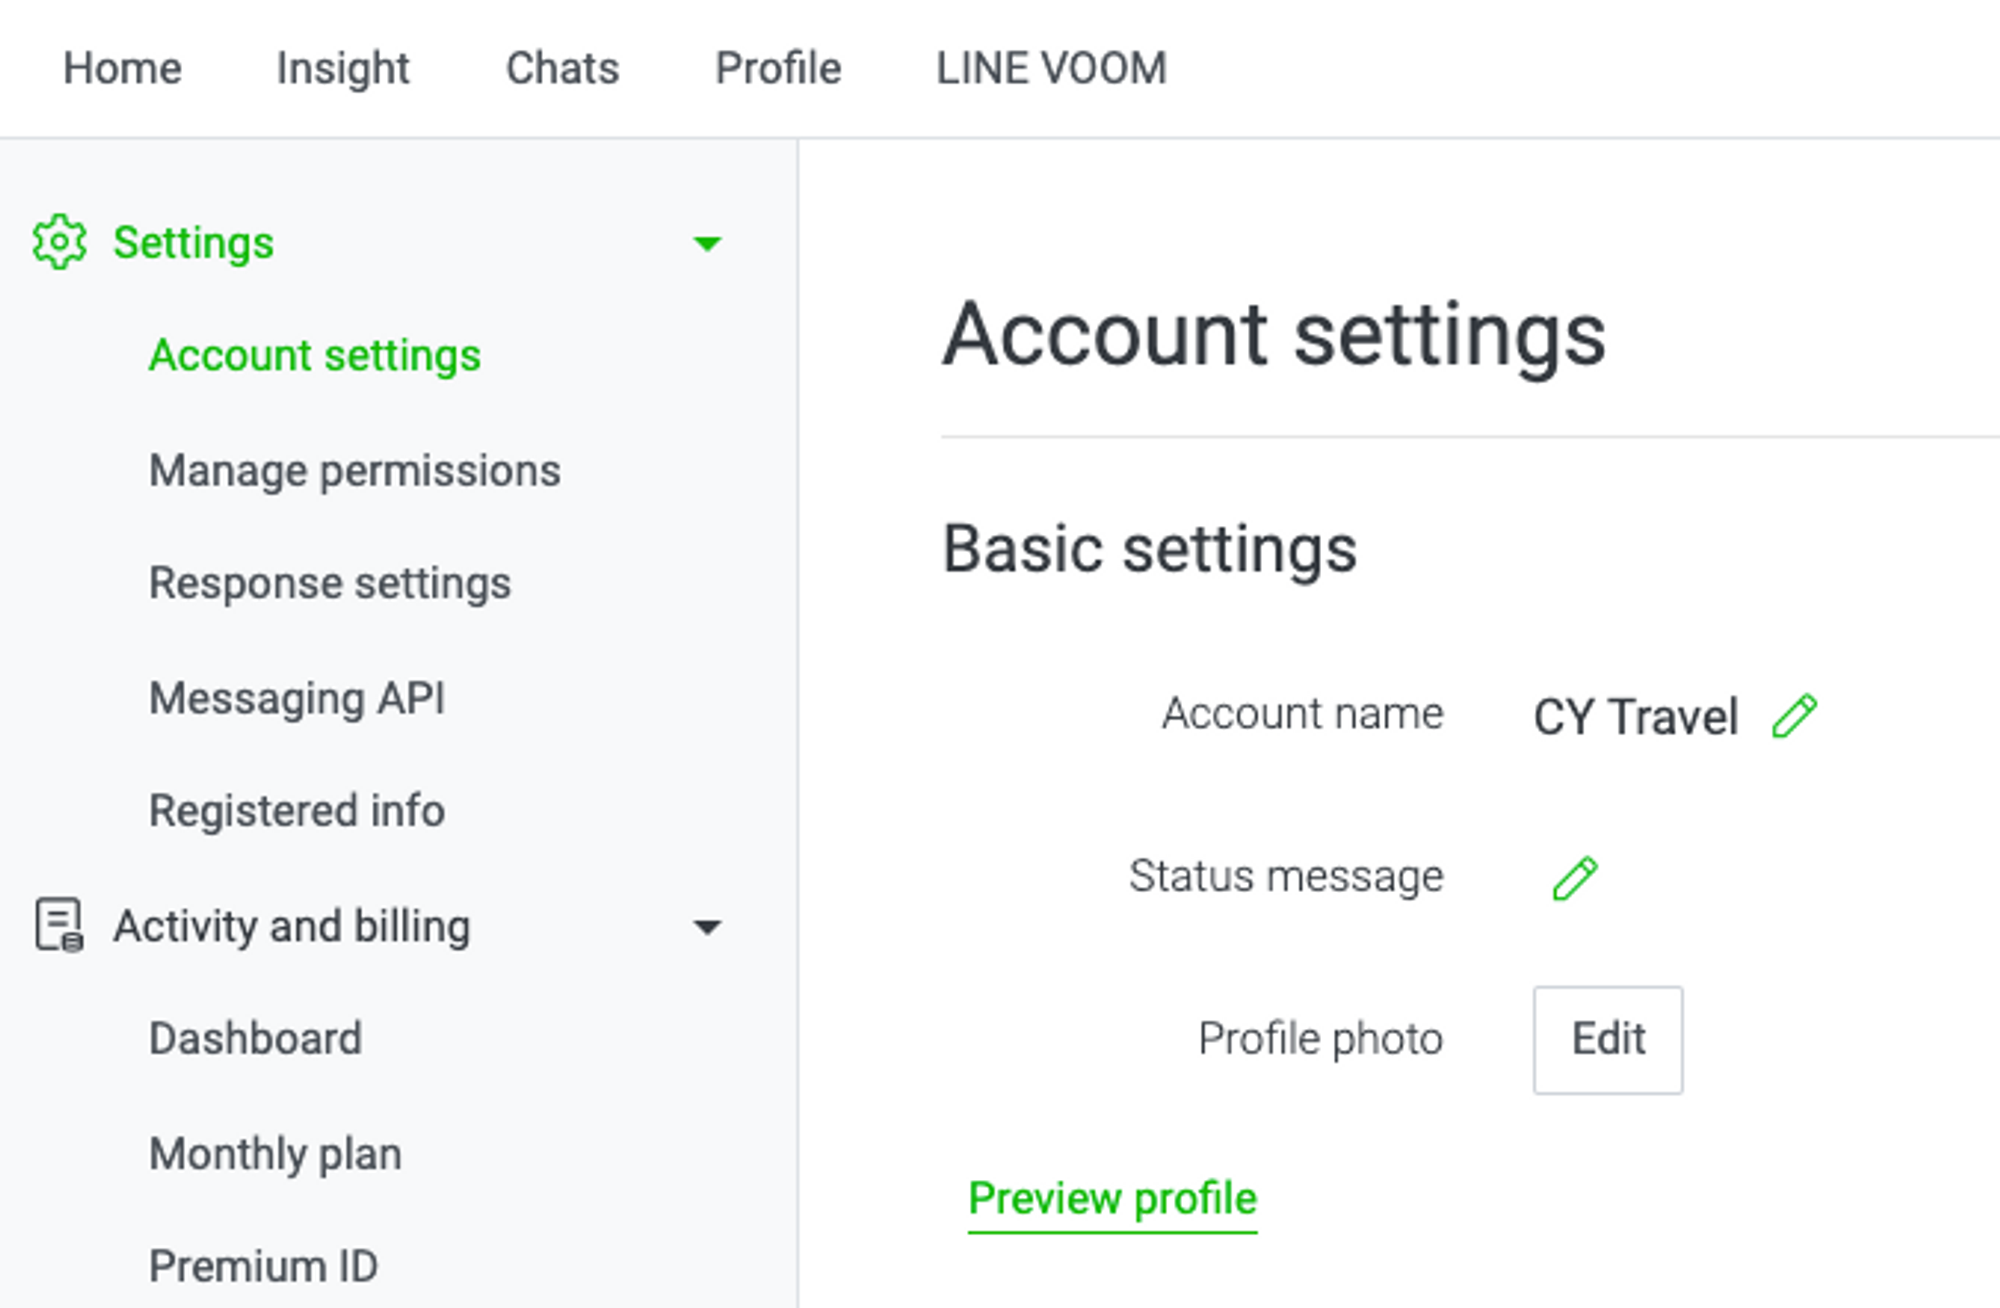
**How do I change my LINE profile photo?**
1. Log in to the [LINE Official Accounts Platform](https://manager.line.biz/account) > Go to **Settings** > **Account settings** > Click **Edit** next to **Profile photo**.
1. Upload your new profile photo > click Save > Click Save again to confirm your action.
**How do I change my LINE status message?**
1. Log in to the [LINE Official Accounts Platform](https://manager.line.biz/account) > Go to **Settings** > **Account settings** > Click the icon next to **Status message**.
2. Edit your status message and click **Save**.
**What should I do if I encounter the error message *****You have reached your monthly limit?***
If you encounter this error message, it means that you have reached the [limits](https://help.respond.io/channels/line#messaging_limits) of free broadcasts or messages that can be sent within a month according to your LINE Official Account plan. If you are on the free plan, follow these [steps to upgrade your plan](https://help2.line.me/official_account/android/pc?lang=en\&contentId=20014000) and increase your message limit. If you are already on a subscription plan, you can [increase your messaging limits](https://help2.line.me/official_account/android/pc?lang=en\&contentId=20013992) in the LINE Official Account Manager.
---
# Agent Instructions: Querying This Documentation
If you need additional information that is not directly available in this page, you can query the documentation dynamically by asking a question.
Perform an HTTP GET request on the current page URL with the `ask` query parameter:
```
GET https://docs.is-messenger.com/ismessenger/messaging-channels/line/line-quick-start.md?ask=
```
The question should be specific, self-contained, and written in natural language.
The response will contain a direct answer to the question and relevant excerpts and sources from the documentation.
Use this mechanism when the answer is not explicitly present in the current page, you need clarification or additional context, or you want to retrieve related documentation sections.