# How to Use Dynamic Variables
### Messaging Console
You can include a dynamic variable in your message while responding to a contact. There are two ways to use dynamic variables:
1. By typing the dollar sign "$"
1. By clicking on the variable Icon at the bottom of the Messages Module
Besides contact fields, you can also include a custom field by typing the custom field's name.
###
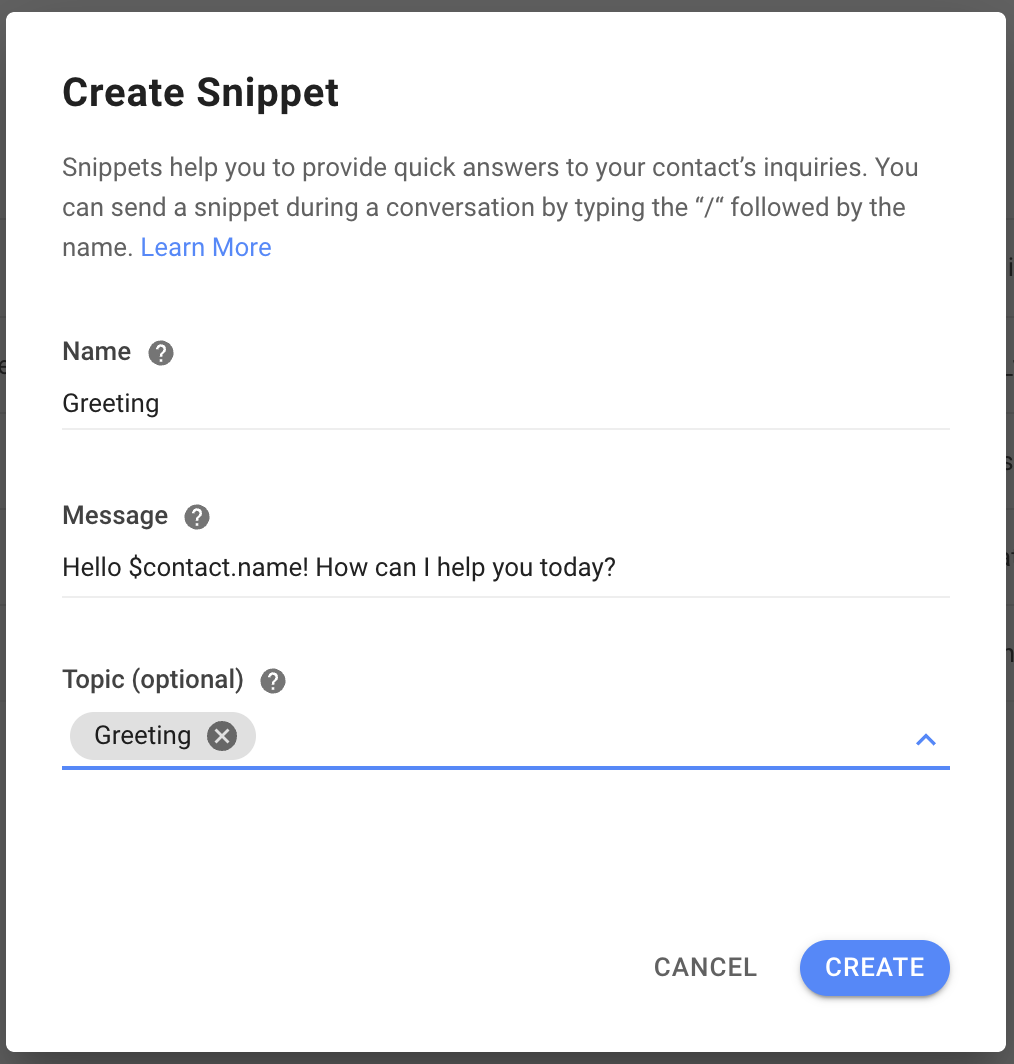
### Snippets
While composing a snippet's content, you can include a dynamic variable to personalize your quick replies.
{% hint style="info" %}
**Tip:** You can have multiple dynamic variables in a single piece of content. Make use of them while composing your messages.
{% endhint %}
{% hint style="warning" %}
**Important:** If the field you are trying to send is empty or the field does not exist at all, the string will not be replaced.
{% endhint %}
### Workflows
Besides trigger variables that are tied to a specific trigger, there are also other variables that can be created and used in the Workflows.
1. Save responses from the Contact as variables in the Ask a Question step.
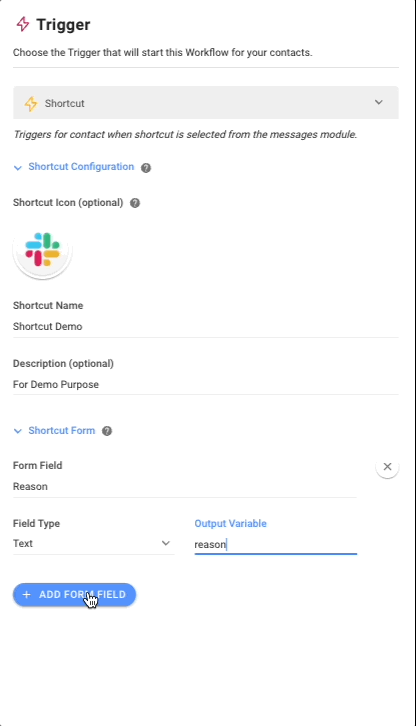
2. It is also possible to create output variables by adding Form Field in a [Shortcut Form](#workflows). The values of the variables are defined and provided by the User who initiated the Shortcut and filled out the Shortcut form.
3. Then, use the dynamic variables saved in Workflow steps.
**Workflow Steps that support dynamic variables**
| Send Message | Text |
| --------------------- | ----------------------- |
| Send Message | WhatsApp Template |
| Send Message | Facebook Tagged Message |
| Ask a Question | Question Text Field |
| Branch | Contact Field Condition |
| Branch | Variable Condition |
| Update Contact Field | - |
| Add Comment | - |
| Close Conversation | Summary |
| HTTP Request | - |
| Add Google Sheets Row | - |
{% hint style="info" %}
When verifying HTTP request outputs with dynamic variables, please note that variables without a value will result in a return of `null` or `undefined`.
{% endhint %}
### Dialogflow
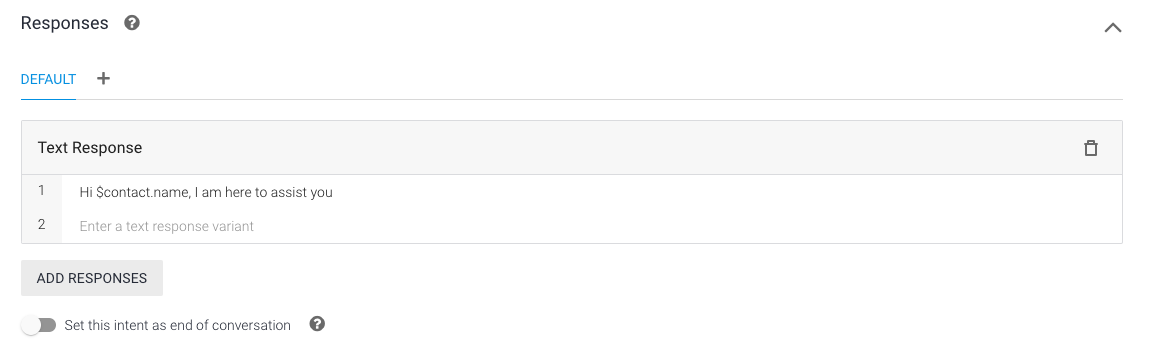
You can also include dynamic variables in Dialogflow for the [responses](#dialogflow) and values of [parameters](/ismessenger/workspace-setting/integrations/dialogflow.md). To use dynamic variable in Dialogflow, type `$dynamic.variable`.
**Example of usage of dynamic variables in value of parameter:**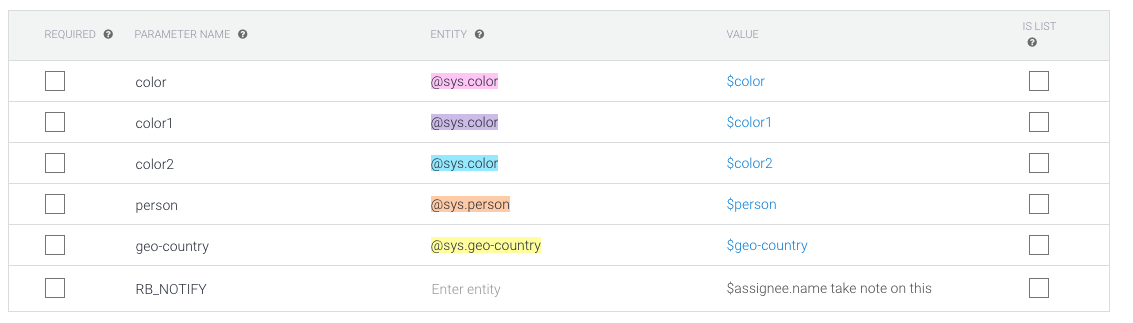
**Example of usage of dynamic variables in responses:**
---
# Agent Instructions: Querying This Documentation
If you need additional information that is not directly available in this page, you can query the documentation dynamically by asking a question.
Perform an HTTP GET request on the current page URL with the `ask` query parameter:
```
GET https://docs.is-messenger.com/ismessenger/contact-and-messages/untitled/how-to-use-dynamic-variables.md?ask=
```
The question should be specific, self-contained, and written in natural language.
The response will contain a direct answer to the question and relevant excerpts and sources from the documentation.
Use this mechanism when the answer is not explicitly present in the current page, you need clarification or additional context, or you want to retrieve related documentation sections.