# Viber Overview
Viber is a cross-platform instant messaging and voice-over IP application operated by the Japanese multinational company Rakuten. As of December 2018, it has over a billion users, with its popularity stemming mainly from Europe and Asia.
Learn how to [connect your Viber chatbot to IS-Messenger](/ismessenger/messaging-channels/viber/viber-overview.md). Once connected, this Viber chatbot integration lets you respond to messages directly from our platform.
### Pricing
You can create a Viber chatbot for free. However, Viber has introduced a [notification-based pricing model](/ismessenger/messaging-channels/viber.md) that charges businesses when sending chatbot-initiated messages beyond the free limit. Learn more about this model in the following section.
### Understanding Messaging on Viber
### **Chatbot-session messages**
Viber requires Contacts to send your business the first message to start a conversation. Once a Contact initiates a conversation, this is known as a chatbot-session message.
The session starts when the Contact sends your business the first message and lasts for 24 hours. All messages sent within the 24-hour session window are free.
After the 24-hour session window closes, you can open a new session with chatbot-Initiated messages to continue the conversation with the Contact.
### **Chatbot-initiated messages**
A chatbot-initiated message is when a chatbot owner (business) sends a message to the Contact without an active session between them. These messages will typically (but are not restricted to) promote interactions between Contact and business.
The session starts when the Contact replies to a chatbot-initiated message and lasts for 24 hours. All messages sent within the 24-hour session window are free.
After the 24-hour session window closes, you can start a new chatbot-Initiated message session if you want to continue the conversation with the Contact. Otherwise, you can wait for the Contact to send you a new message to initiate a chatbot-session message.
### **Monthly free limit**
You can send up to 10,000 free chatbot-initiated messages per month.
### **Beyond the monthly free limit**
Once you've exceeded the monthly free limit of 10,000 chatbot-initiated messages, you will see a red exclamation mark next to the undelivered message along with an error message on the platform.
To send more than 10,000 chatbot-initiated messages in a month, your business will need to agree to the [Viber Chatbot Commercial Terms](/ismessenger/messaging-channels/viber.md) and pay per message.
Under the terms, your business must pay a deposit and messaging charges will be deducted from that. The cost per message [varies by destination country](/ismessenger/messaging-channels/viber.md).
To reduce charges, consider the following options:\
\- Set up methods to [capture customer conversations](/ismessenger/messaging-channels/viber/viber-overview.md).\
\- Set up additional chatbots, one for each operating region within a country or for each store, and connect all the chatbots to our platform.
#### Capturing Conversation
There are a couple of ways to encourage customers to initiate a chat:
* [Chat links](/ismessenger/messaging-channels/viber/viber-overview.md): This is a [deep link](/ismessenger/messaging-channels/viber/viber-overview.md) with the URI of your chatbot that you can add to your website or in newsletters. When customers click on the link, they will be directed to start a chat with your Viber chatbot.
* [QR codes](/ismessenger/messaging-channels/viber/viber-overview.md): A QR code can be placed in physical locations, such as hotels, restaurants or malls. When customers scan the code, they will be directed to start a chat with your Viber chatbot.
* [Chat widget](/ismessenger/messaging-channels/viber/viber-overview.md): A Viber widget can be added to your website to direct customers to start a chat with your Viber chatbot.
#### Channel Capabilities
These are the capabilities of Viber:
* [Supported File Types](/ismessenger/messaging-channels/viber/viber-overview.md)
* [Message Status Availability](/ismessenger/messaging-channels/viber/viber-overview.md)
* [Text Formatting](https://help.respond.io/viber/viber-overview#text_formatting)
* [Messaging Window](/ismessenger/messaging-channels/viber/viber-overview.md)
* [Broadcasts](/ismessenger/messaging-channels/viber/viber-quick-start.md)
* [Rate Limits](/ismessenger/messaging-channels/viber/viber-quick-start.md)
**Supported File Types**
The file types supported by Viber and the maximum file size for each type are as follows:
* Image (10 MB)
* Audio (50 MB)
* Video (26 MB)
* File (50 MB)
For any unsupported file type or file that exceeds the maximum file size sent via Viber, the file will automatically be turned into a URL link on the IS-Messenger platform.
### **Message Status Availability**
The table outlines the availability of message statuses in Viber.
| **Message Status** | **Availability** |
| ------------------ | ---------------- |
| Sent | ✅ |
| Delivered | ✅ |
| Read | ✅ |
| Failed | ✅ |
### **Text Formatting**
You can use text or markdown formatting in your messages. Learn more on [how to format your text here](/ismessenger/messaging-channels/viber/viber-overview.md).
### **Messaging Window**
When a Contact sends a message to your Viber chatbot, a 24-hour session window starts. All messages sent within the 24-hour session window are referred to as chatbot-session messages and they are free.
After the 24-hour session window ends, you can start a new chatbot-Initiated message session to continue the conversation with the Contact.
To understand further on how the session works with the two Viber Messaging categories, click [here](/ismessenger/messaging-channels/viber/viber-overview.md).
### **Broadcasts**
Viber has no restrictions on broadcast message content. However, the monthly free limit of 10,000 chatbot-initiated messages also applies to broadcast messages. Broadcast messages exceeding the 10,000 limit will fail to be sent.
To send messages above the limit, the business will need to agree to the [Viber Chatbot Commercial Terms](/ismessenger/messaging-channels/viber/viber-overview.md) and pay per message.
Learn more on [how to send a broadcast here](/ismessenger/messaging-channels/viber/viber-overview.md).
### **Rate Limits**
A rate limit is the number of API calls an app or user can make within a given time period defined by the channel. Learn more about the [rate limits for this channel here](/ismessenger/messaging-channels/viber/viber-overview.md).
### FAQ and Troubleshooting
**Can I start a conversation with a Viber Contact?**
Viber rules say users must message you first before you can message them back. Learn how to [encourage users to initiate a chat here](/ismessenger/messaging-channels/viber/viber-overview.md).
**How much does a Viber chatbot cost?**
You can create Viber chatbots for free. You can also send unlimited replies to customer-initiated messages within 24 hours of receiving the message for free.
However, charges do apply if you want to send more than 10,000 chatbot-initiated messages in a month. Learn more about [messaging on Viber here](/ismessenger/messaging-channels/viber/viber-overview.md).
**Alternative/workaround to the 'Get Started' button**
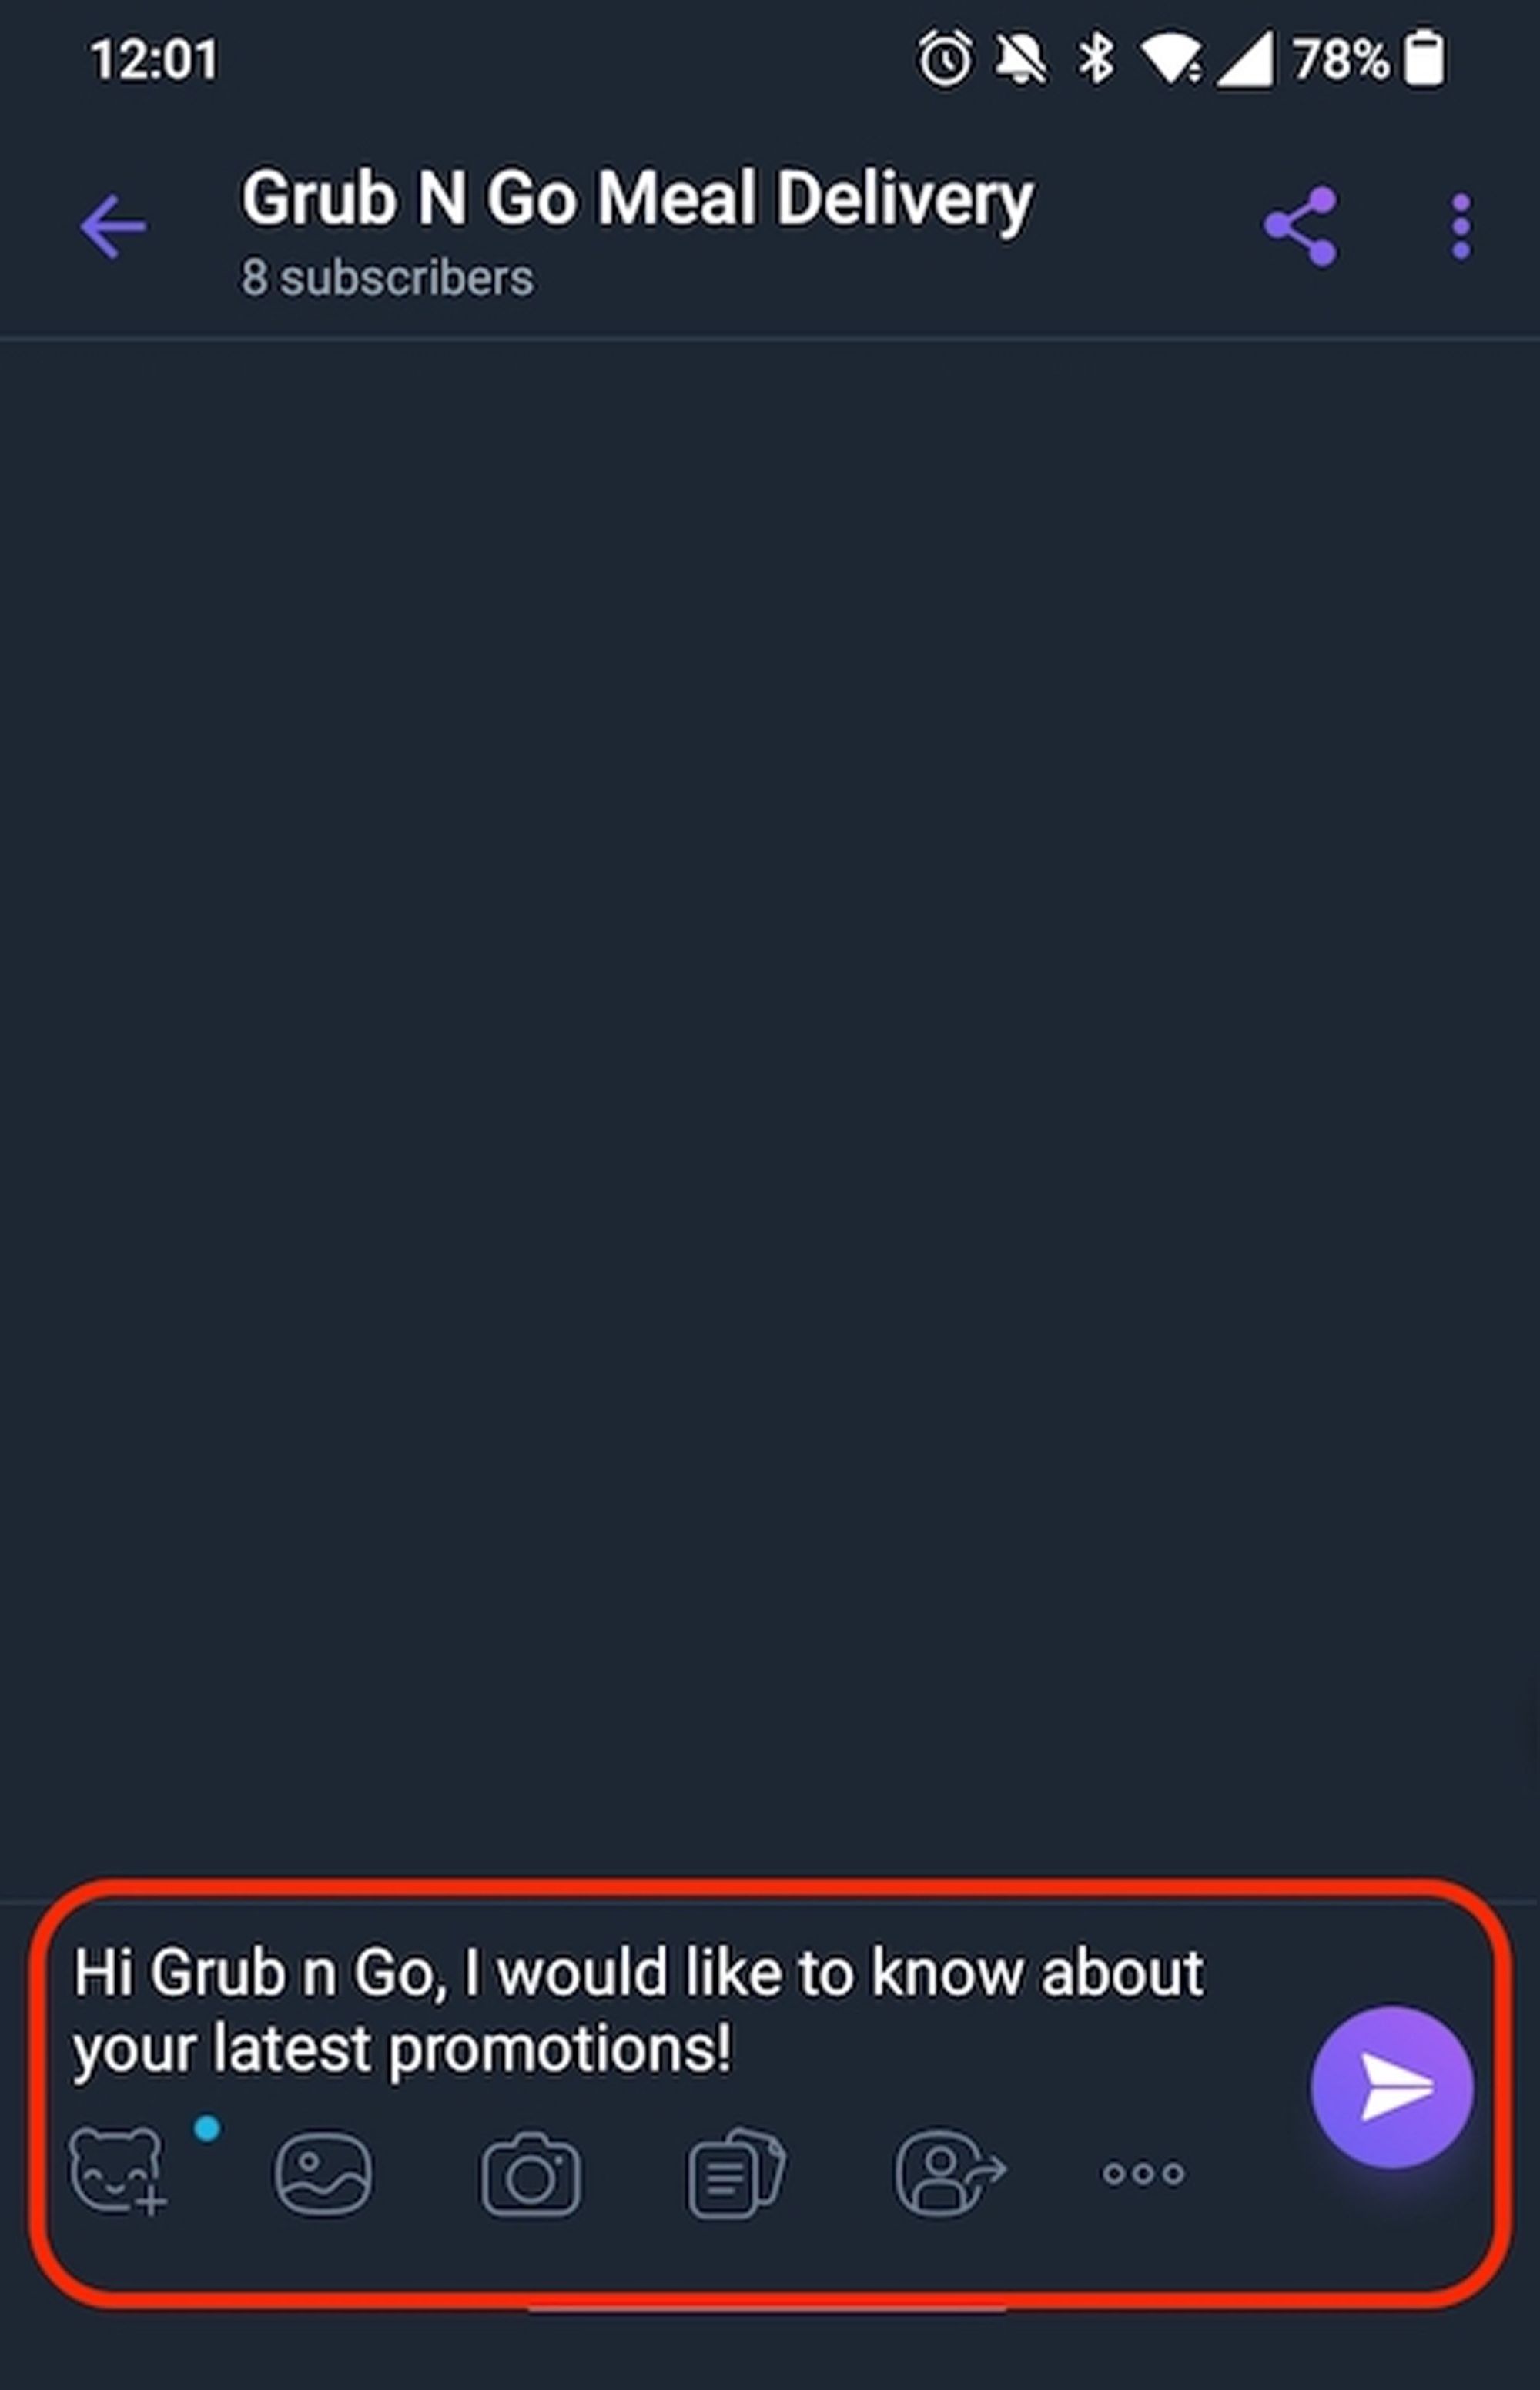
Use IS-Messenger's Pre-Filled Text feature to populate the message box with a default message when Contacts open a chat window with your business.
This saves Contacts' time from needing to think about what to write and click send, encouraging Contacts to send the first message.
Here's how to add pre-filled text to your Viber link and QR codes.
1. On the IS-Messenger platform, click **Settings** > **Growth Widgets** > **+ Add Widget**.
2. Select **QR Code** > click **Create Widget**.
3. Select **Viber** as the QR code type > Select the connected Viber channel for which you want to create the QR code > Add pre-filled text that will automatically appear in the message field when the QR code is scanned.
4. Click **Generate Widget** button to create your QR code with the pre-filled text.
5. Click **Download** and select the size of the QR code you want to save or [follow the instructions here to get your Viber chat link](/ismessenger/messaging-channels/viber/viber-overview.md).
6. When Contacts scan your QR code or click your Viber link, they should automatically have the pre-filled text in the message box.
**How do I change my Viber Chatbot profile photo?**
1. On your Viber app, go to **Settings** > **Bots** > Select your Viber chatbot.
2. Tap **Edit info >** Tap the existing profile photo.
3. Select the location of the photo > Select the photo > Click **Done** to upload your new profile photo.
4. Click **Done** to save the changes.
**How do I edit the About section for my Viber Chatbot?**
1. On your Viber app, go to **Settings** > **Bots** > Select your Viber chatbot.
2. Click **Edit info** > Edit the details.
3. Click **Done** to save the changes.
---
# Agent Instructions: Querying This Documentation
If you need additional information that is not directly available in this page, you can query the documentation dynamically by asking a question.
Perform an HTTP GET request on the current page URL with the `ask` query parameter:
```
GET https://docs.is-messenger.com/ismessenger/messaging-channels/viber/viber-overview.md?ask=
```
The question should be specific, self-contained, and written in natural language.
The response will contain a direct answer to the question and relevant excerpts and sources from the documentation.
Use this mechanism when the answer is not explicitly present in the current page, you need clarification or additional context, or you want to retrieve related documentation sections.