# Dialogflow: Connecting to Dialogflow
Connecting Dialogflow to IS-Messenger is simple as you will only need to retrieve a JSON file from Dialogflow and upload it to IS-Messenger platform.
### Setting Up Dialogflow
Prior to generating the Google Service Account Key, you will need to have a Google account to sign into Dialogflow.
In order to set up Dialogflow, we will need to do the following:
* [Getting a Dialogflow account](/ismessenger/workspace-setting/integrations/dialogflow/dialogflow-connecting-to-dialogflow.md)
* [Creating a Dialogflow agent](/ismessenger/workspace-setting/integrations/dialogflow/dialogflow-connecting-to-dialogflow.md)
* [Connecting to Dialogflow](/ismessenger/workspace-setting/integrations/dialogflow/dialogflow-connecting-to-dialogflow.md)
You may skip the step and proceed to the next if you have already performed it.
### **Getting a Dialogflow Account**
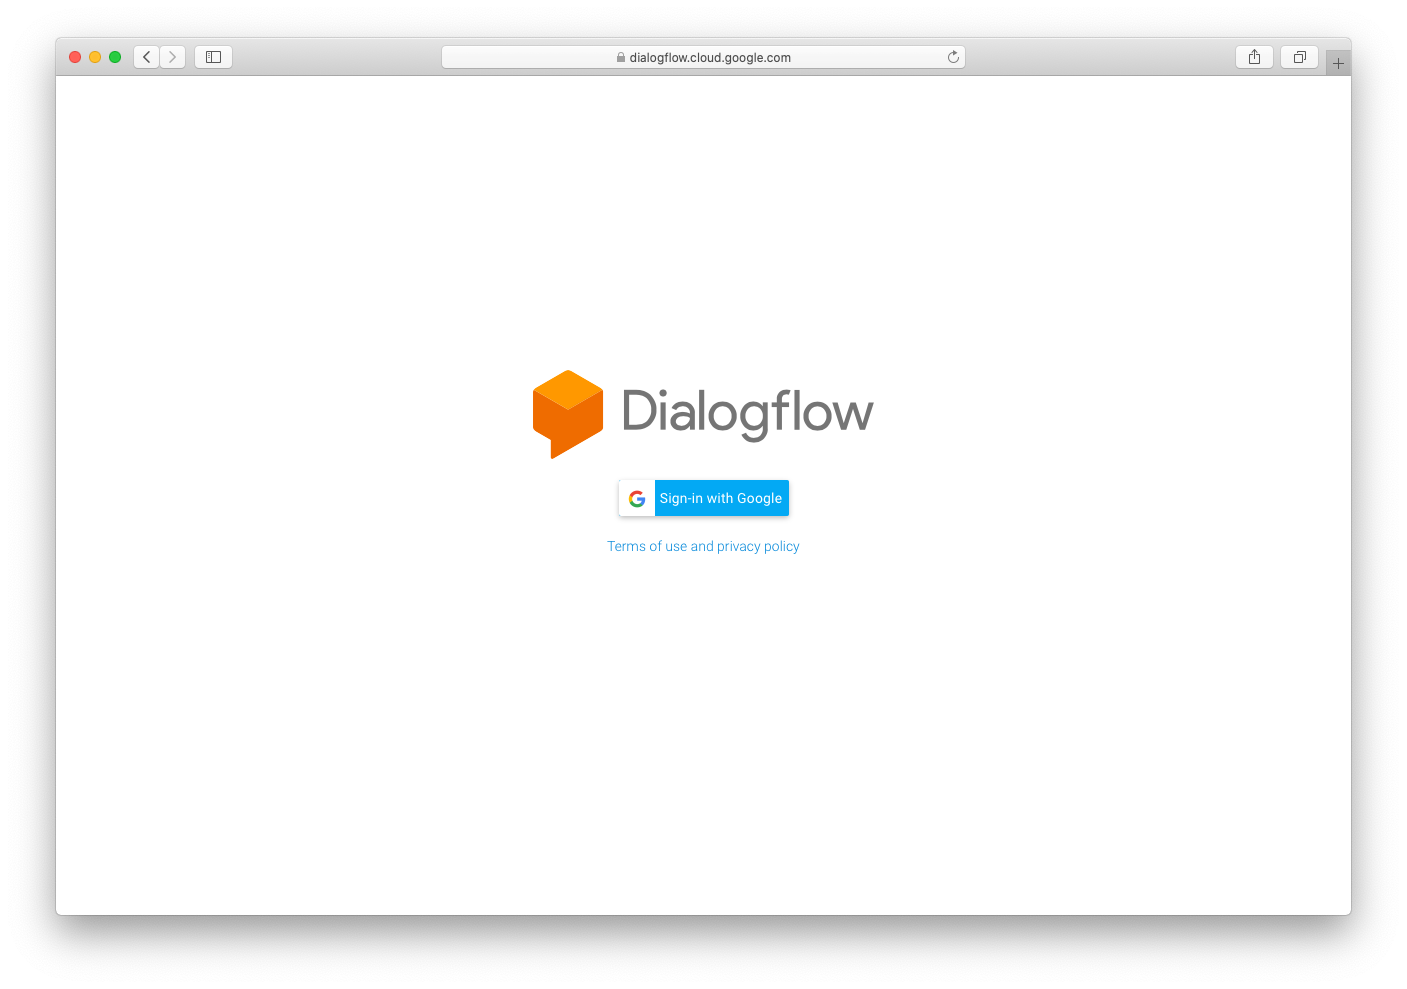
**Step 1:** [Navigate to this page](https://dialogflow.cloud.google.com/) and proceed to login with your Google account.
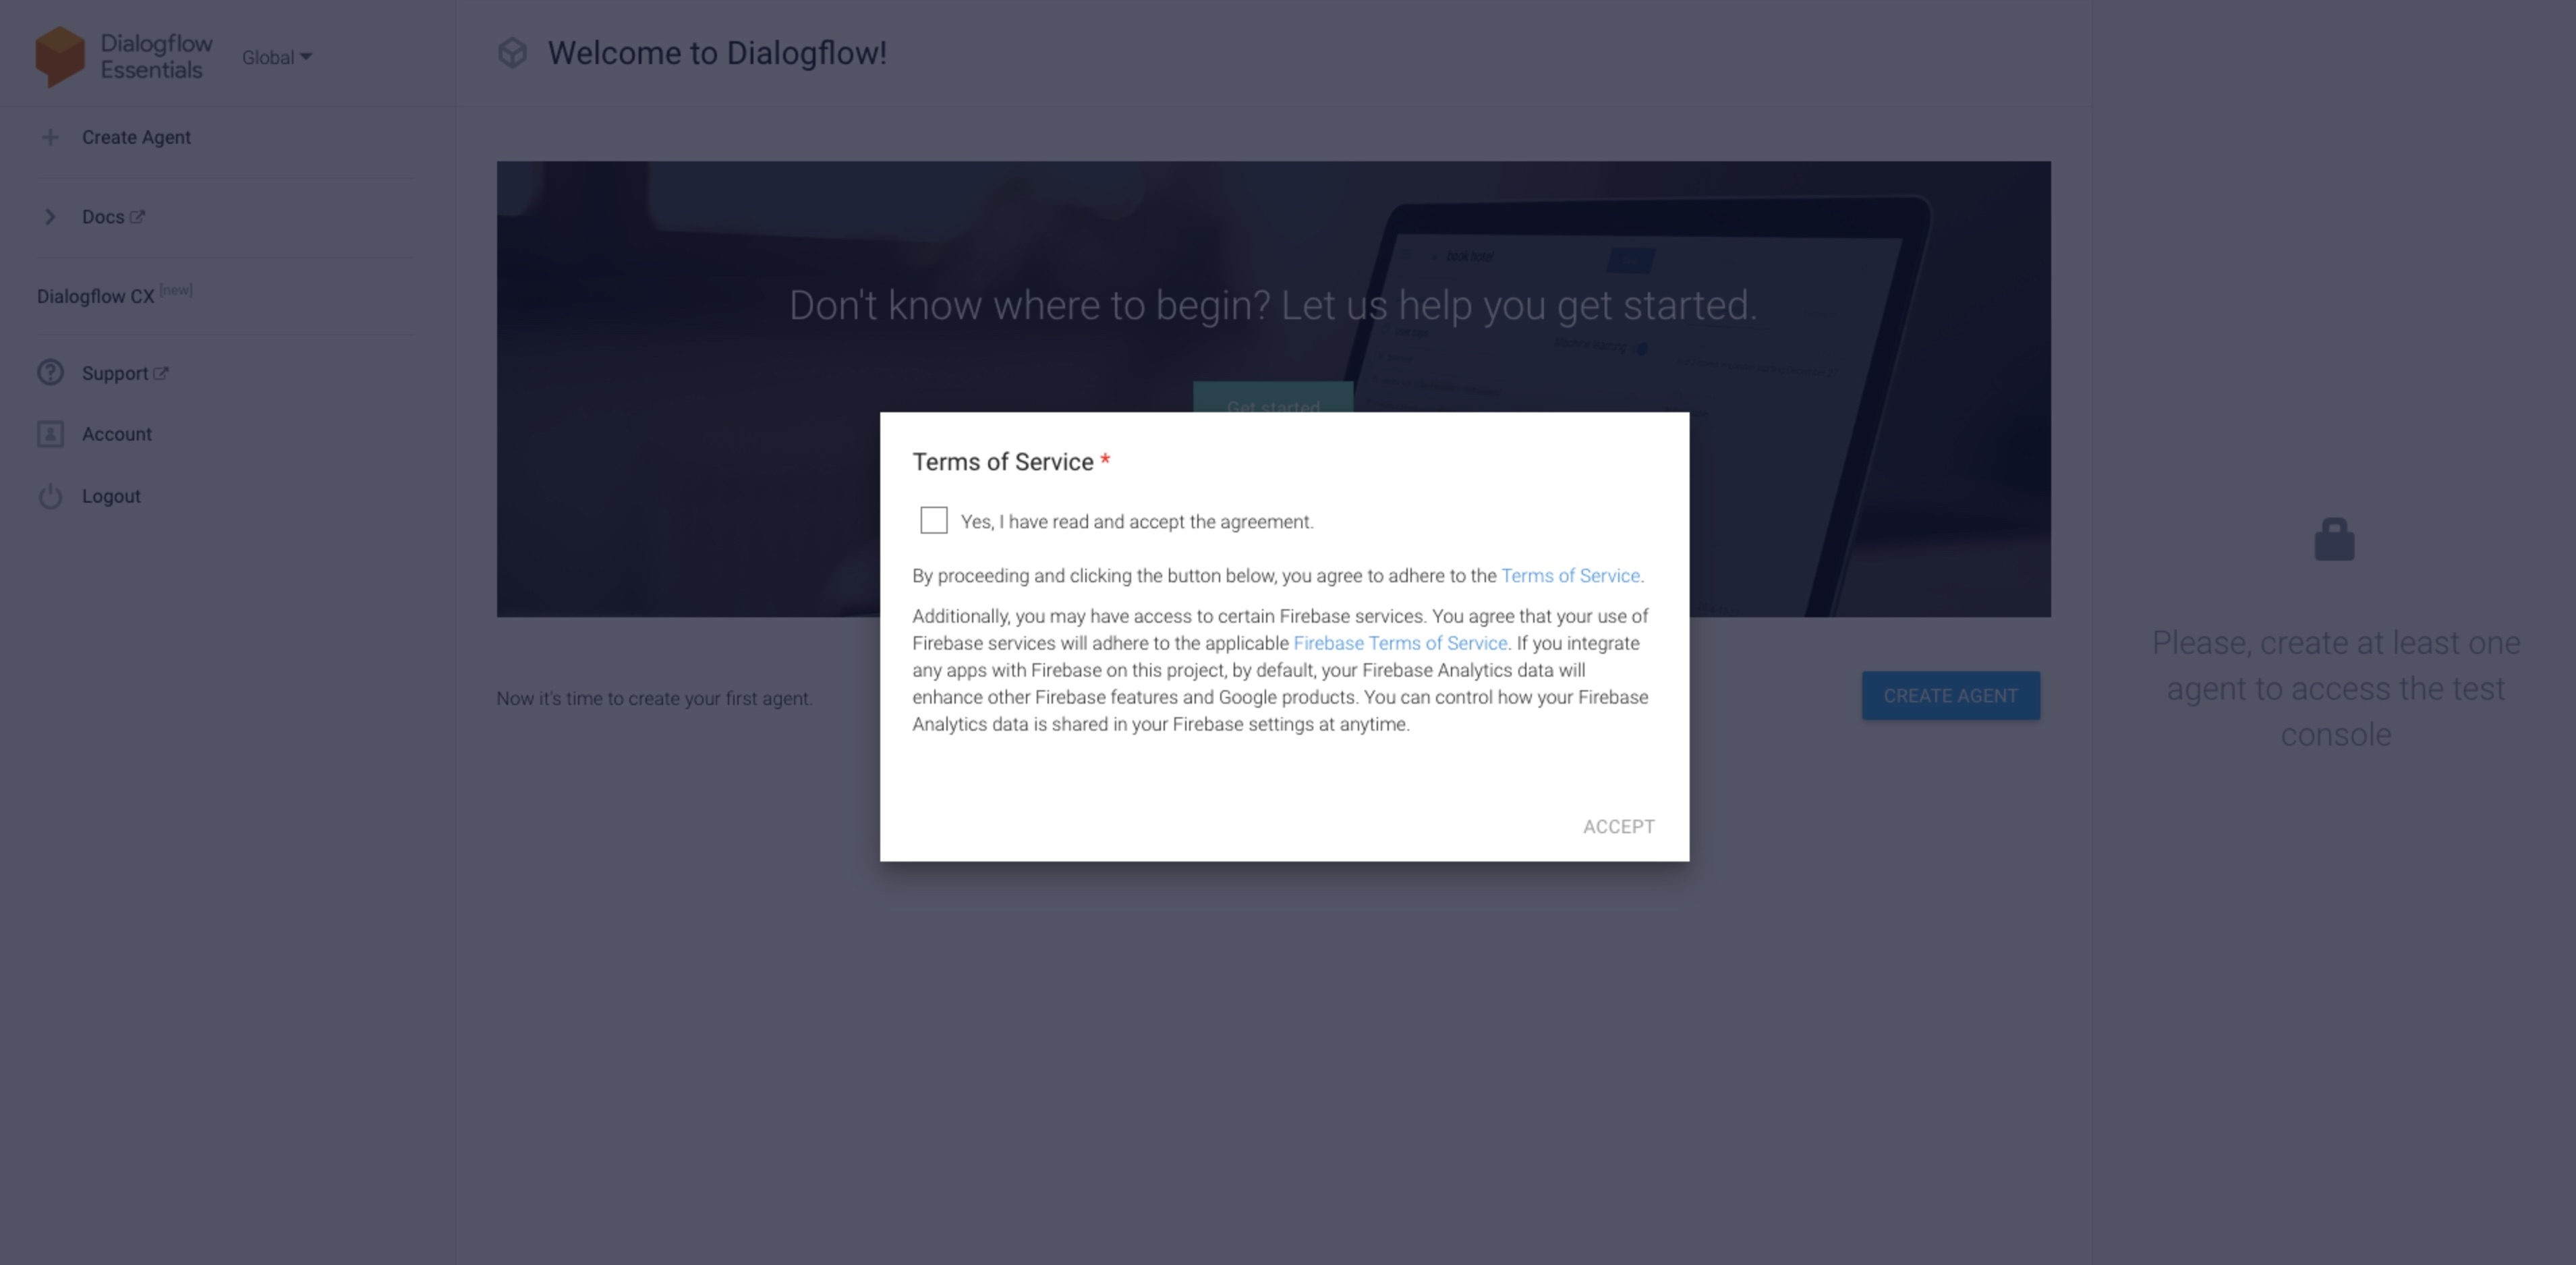
**Step 2:** Review the terms and check the box. Click Accept to proceed.
{% hint style="success" %}
You have now created your Dialogflow account and you can proceed to the next step, Creating a Dialog Agent
{% endhint %}
### **Creating a Dialogflow Agent**
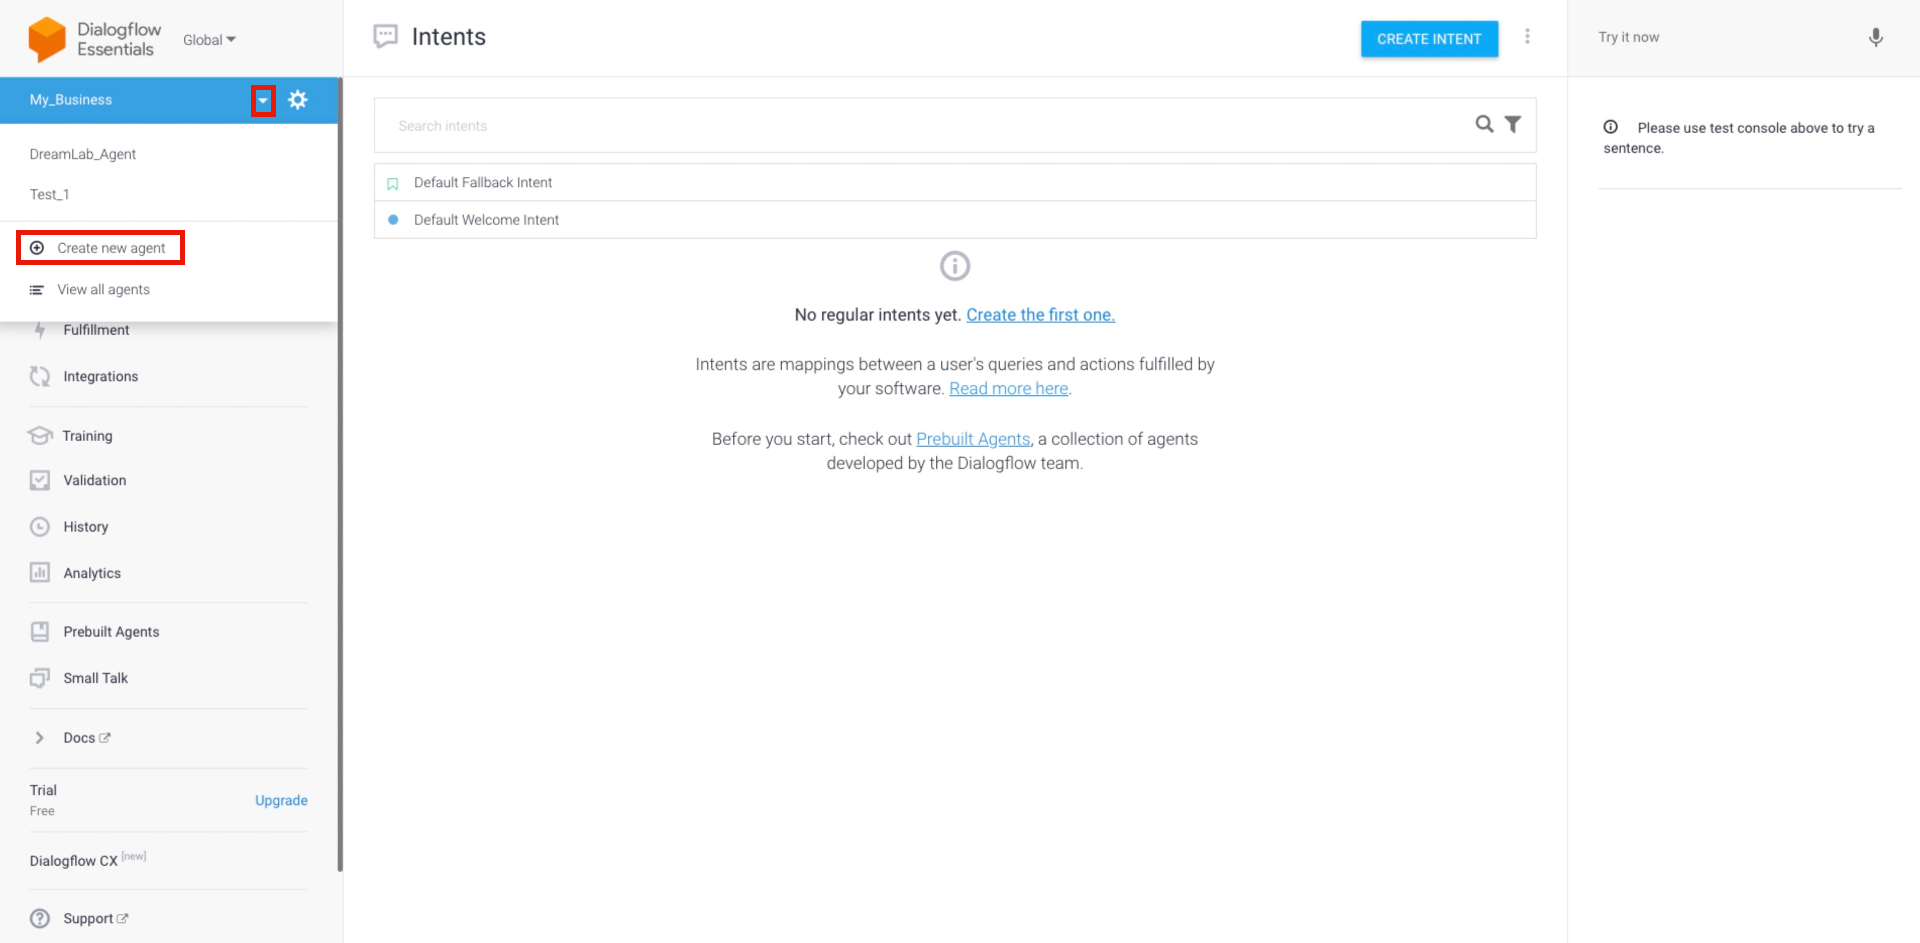
In Dialogflow, there is a module named **Agent** that acts as the brain of your bot. This component will help your bot understand and classify human languages.
**Step 1:** Once you have logged in, click the dropdown arrow and click **Create new agent** at the side navigation menu.
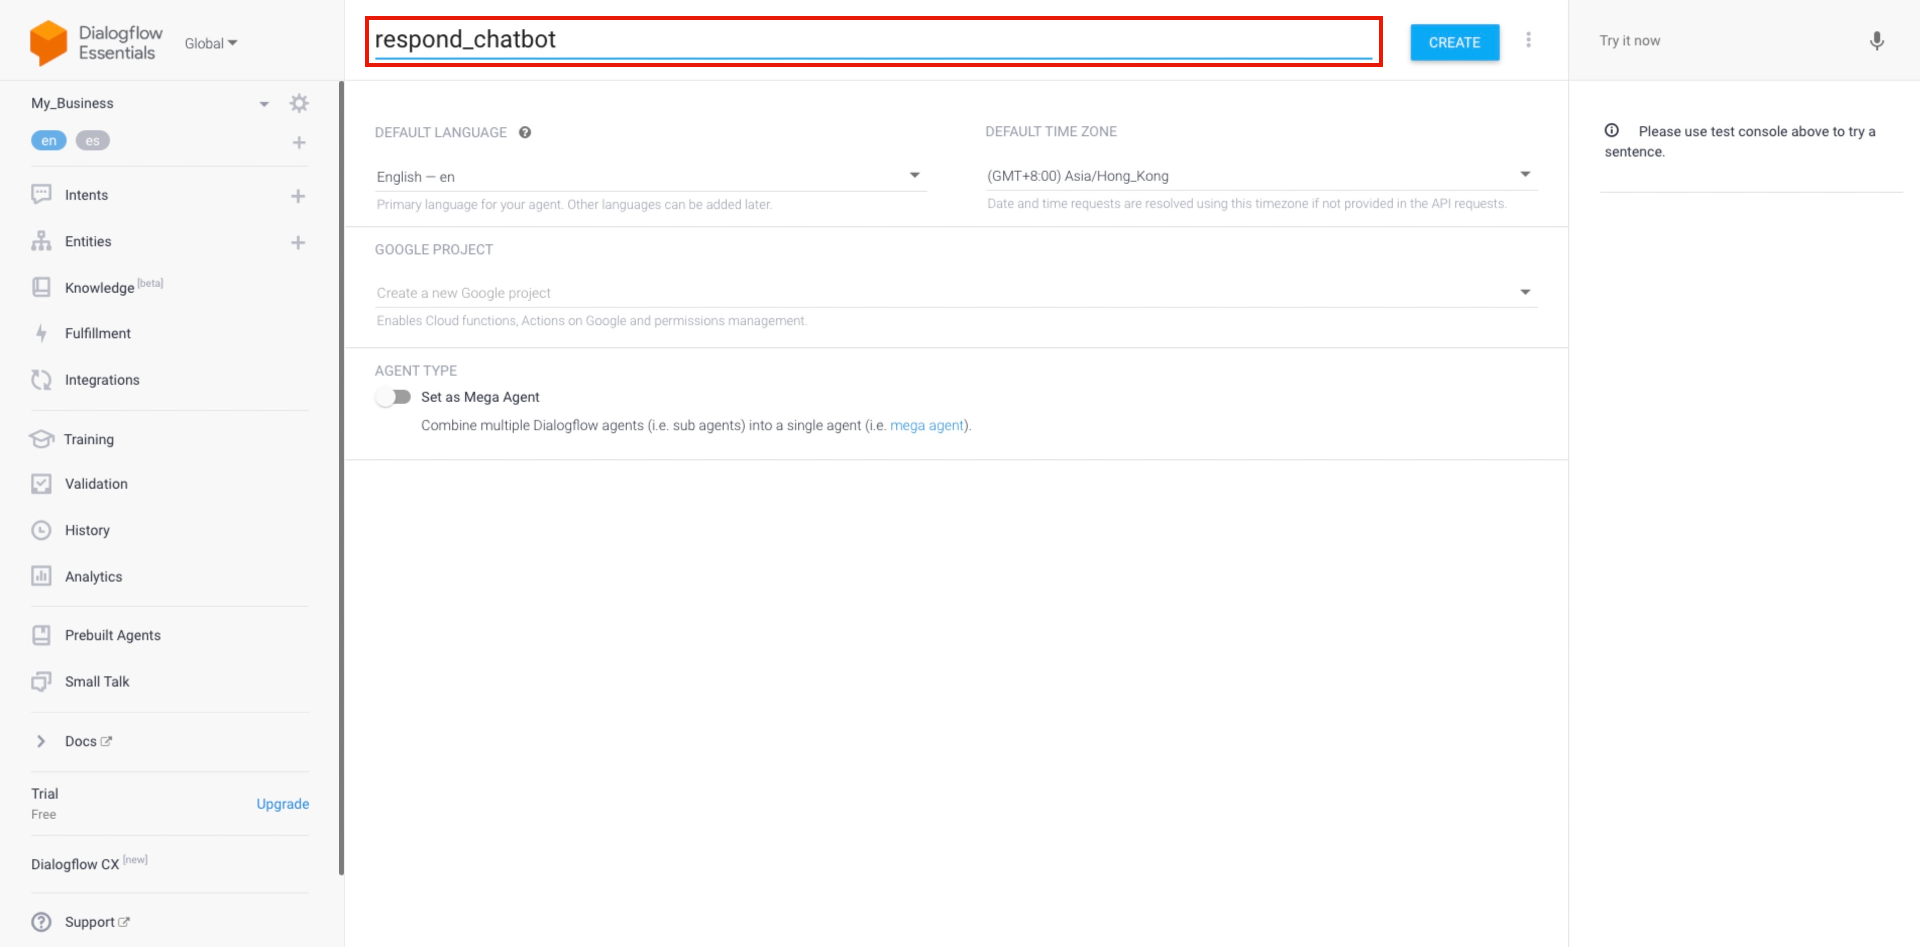
**Step 2:** Give the agent a name for internal reference. Make any necessary changes to the default settings.
| **Fields** | **Description** |
| ---------- | ----------------------------------------------------------------------------------------------------------------- |
| Name | For identification purposes. This name will be used for internal reference only. |
| Language | The language to be used for Dialogflow's natural language processes. Choose the language of your target audience. |
| Timezone | The timezone to be adopted for analytics purposes on Dialogflow. |
{% hint style="info" %}
Note that a new Google Cloud Project will be automatically created to the Dialogflow Agent when created. The Google Cloud Project will be used to connect Dialogflow to IS Messenger
{% endhint %}
**Step 3:** When you are ready, click **CREATE** to create the agent.
{% hint style="success" %}
Now, the Dialogflow Agent is created and you can proceed to connect Dialogflow to IS Messenger
{% endhint %}
### **Connecting to Dialogflow**
Connecting Dialogflow to the IS-Messenger platform is simple as you will only need to retrieve a JSON file from Dialogflow and upload it to the IS-Messenger platform.
**Step 1:** Login using your Google account that is associated with [Dialogflow](https://dialogflow.cloud.google.com/).
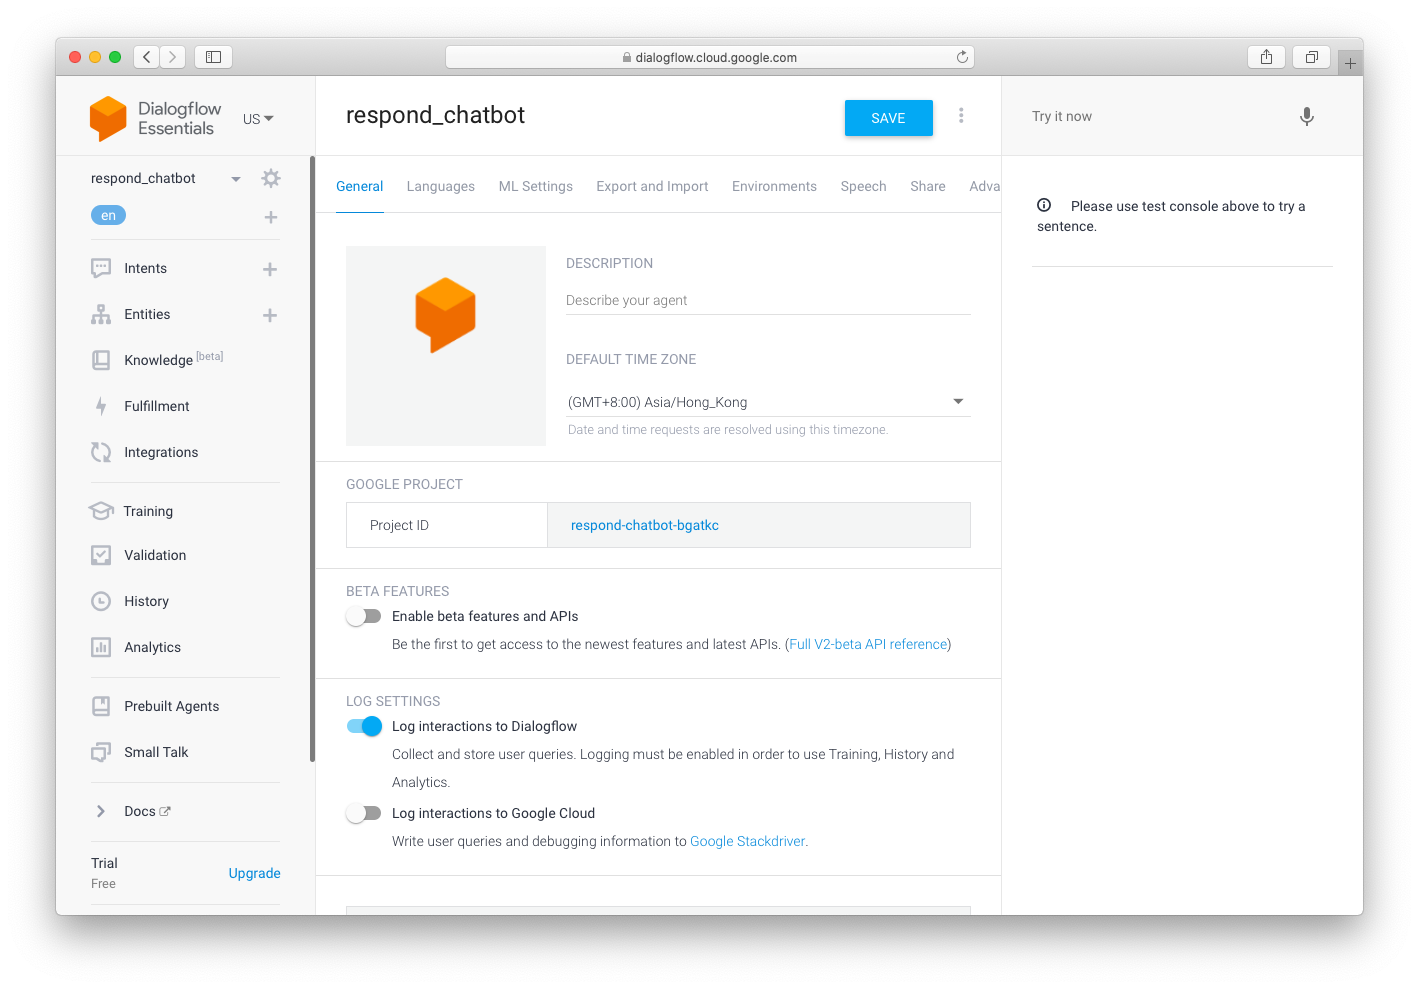
**Step 2:** Navigate to the Settings module by clicking the ⚙ icon beside the Agents dropdown menu.
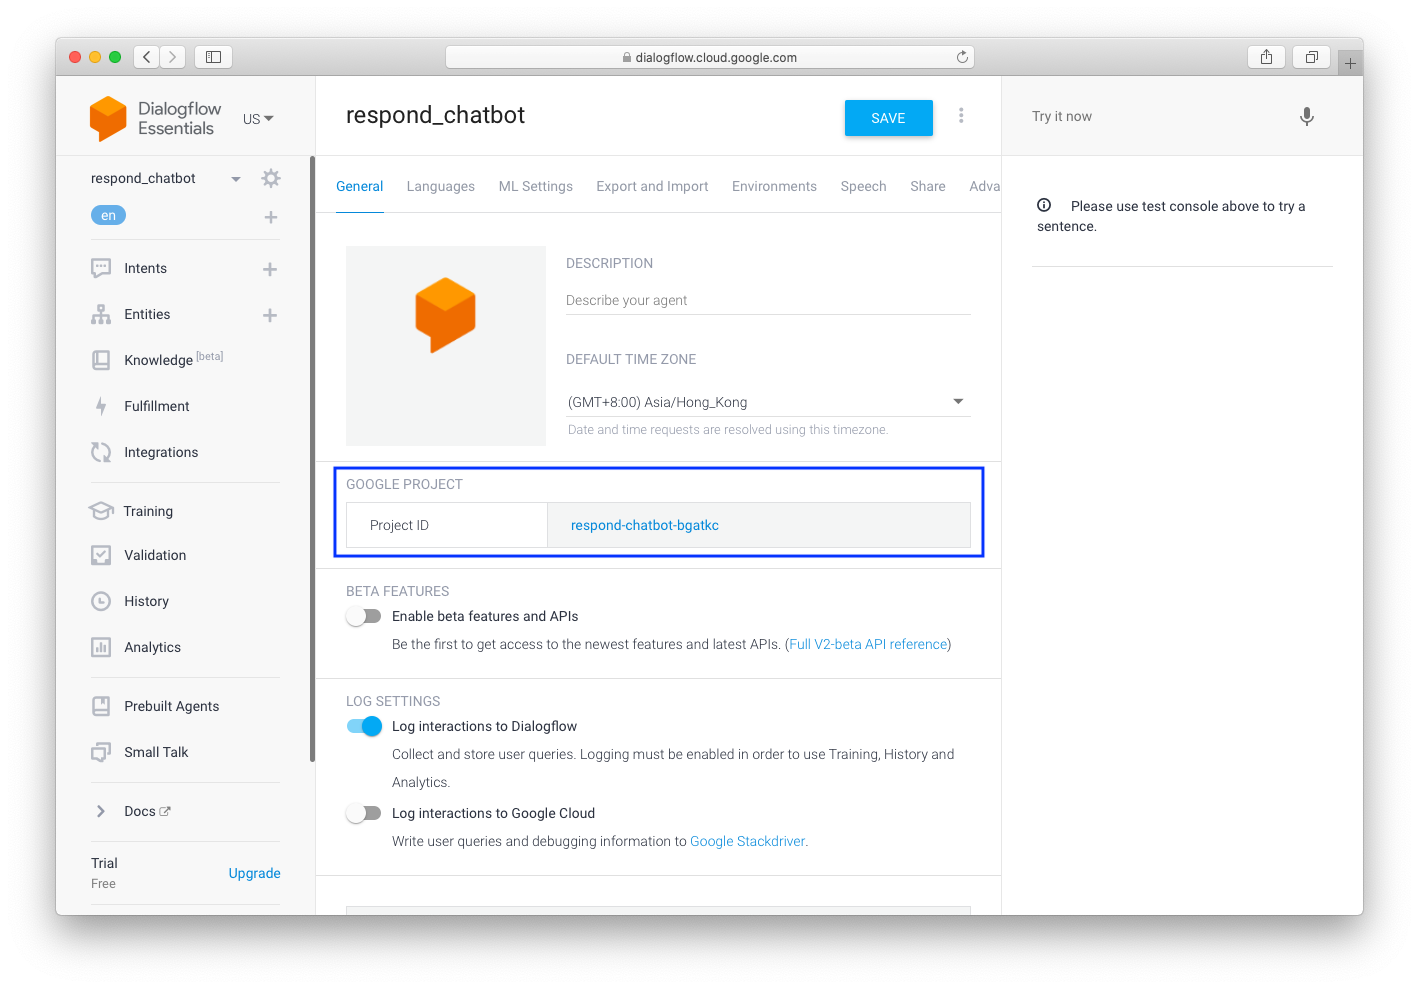
**Step 3:** In the General tab, click the link in the Service Account to view the associated Google Project.
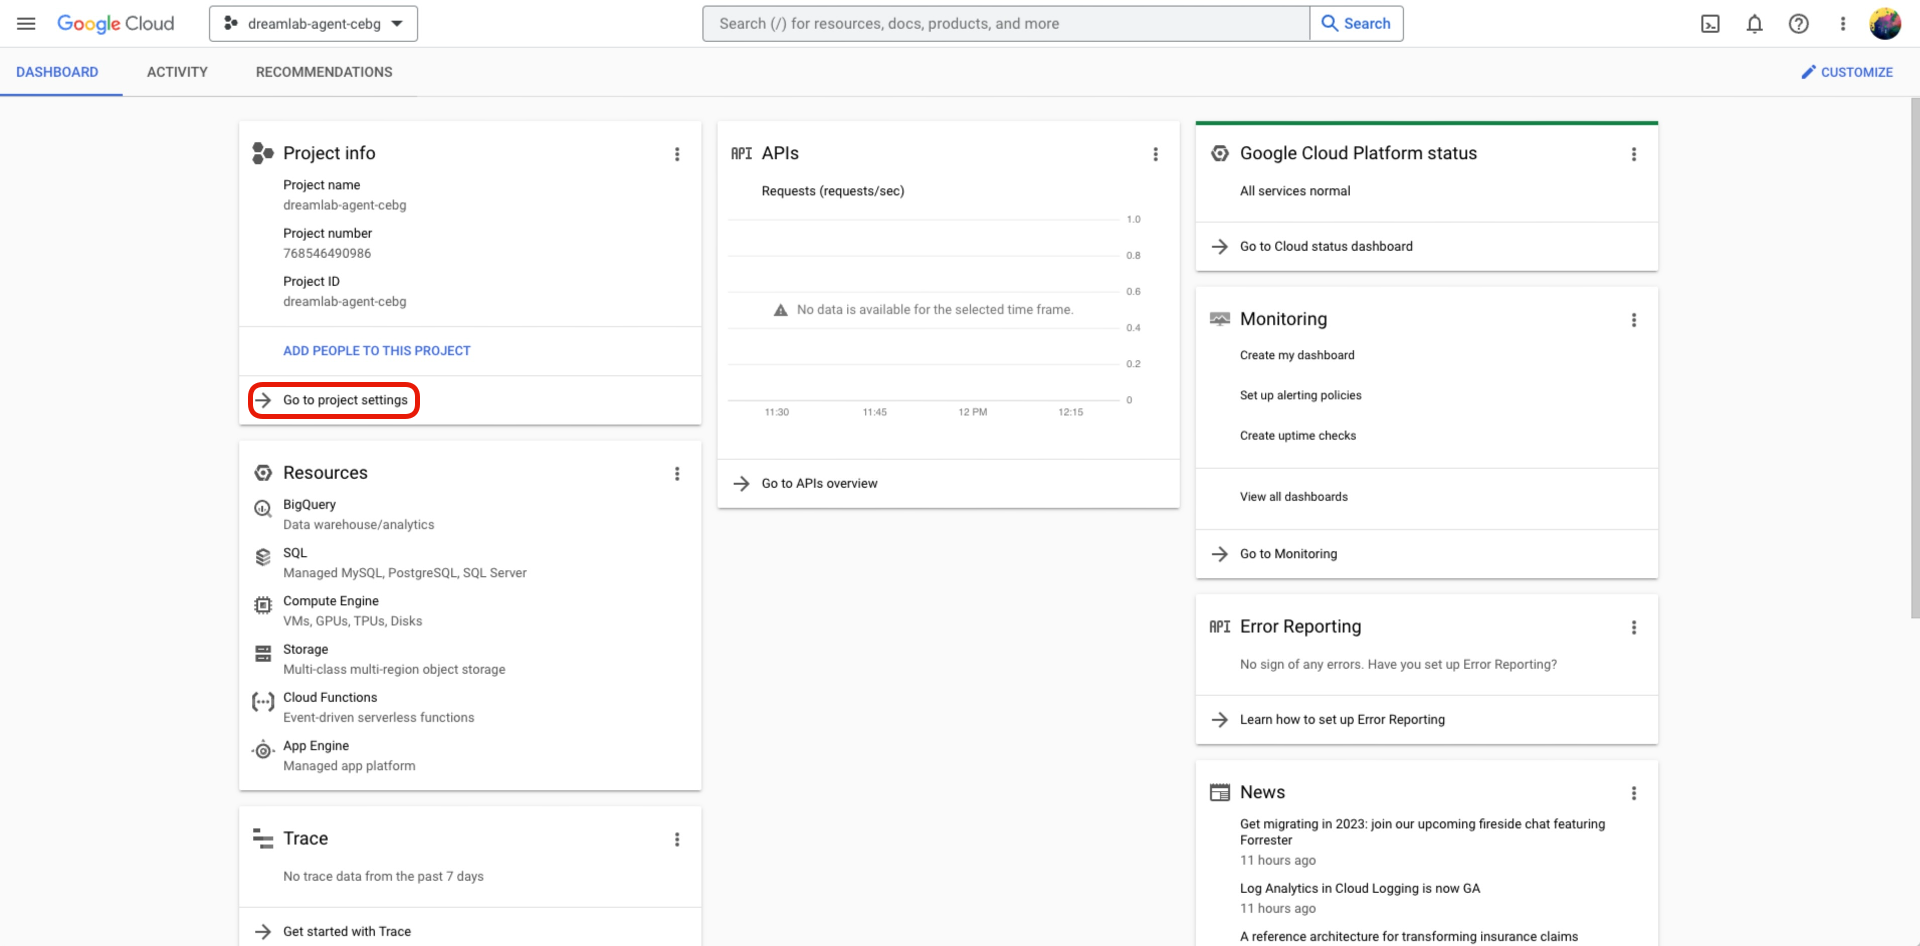
**Step 4:** With the Google Project open, click **Go to project setting**.
**Step 5:** In the **IAM & Admin** menu > Select **Service Accounts**
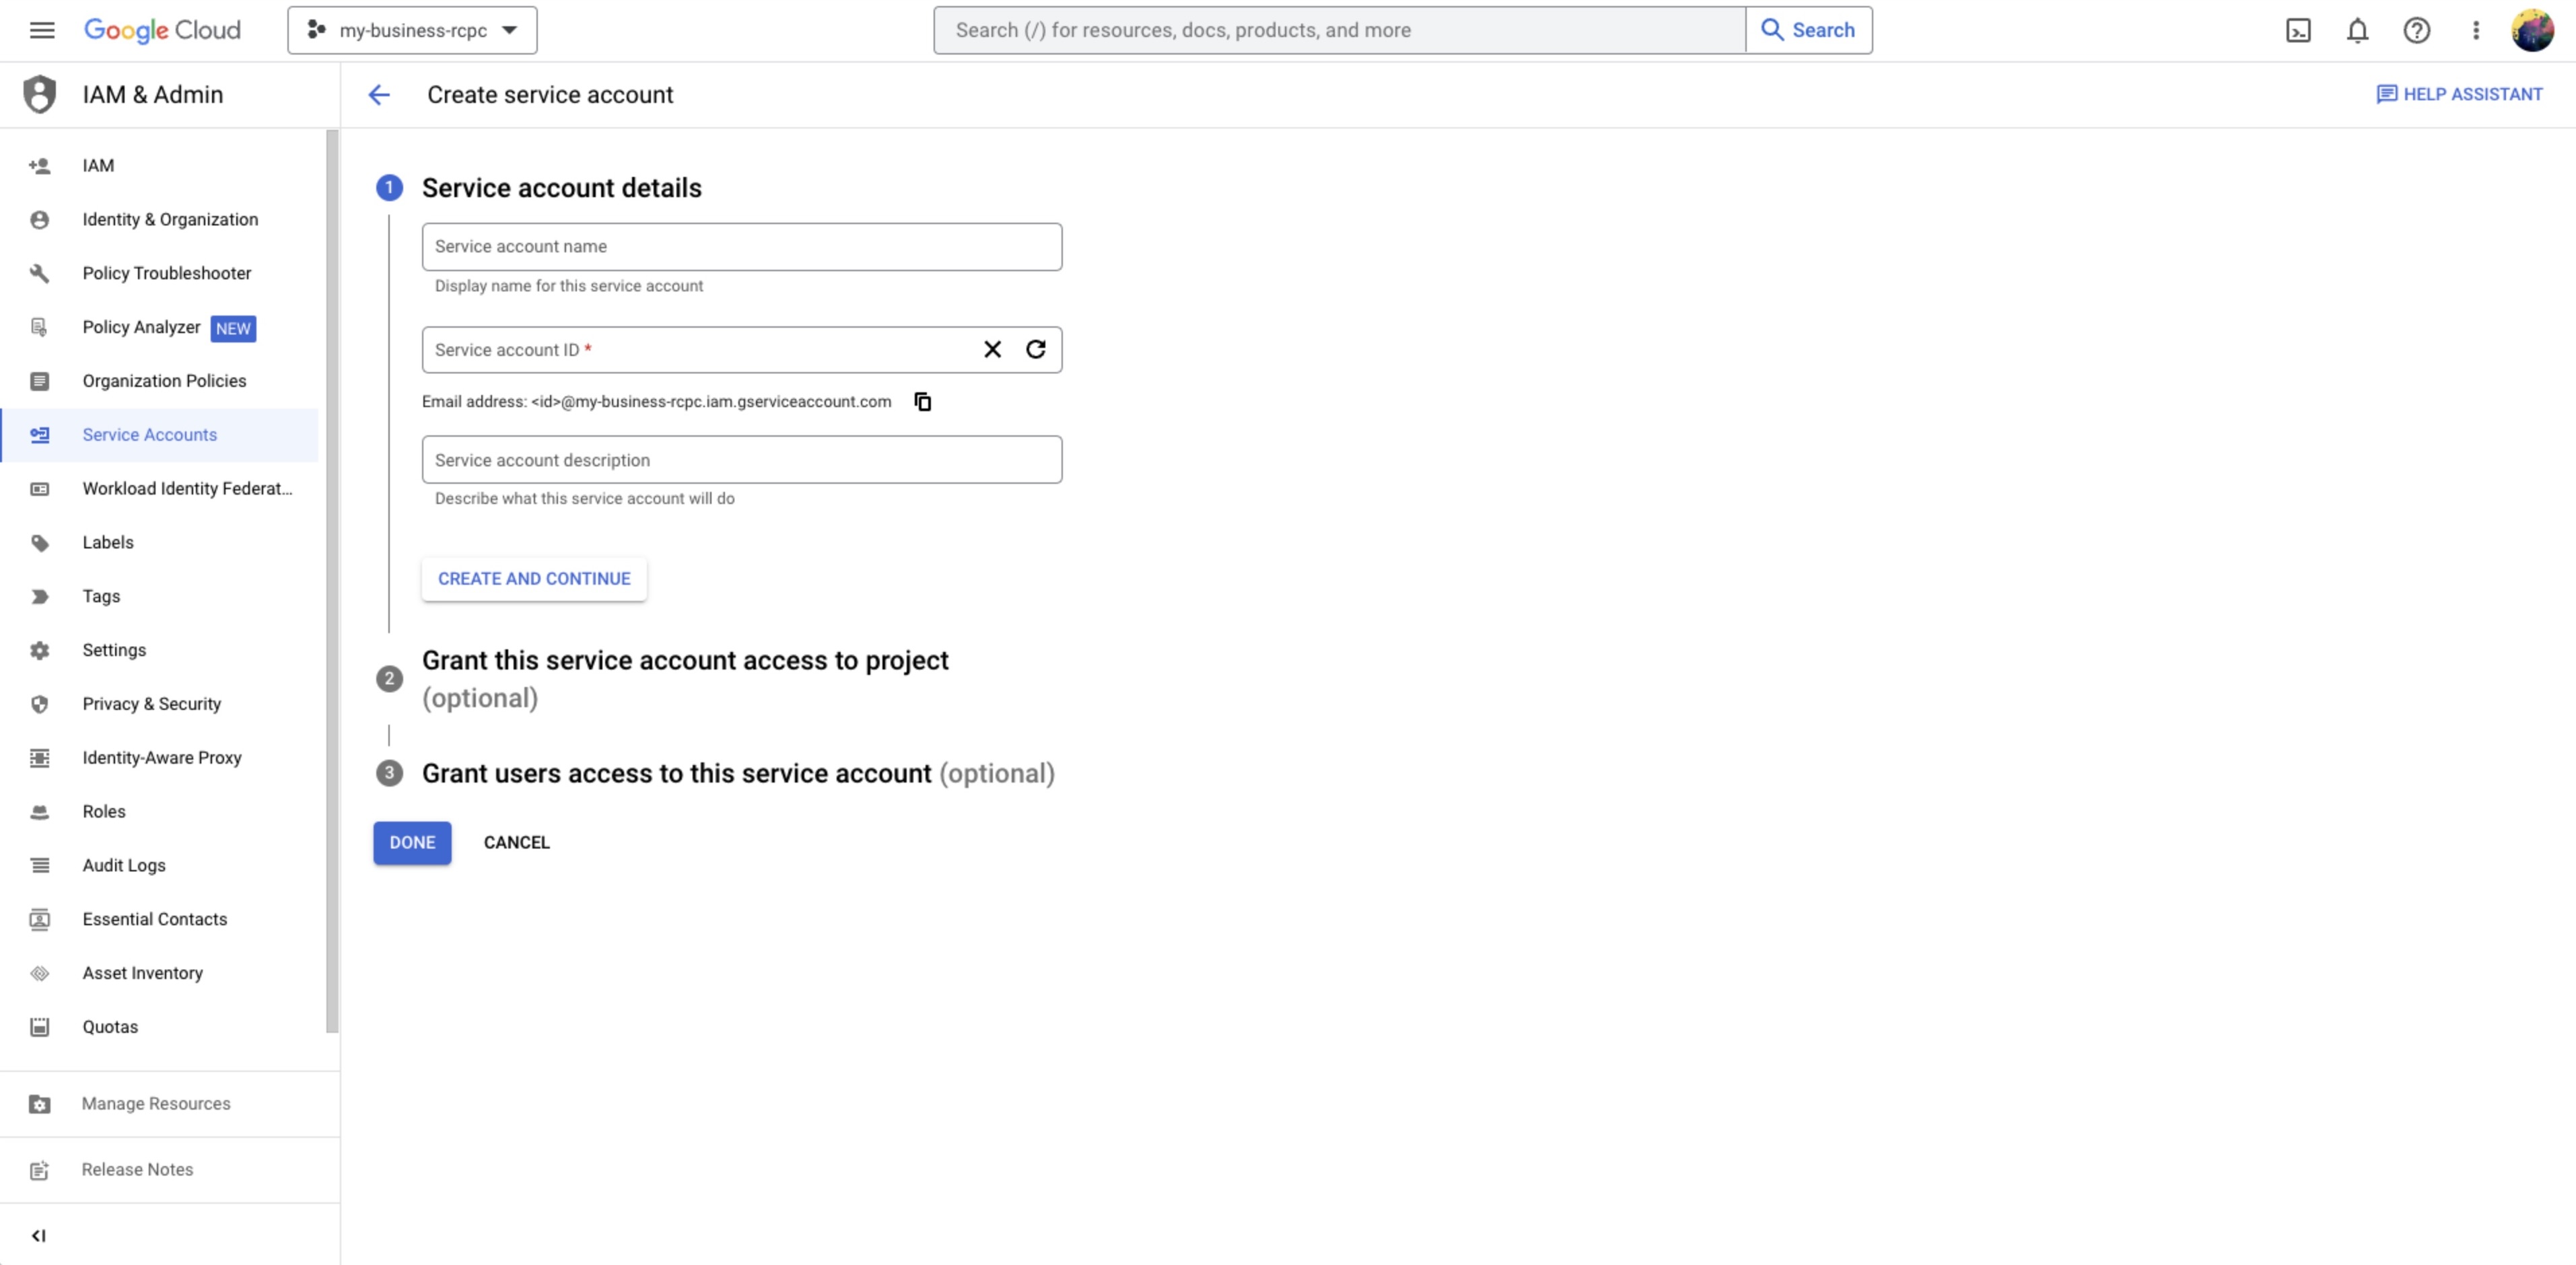
**Step 6:** In the Service Account Details screen, name the Service Account and click **CREATE AND CONTINUE**
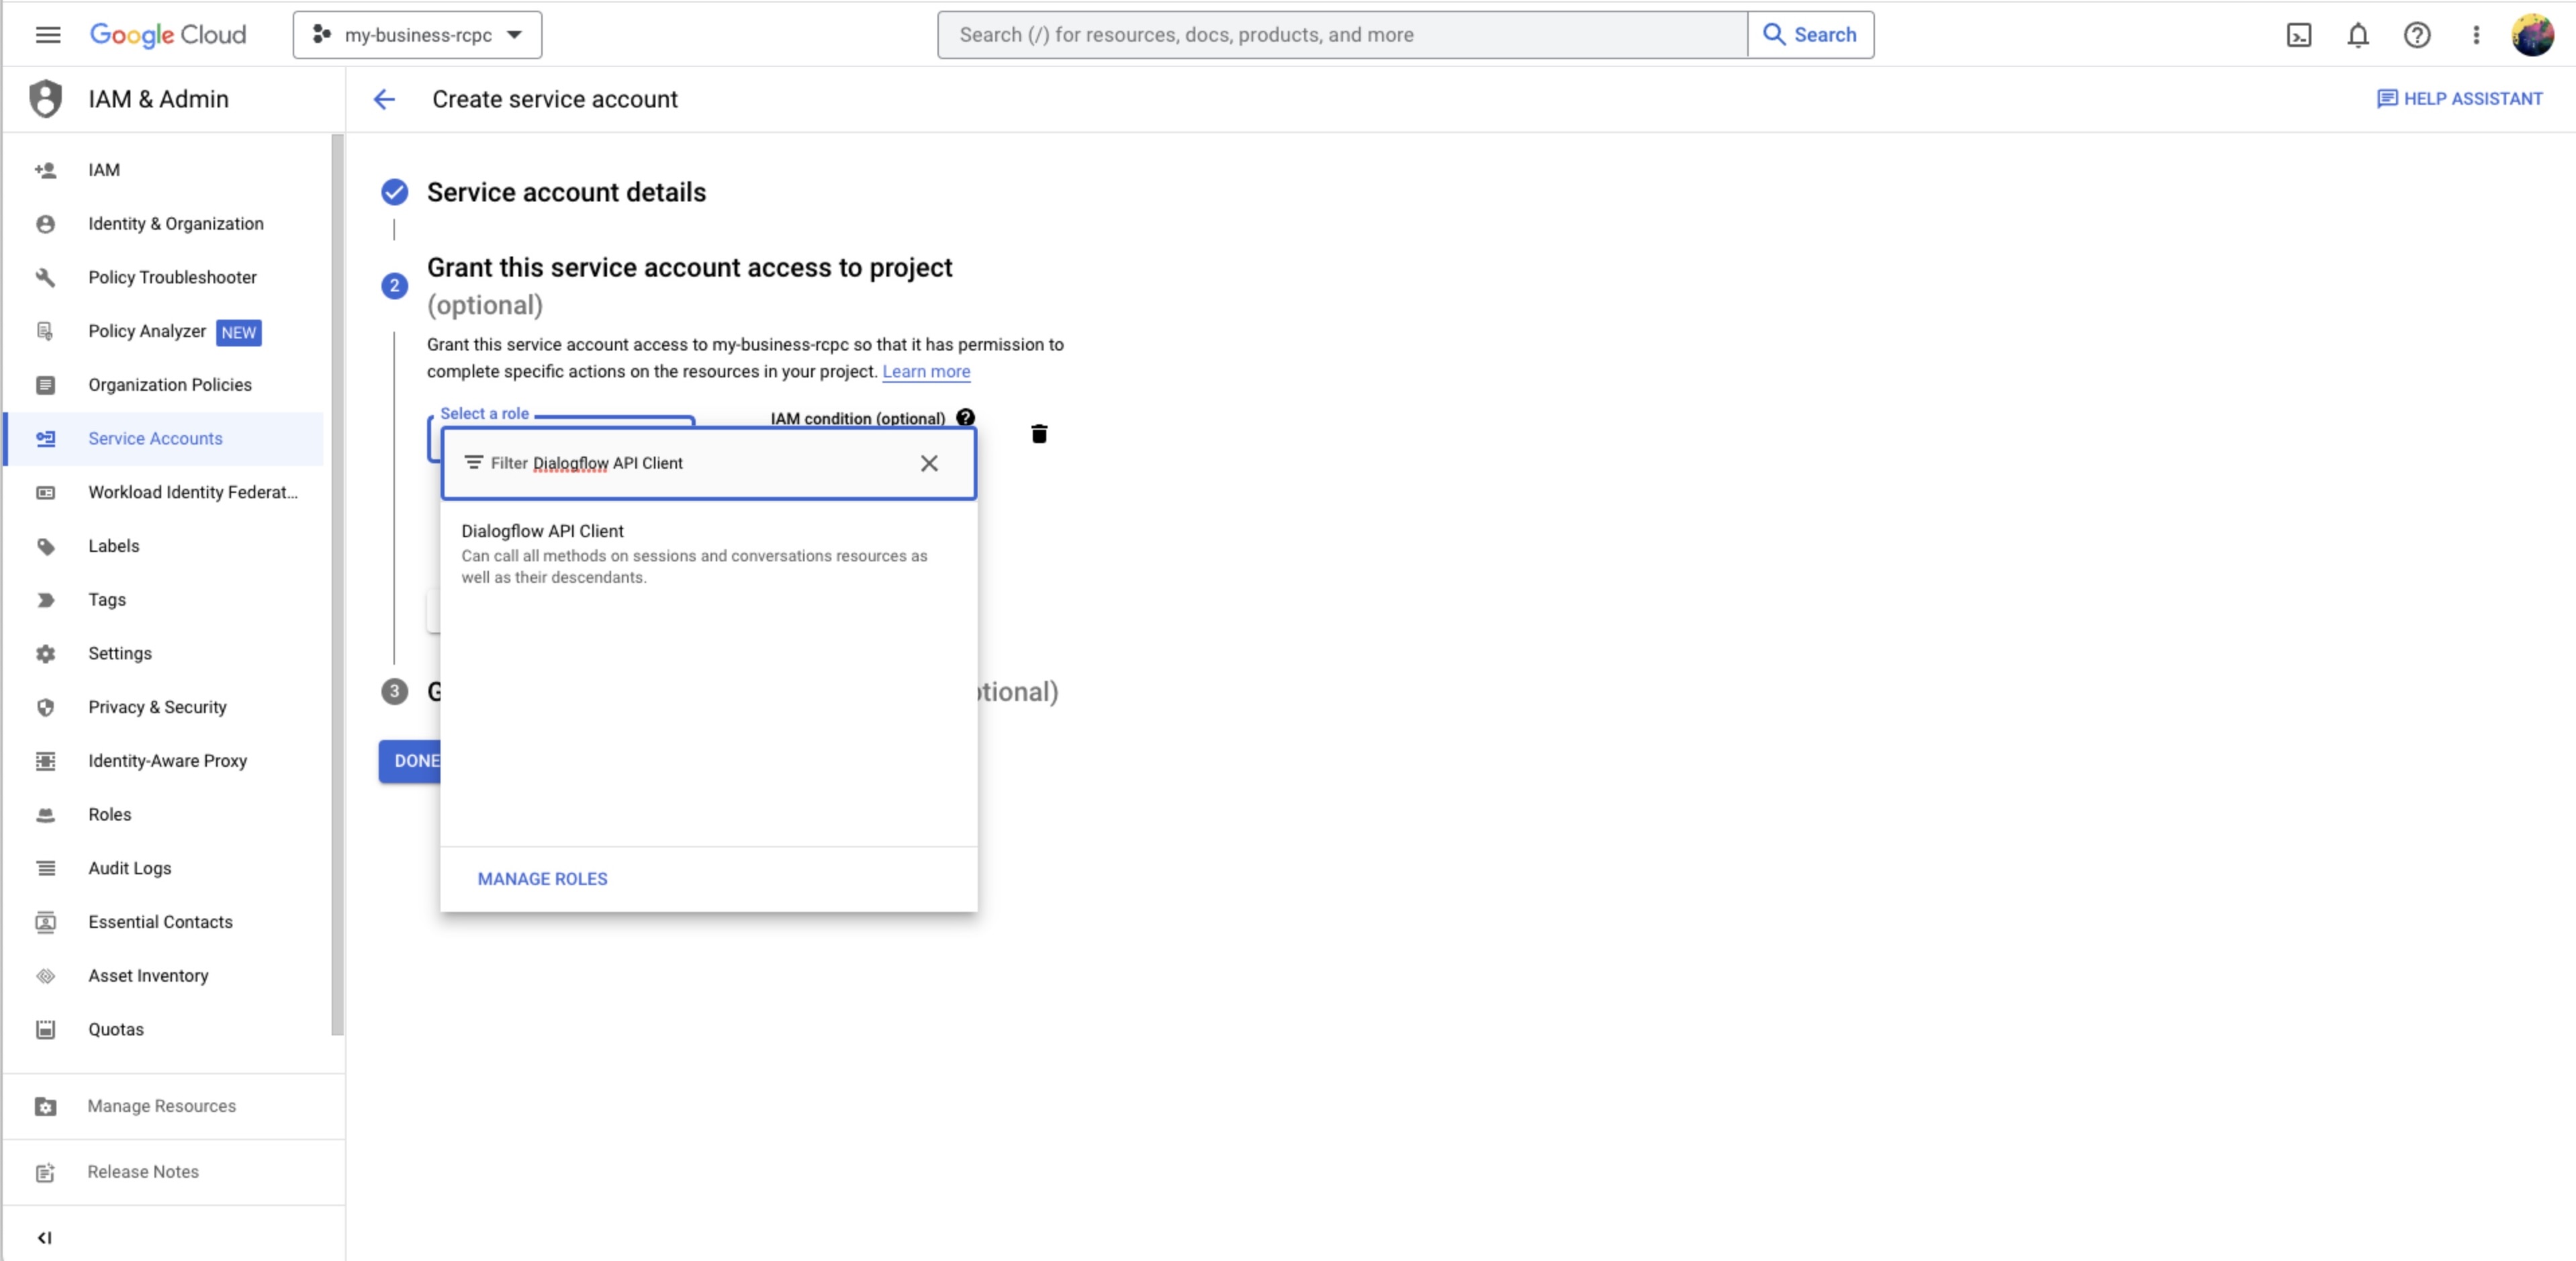
**Step 7:** Assign the **Dialogflow API Client** role to the service account > click **CONTINUE**
**Step 8:** The Grant users access to this service account step is **optional**.
**Step 9:** Click **DONE**
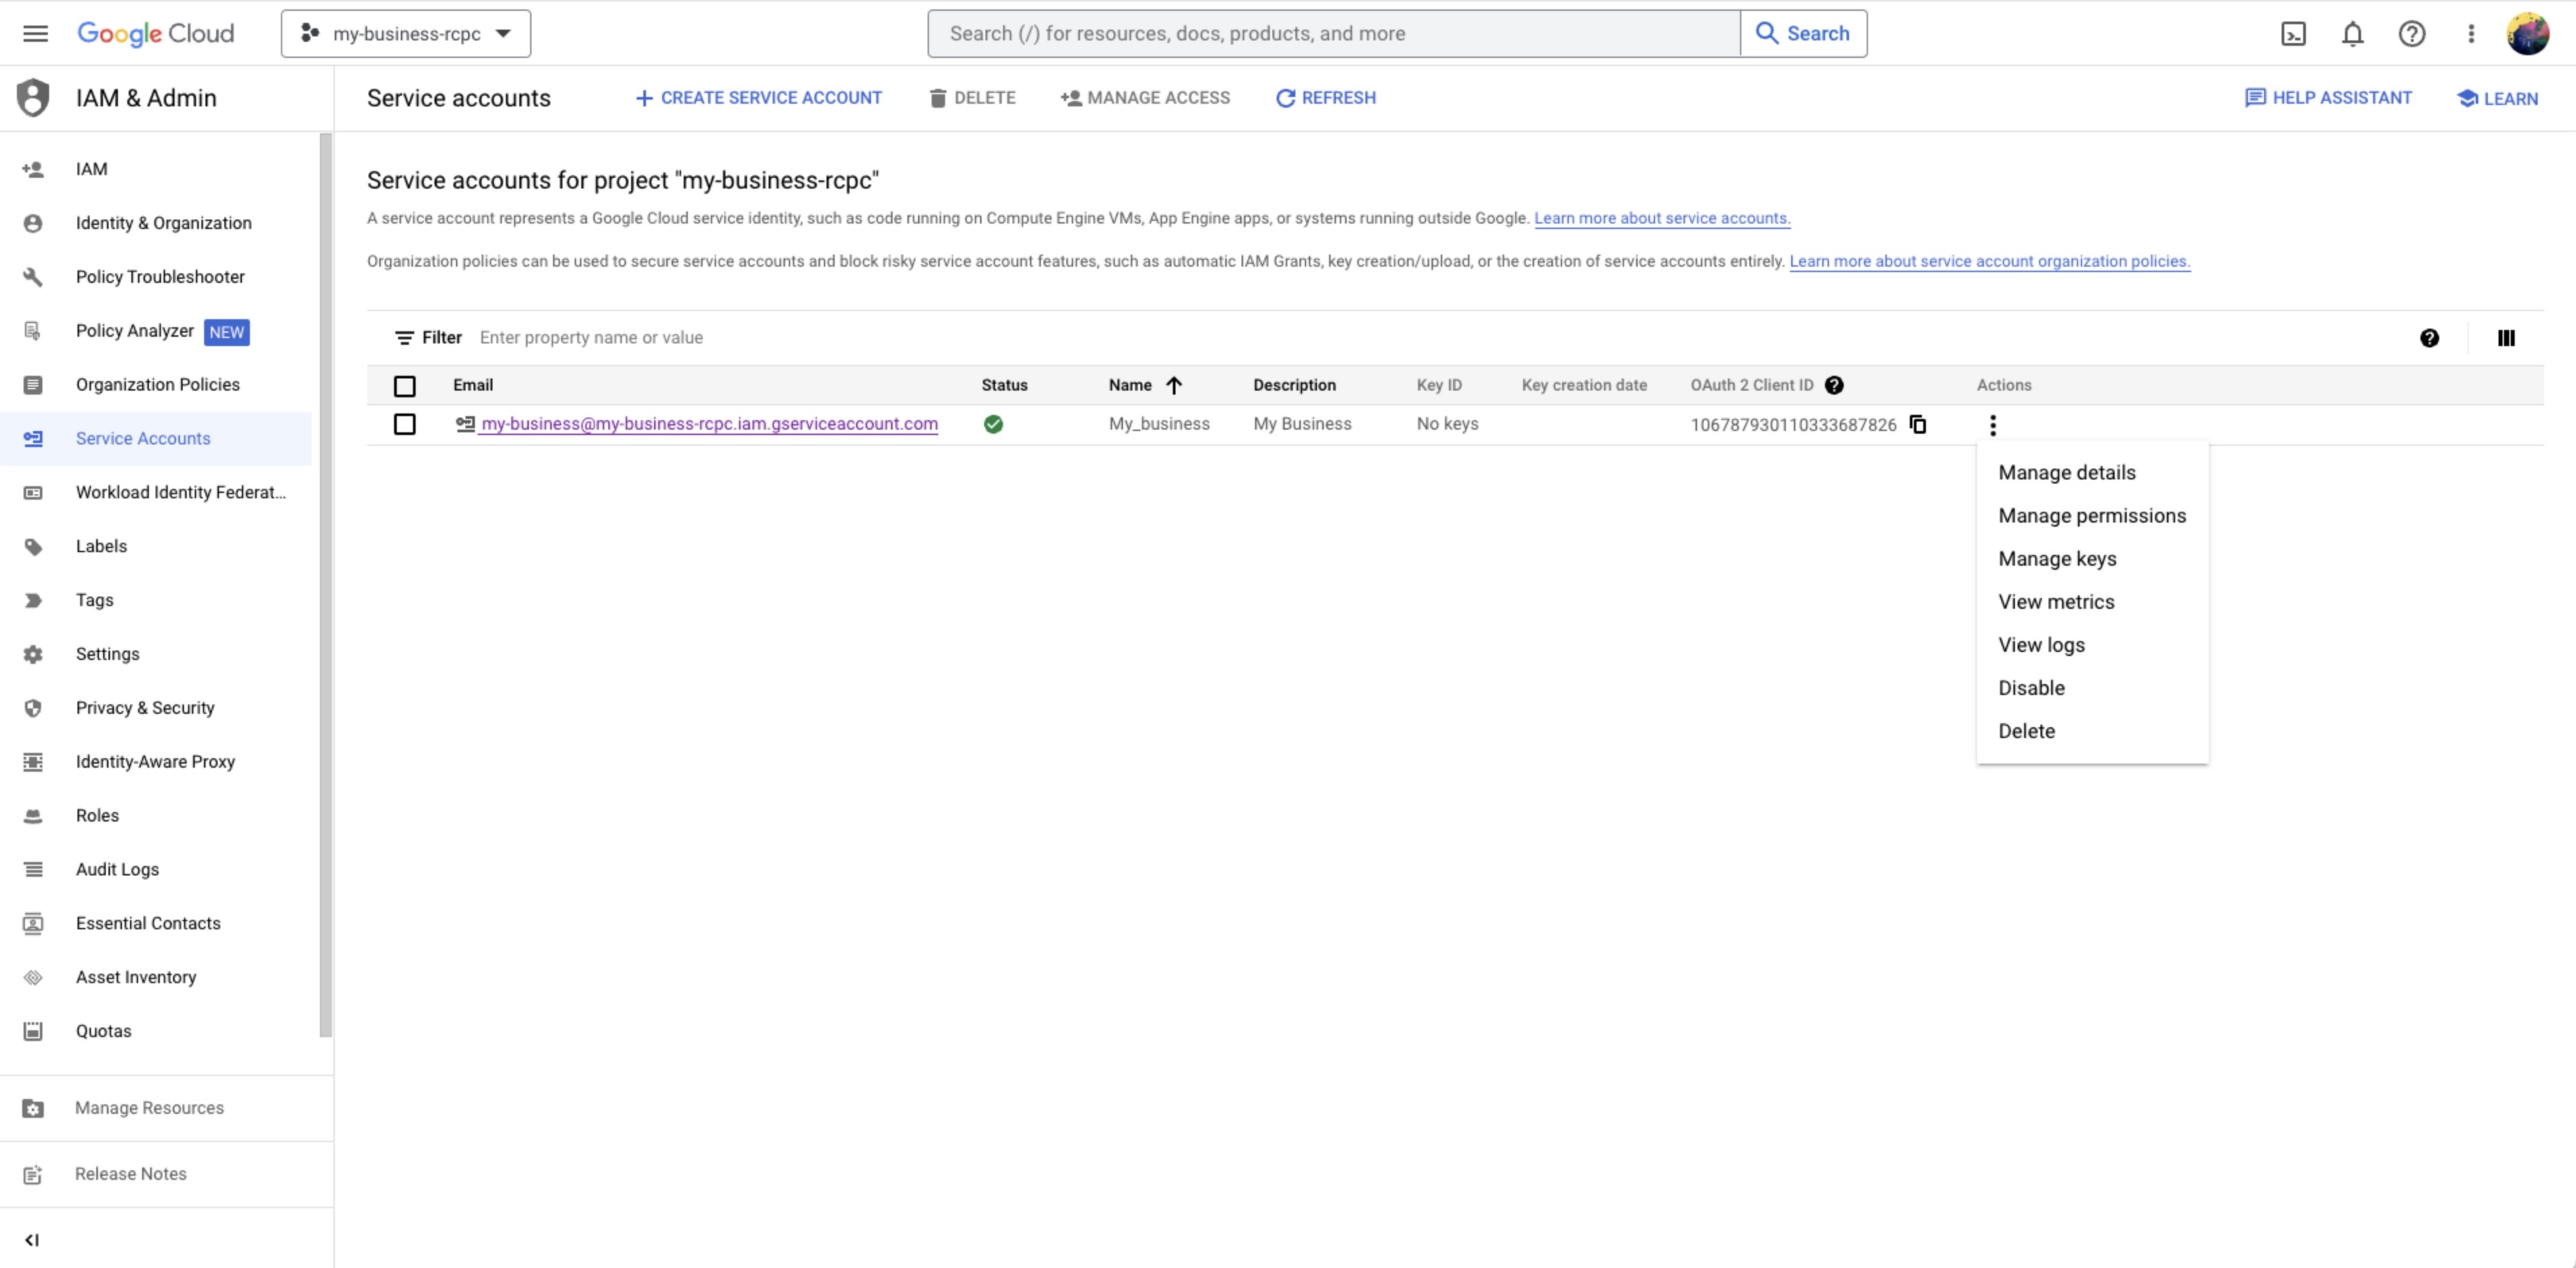
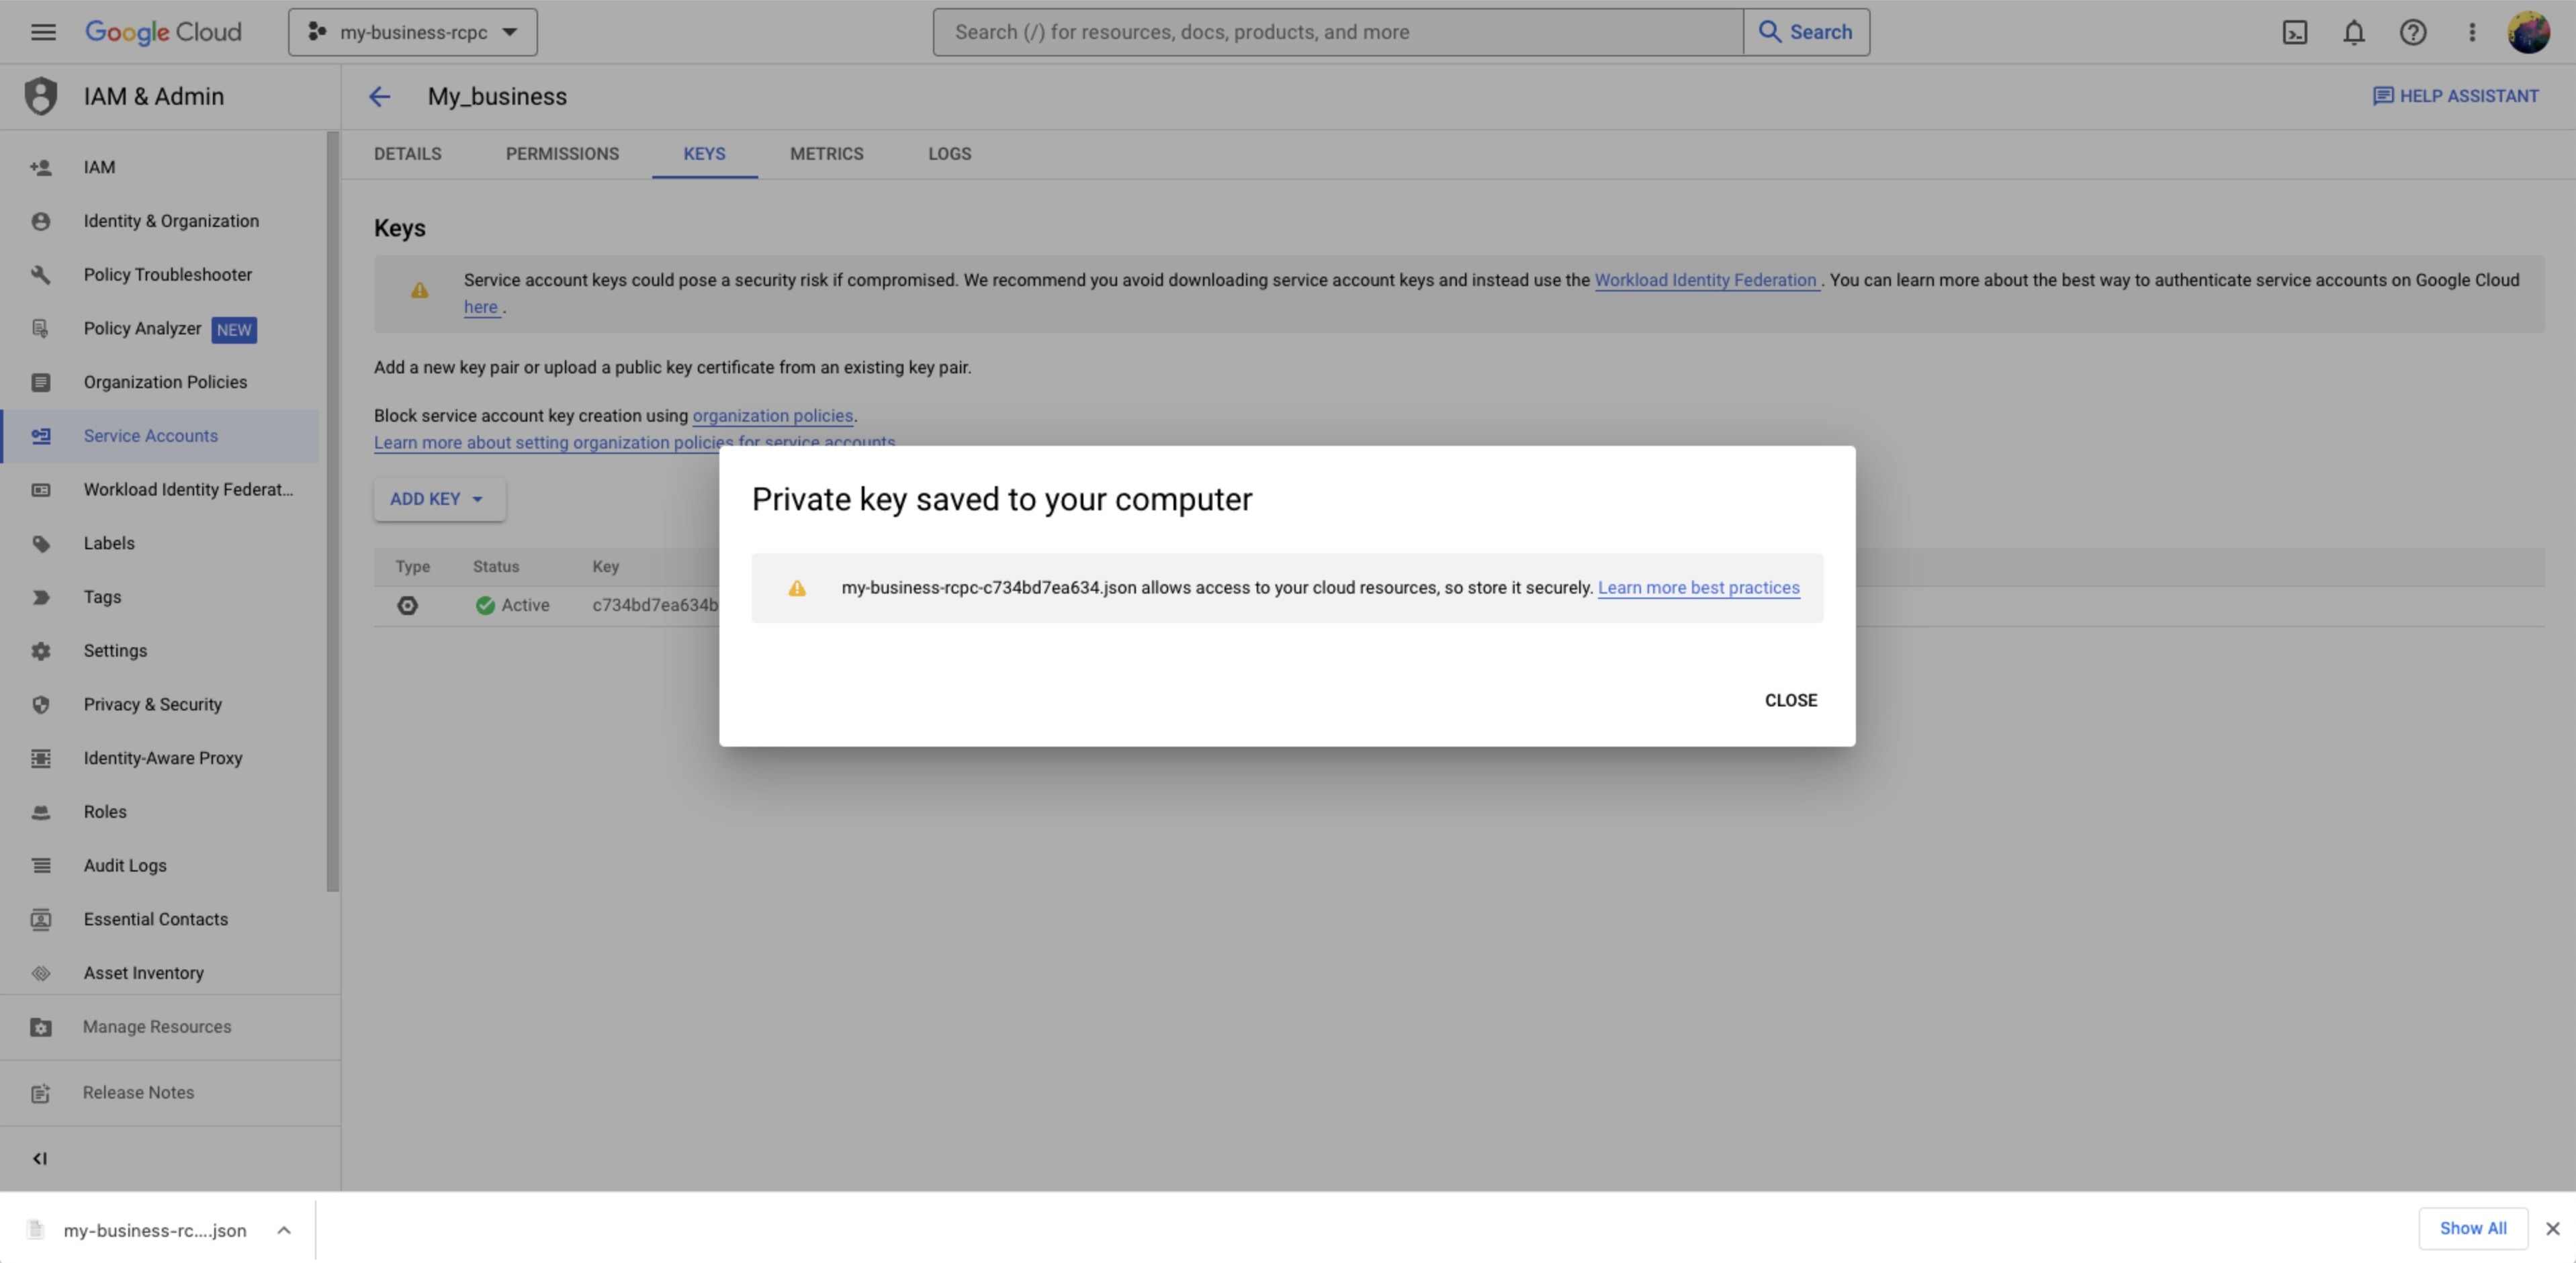
**Step 10:** Locate the previously created Service Account and select **Manage Key** from the actions menu.
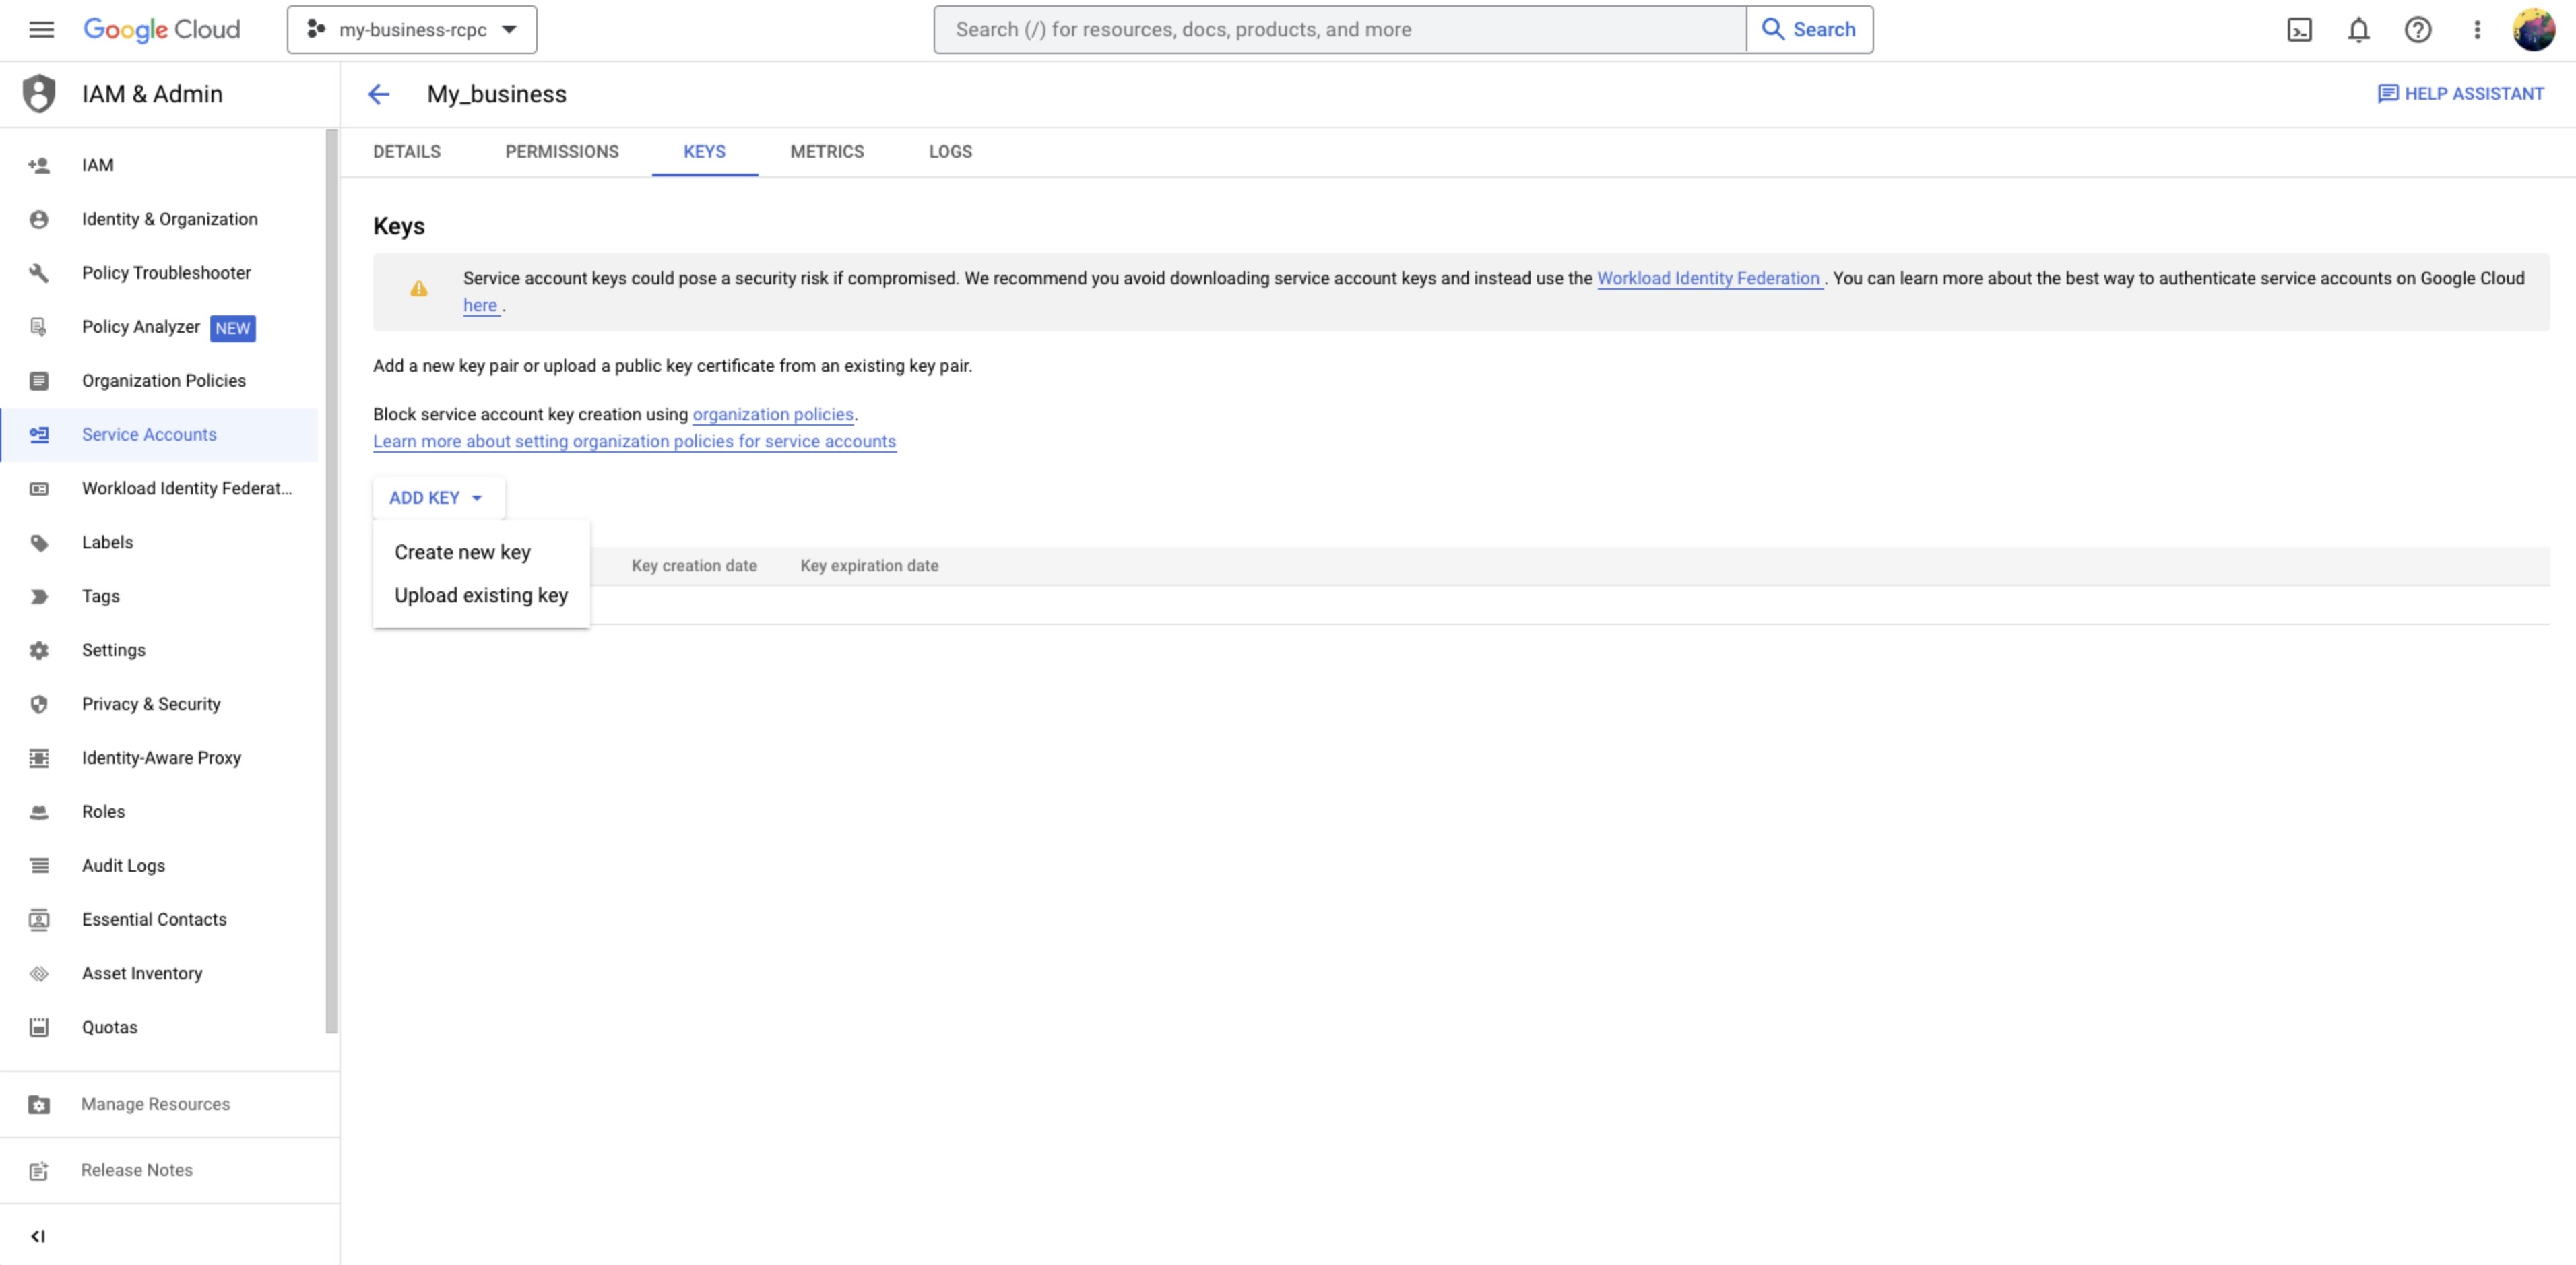
**Step 11:** In the Keys screen, click **ADD KEY** > **Create new key** and select **JSON** when prompted which format of key is preferred > click **CREATE**
{% hint style="success" %}
The JSON file will be automatically downloaded to your computer's **Downloads** folder.
{% endhint %}
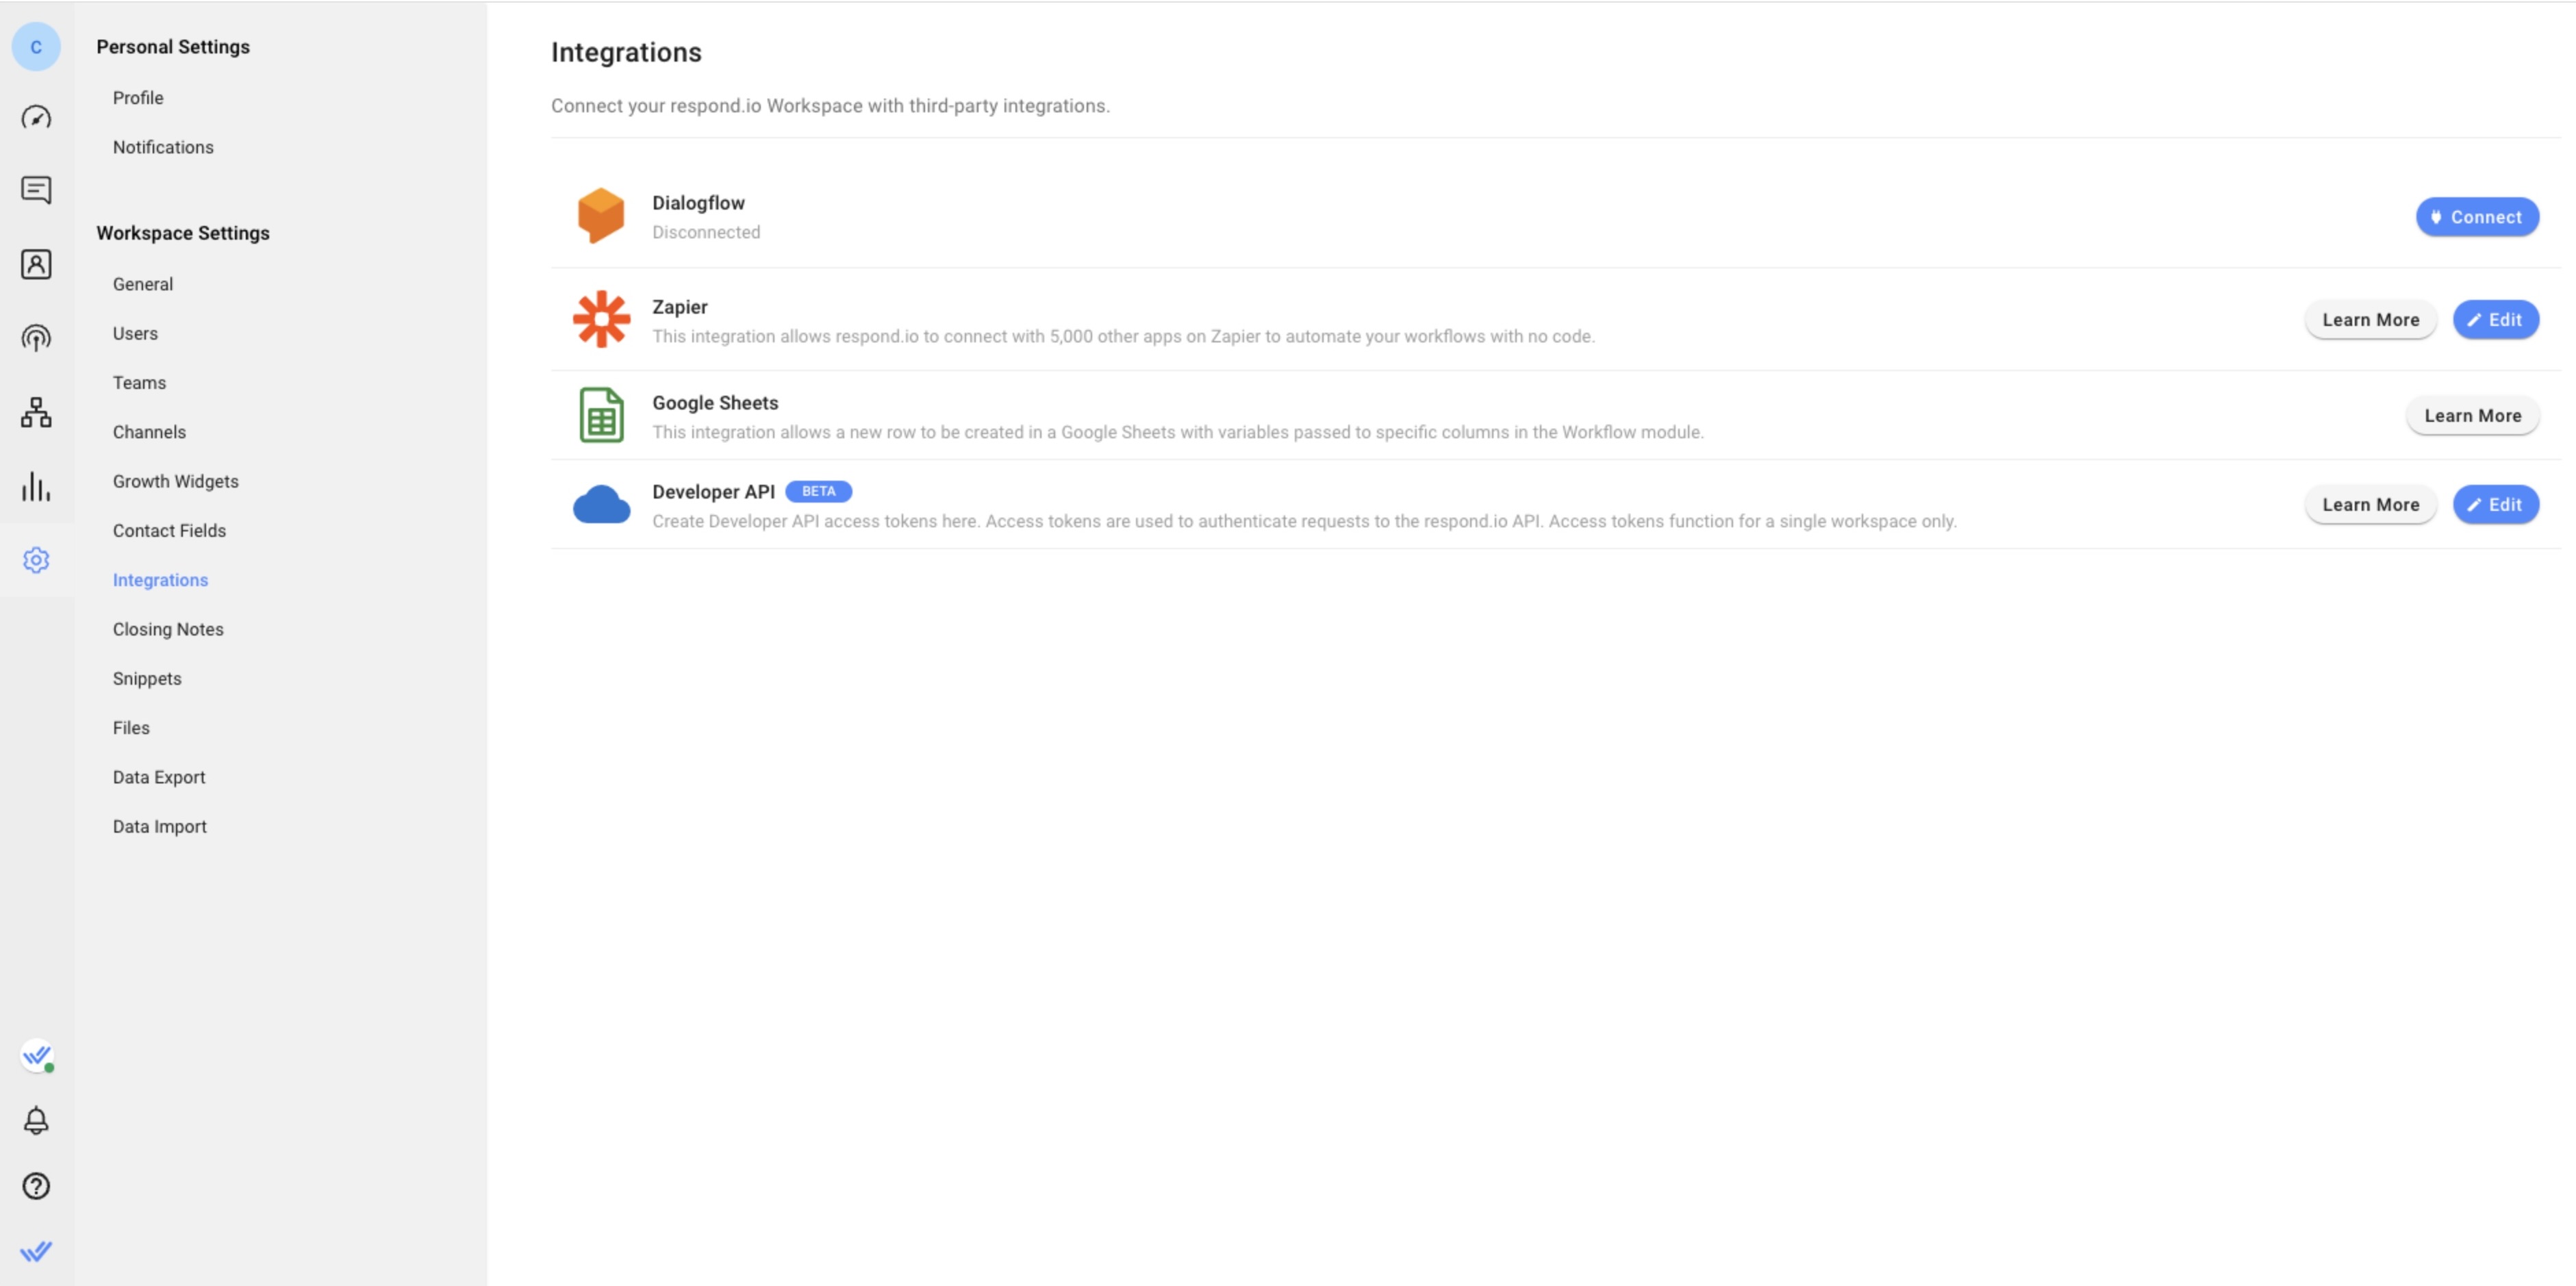
**Step 12:** Log in to IS-Messenger with your user account and navigate to **Settings** > **Integrations**
**Step 13:** From the list, search for Dialogflow and click **Connect**.
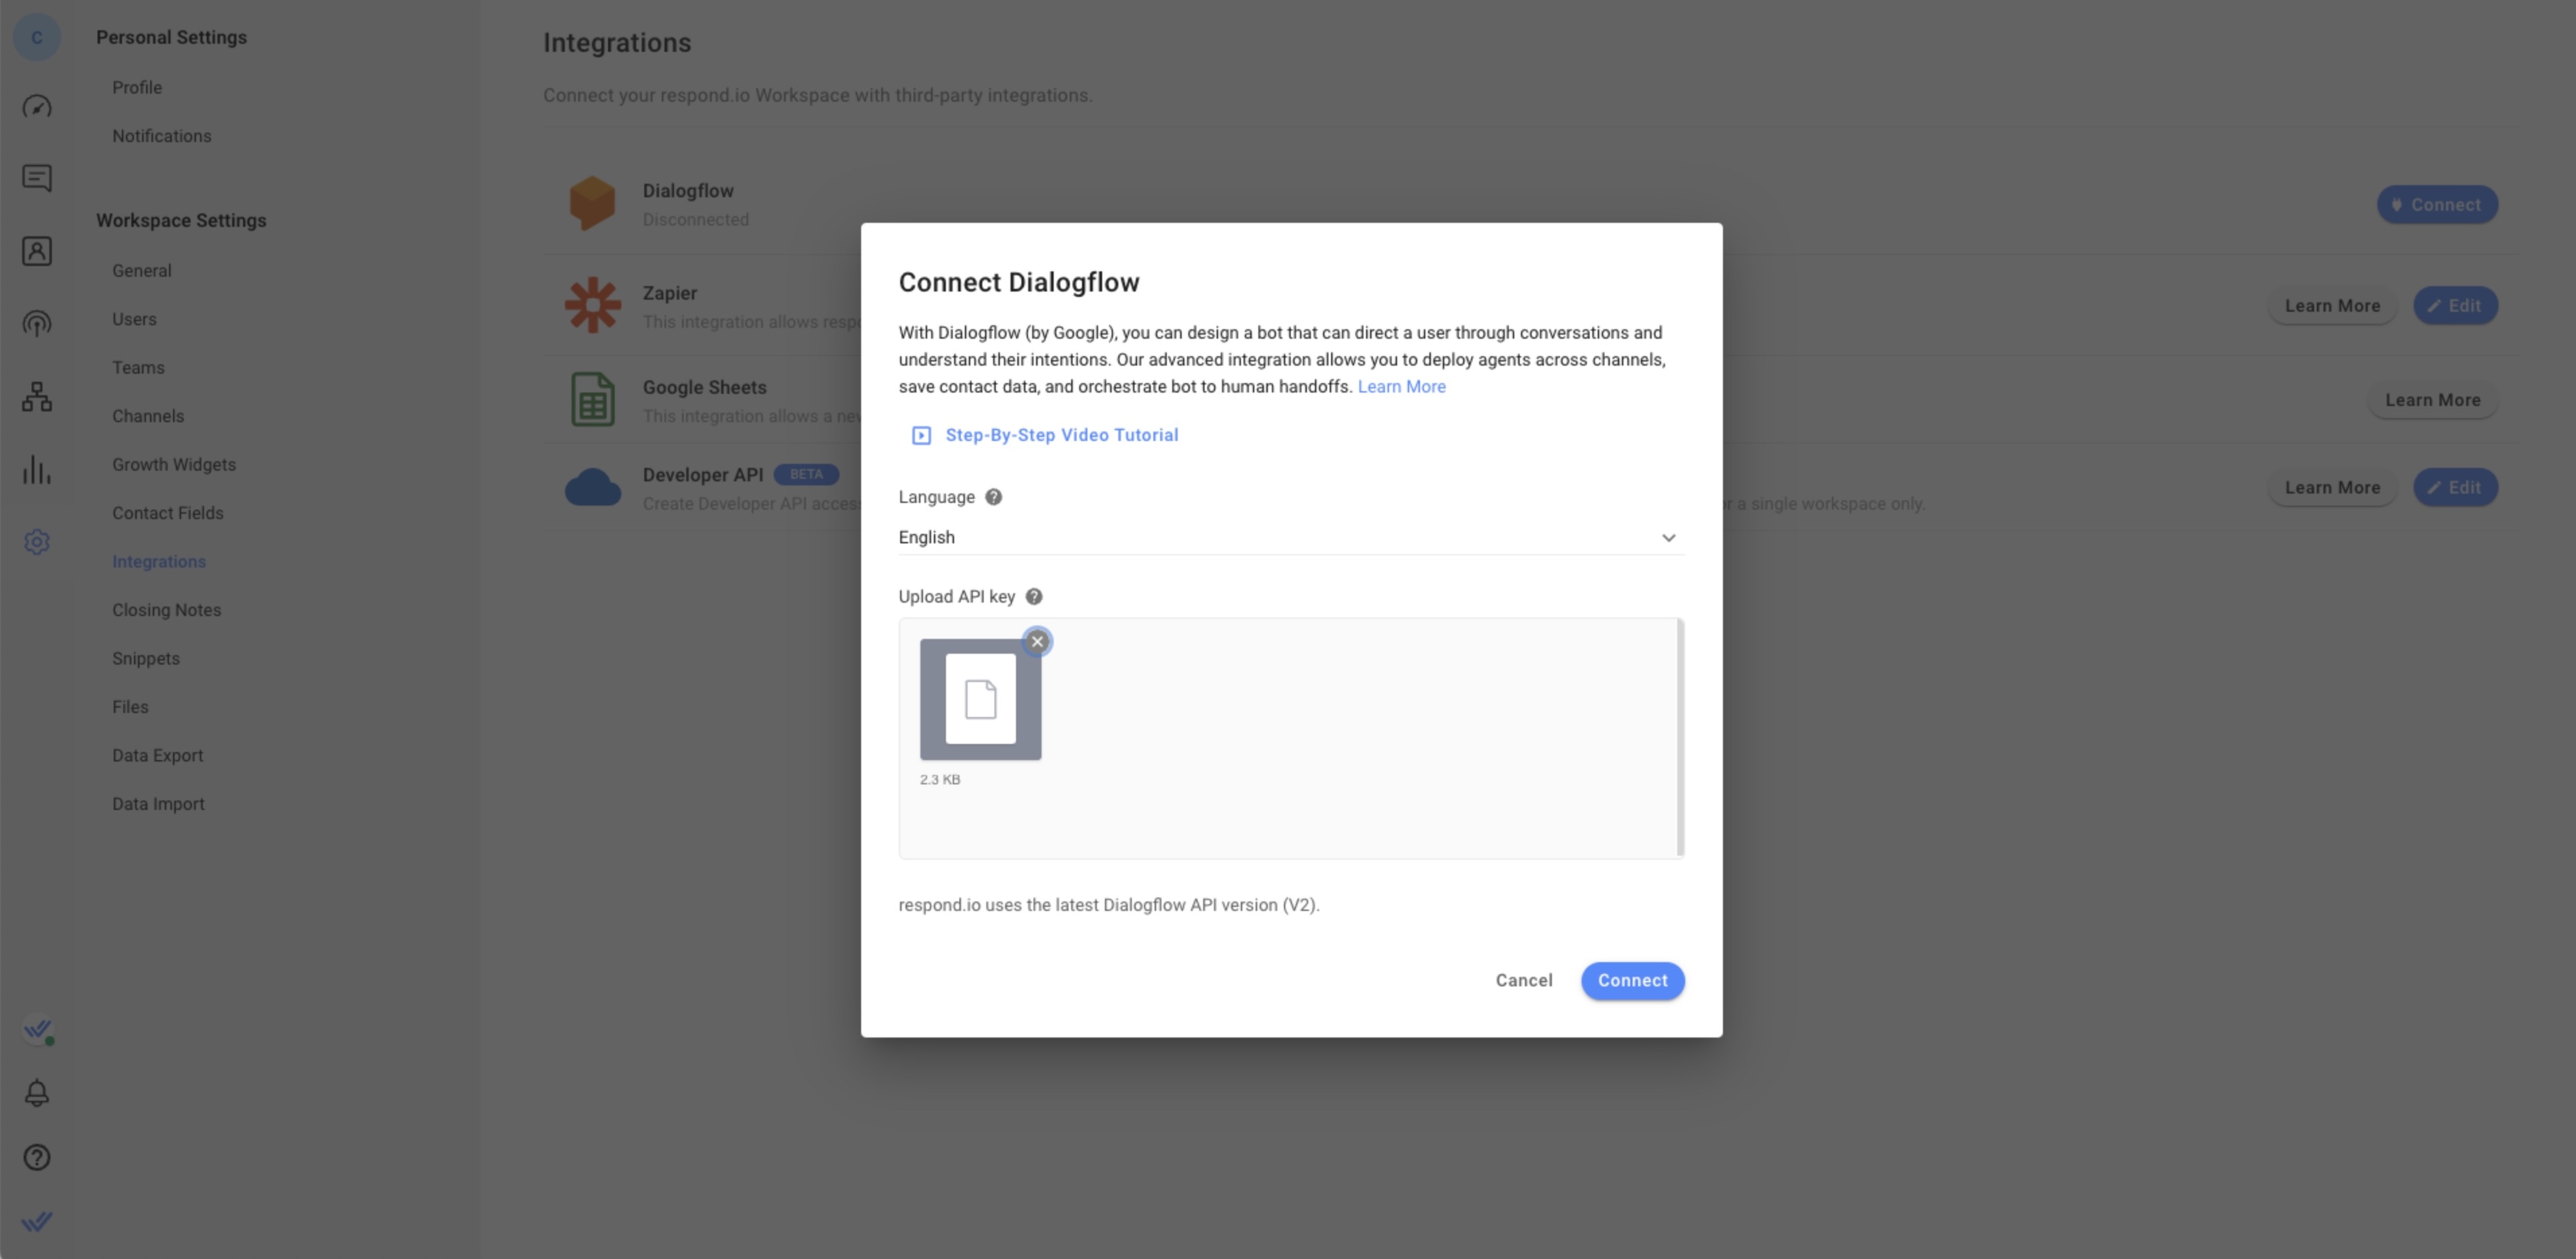
**Step 14:** Select the language of your target audience and upload the JSON file downloaded from **Step 11**.
**Step 15:** Click **Connect** to connect the Dialogflow Agent to the platform.
{% hint style="success" %}
Your Dialogflow Agent is now connected to the IS-Messenger platform. The Agent will start to respond to any incoming messages.
{% endhint %}
{% hint style="warning" %}
Having trouble with connecting to Dialogflow? Contact us [here](/ismessenger/modules/contacts.md).
{% endhint %}
### Dialogflow Multilingual Agent
When creating an agent in Dialogflow, the language you choose is set as the default language. With the Multilingual Agent feature your agent can now support additional languages.
### **How Dialogflow Multilingual Agent works in** IS-Messenger
The Language Field in the contact’s details on the IS-Messenger platform is used in the request sent to Dialogflow. When a request is sent to Dialogflow, the contact's language will be included and Dialogflow will resolve and respond according to the language value.
Example: If the Contact's Language Field is English, the platform will request an *en* response and if the Language Field is Spanish the platform will request the *es* response.
{% hint style="info" %}
Learn more about [Multilingual Agents here](https://cloud.google.com/dialogflow/es/docs/agents-multilingual#add).
{% endhint %}
{% hint style="success" %}
For this to work, you will first need to create a Multilingual Agent in your Dialogflow account.
{% endhint %}
### **How to Create a Multilingual Agent**
To create a Multilingual Agent, follow the steps below.
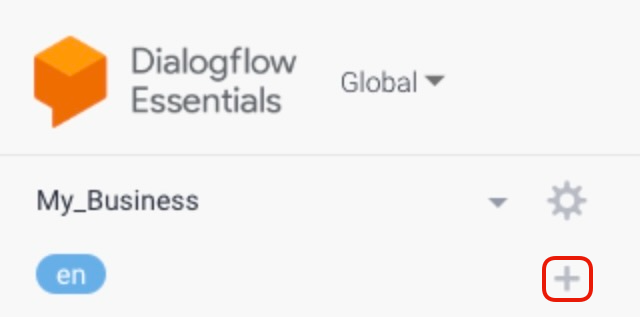
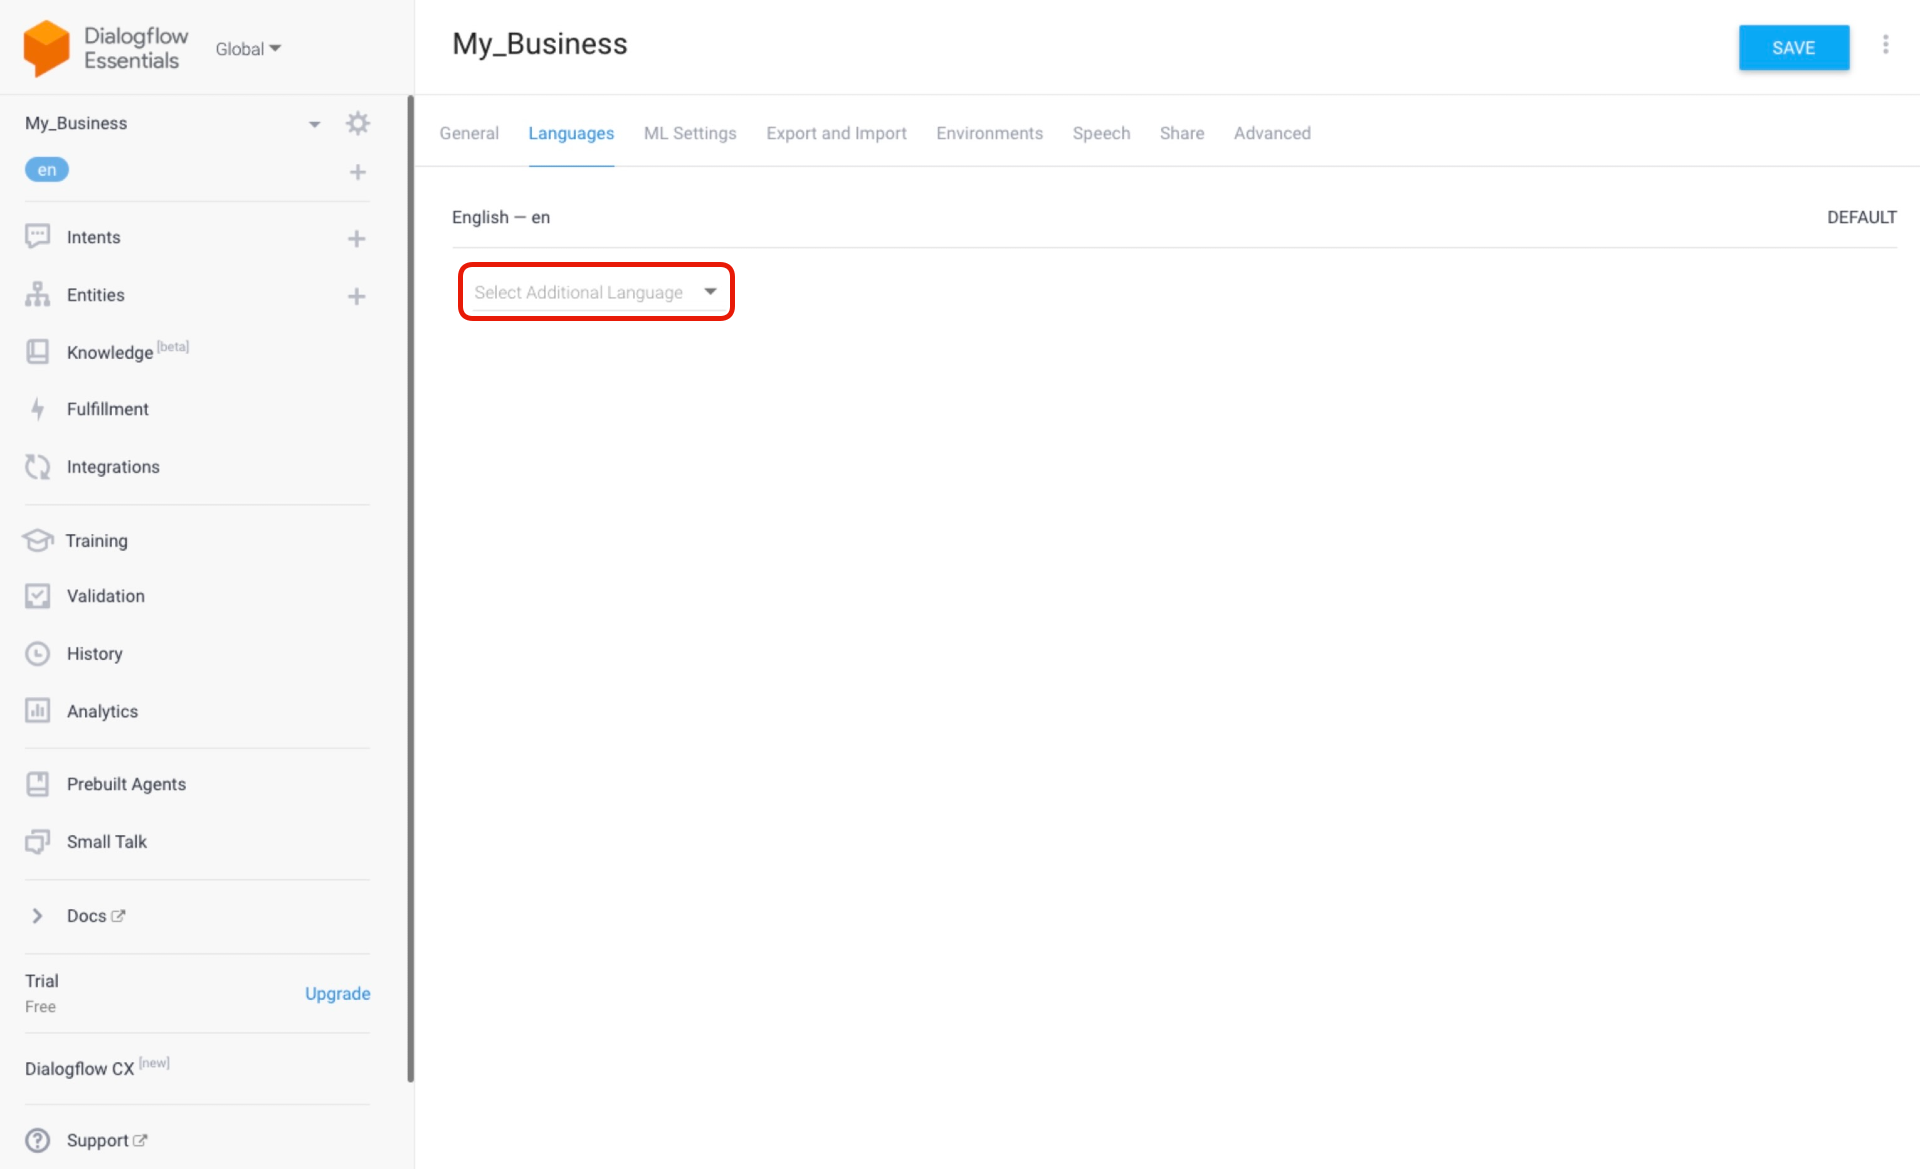
**Step 1:** In the left sidebar menu, click the **+** button to add another language.
**Step 2:** In the **Languages** tab click **Select Additional Language** and select an additional language from the dropdown menu.
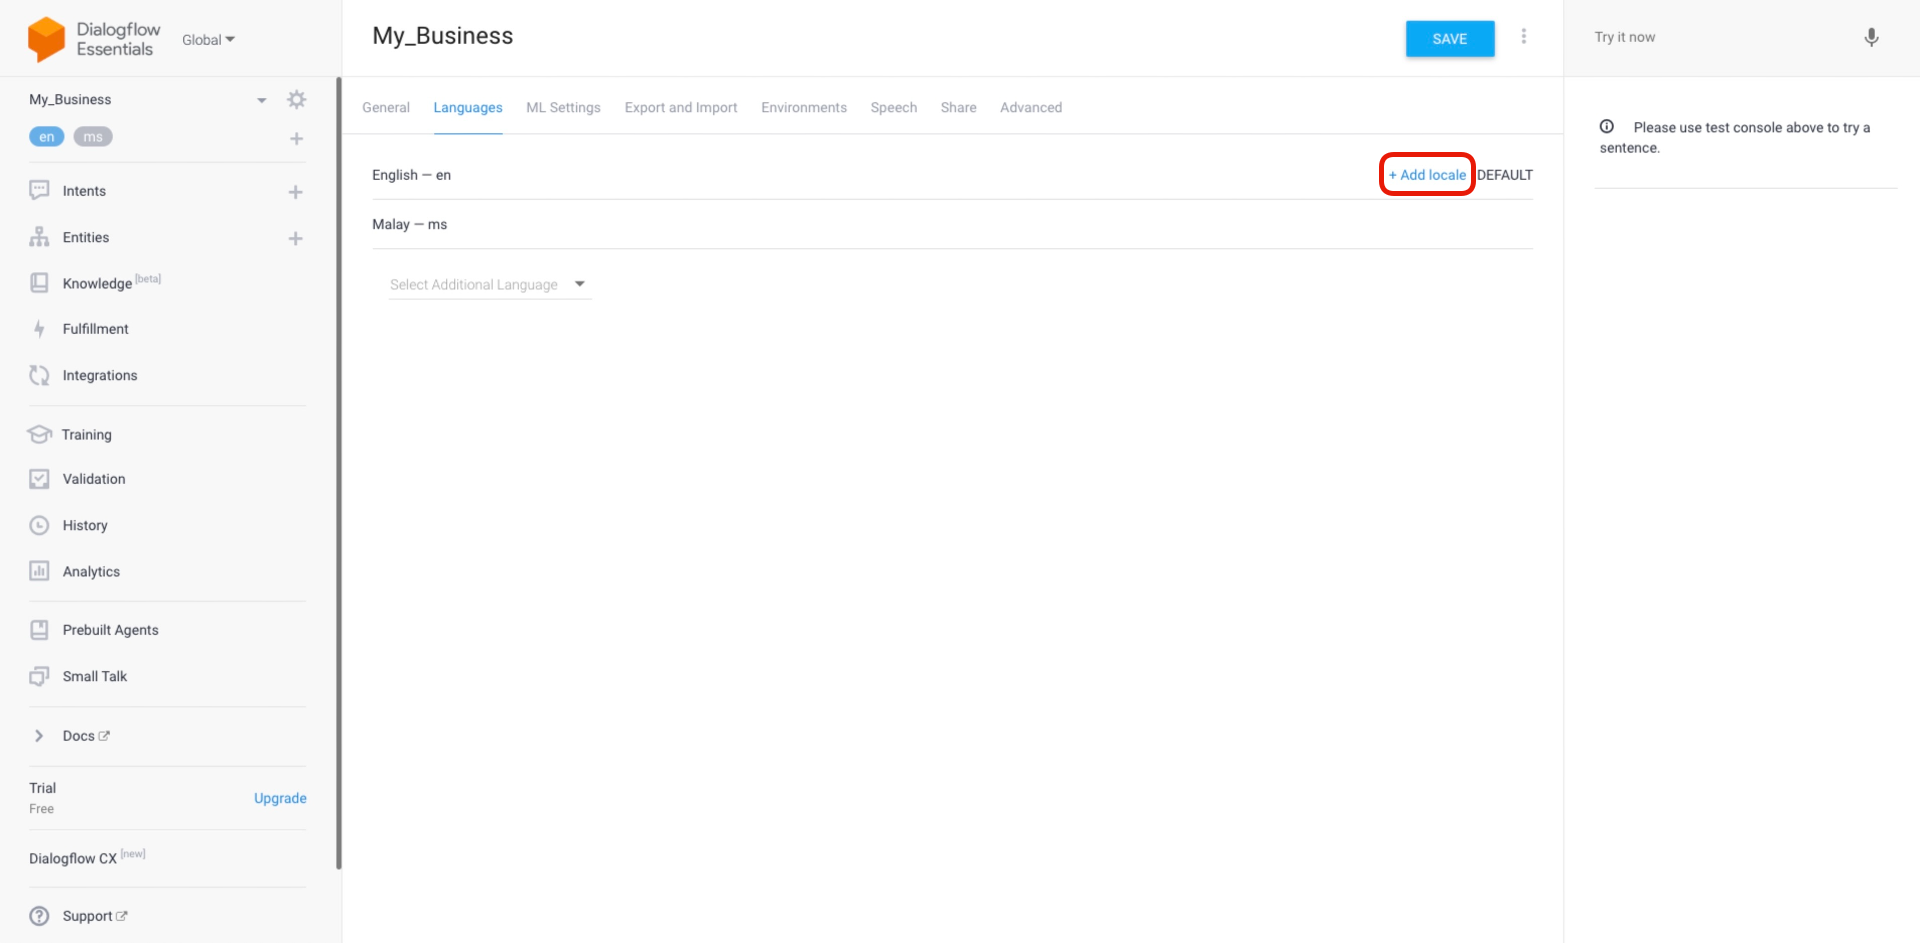
**Step 3:** To add language localization for a specific region, hover over the language and click **+ Add locale**.
{% hint style="success" %}
Locale-specific languages are languages that are specific to a region or a country.
{% endhint %}
**Step 4:** Click **SAVE**
{% hint style="success" %}
The Language Field on the platform must be filled for the Dialogflow Multilingual Agent to work. Learn more about [Contact Fields here](/ismessenger/workspace-setting/contact-fields.md).
{% endhint %}
#### What's next?
The interaction between Dialogflow Agent and Contact is managed by intents. In summary, intents are used to describe the expected behavior for one conversation turn based on the prescribed incoming behavior.
Read more on how to manage intents:
{% content-ref url="/pages/aDeNohON6Y2xALSQ1m2s" %}
[Dialogflow : Managing Intents](/ismessenger/workspace-setting/integrations/dialogflow/dialogflow-managing-intents.md)
{% endcontent-ref %}
---
# Agent Instructions: Querying This Documentation
If you need additional information that is not directly available in this page, you can query the documentation dynamically by asking a question.
Perform an HTTP GET request on the current page URL with the `ask` query parameter:
```
GET https://docs.is-messenger.com/ismessenger/workspace-setting/integrations/dialogflow/dialogflow-connecting-to-dialogflow.md?ask=
```
The question should be specific, self-contained, and written in natural language.
The response will contain a direct answer to the question and relevant excerpts and sources from the documentation.
Use this mechanism when the answer is not explicitly present in the current page, you need clarification or additional context, or you want to retrieve related documentation sections.