# Install Website Chat Widget on WordPress
Adding a web chat widget to your WordPress website is a quick and easy process. It does not require any coding skills or technical knowledge.
#### Setting Up for Installation
In order to install a web chat widget on WordPress, you will need the following:
* Access to your website's WordPress Dashboard.
* A code snippet for your web chat widget.
If you don't have a code snippet already, you will generate one when creating a IS-Messenger [Website Chat Widget](/ismessenger/messaging-channels/website-chat-widget.md) or using the [Facebook Chat Plugin](/ismessenger/messaging-channels/facebook-messenger/facebook-chat-plugin.md) for [Facebook Messenger](/ismessenger/messaging-channels/facebook-messenger.md).
{% hint style="info" %}
If you have the channels already connected on the IS-Messenger platform and you need to retrieve the generated code snippet, follow the [instructions here](/ismessenger/messaging-channels/website-chat-widget.md).
{% endhint %}
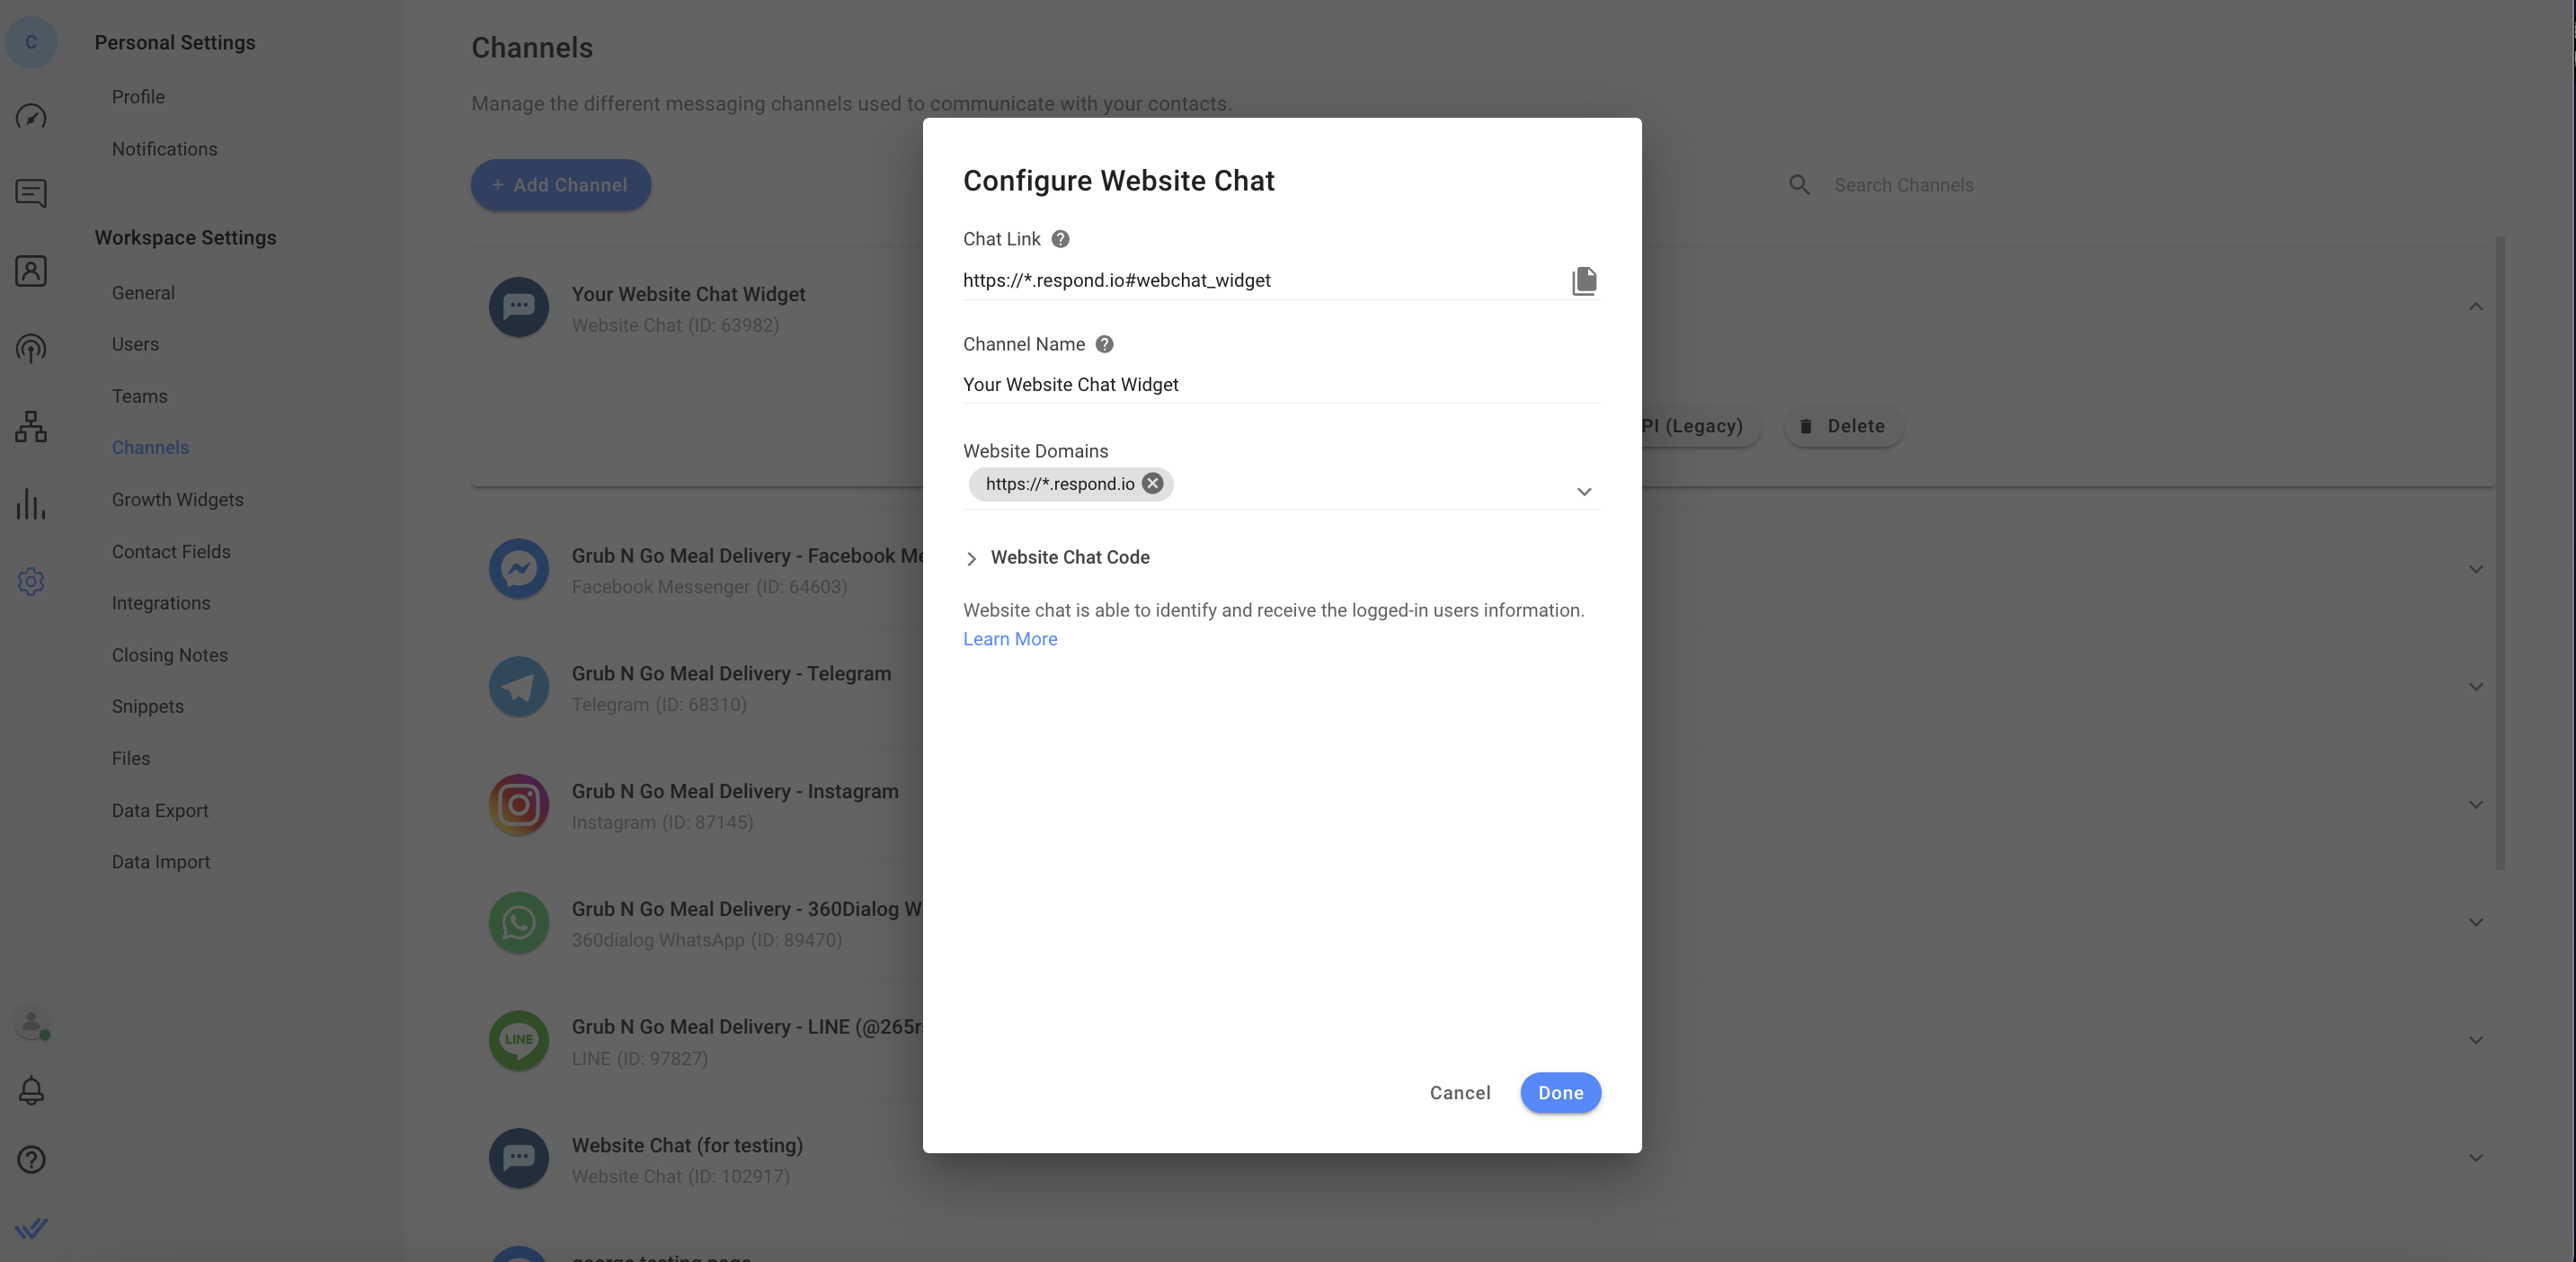
For successful installation, ensure your website domain is filled in. There are two ways to go about this.
Go to IS-Messenger **Settings** > select **Channels** > select your website chat channel > click configure > add website domain.
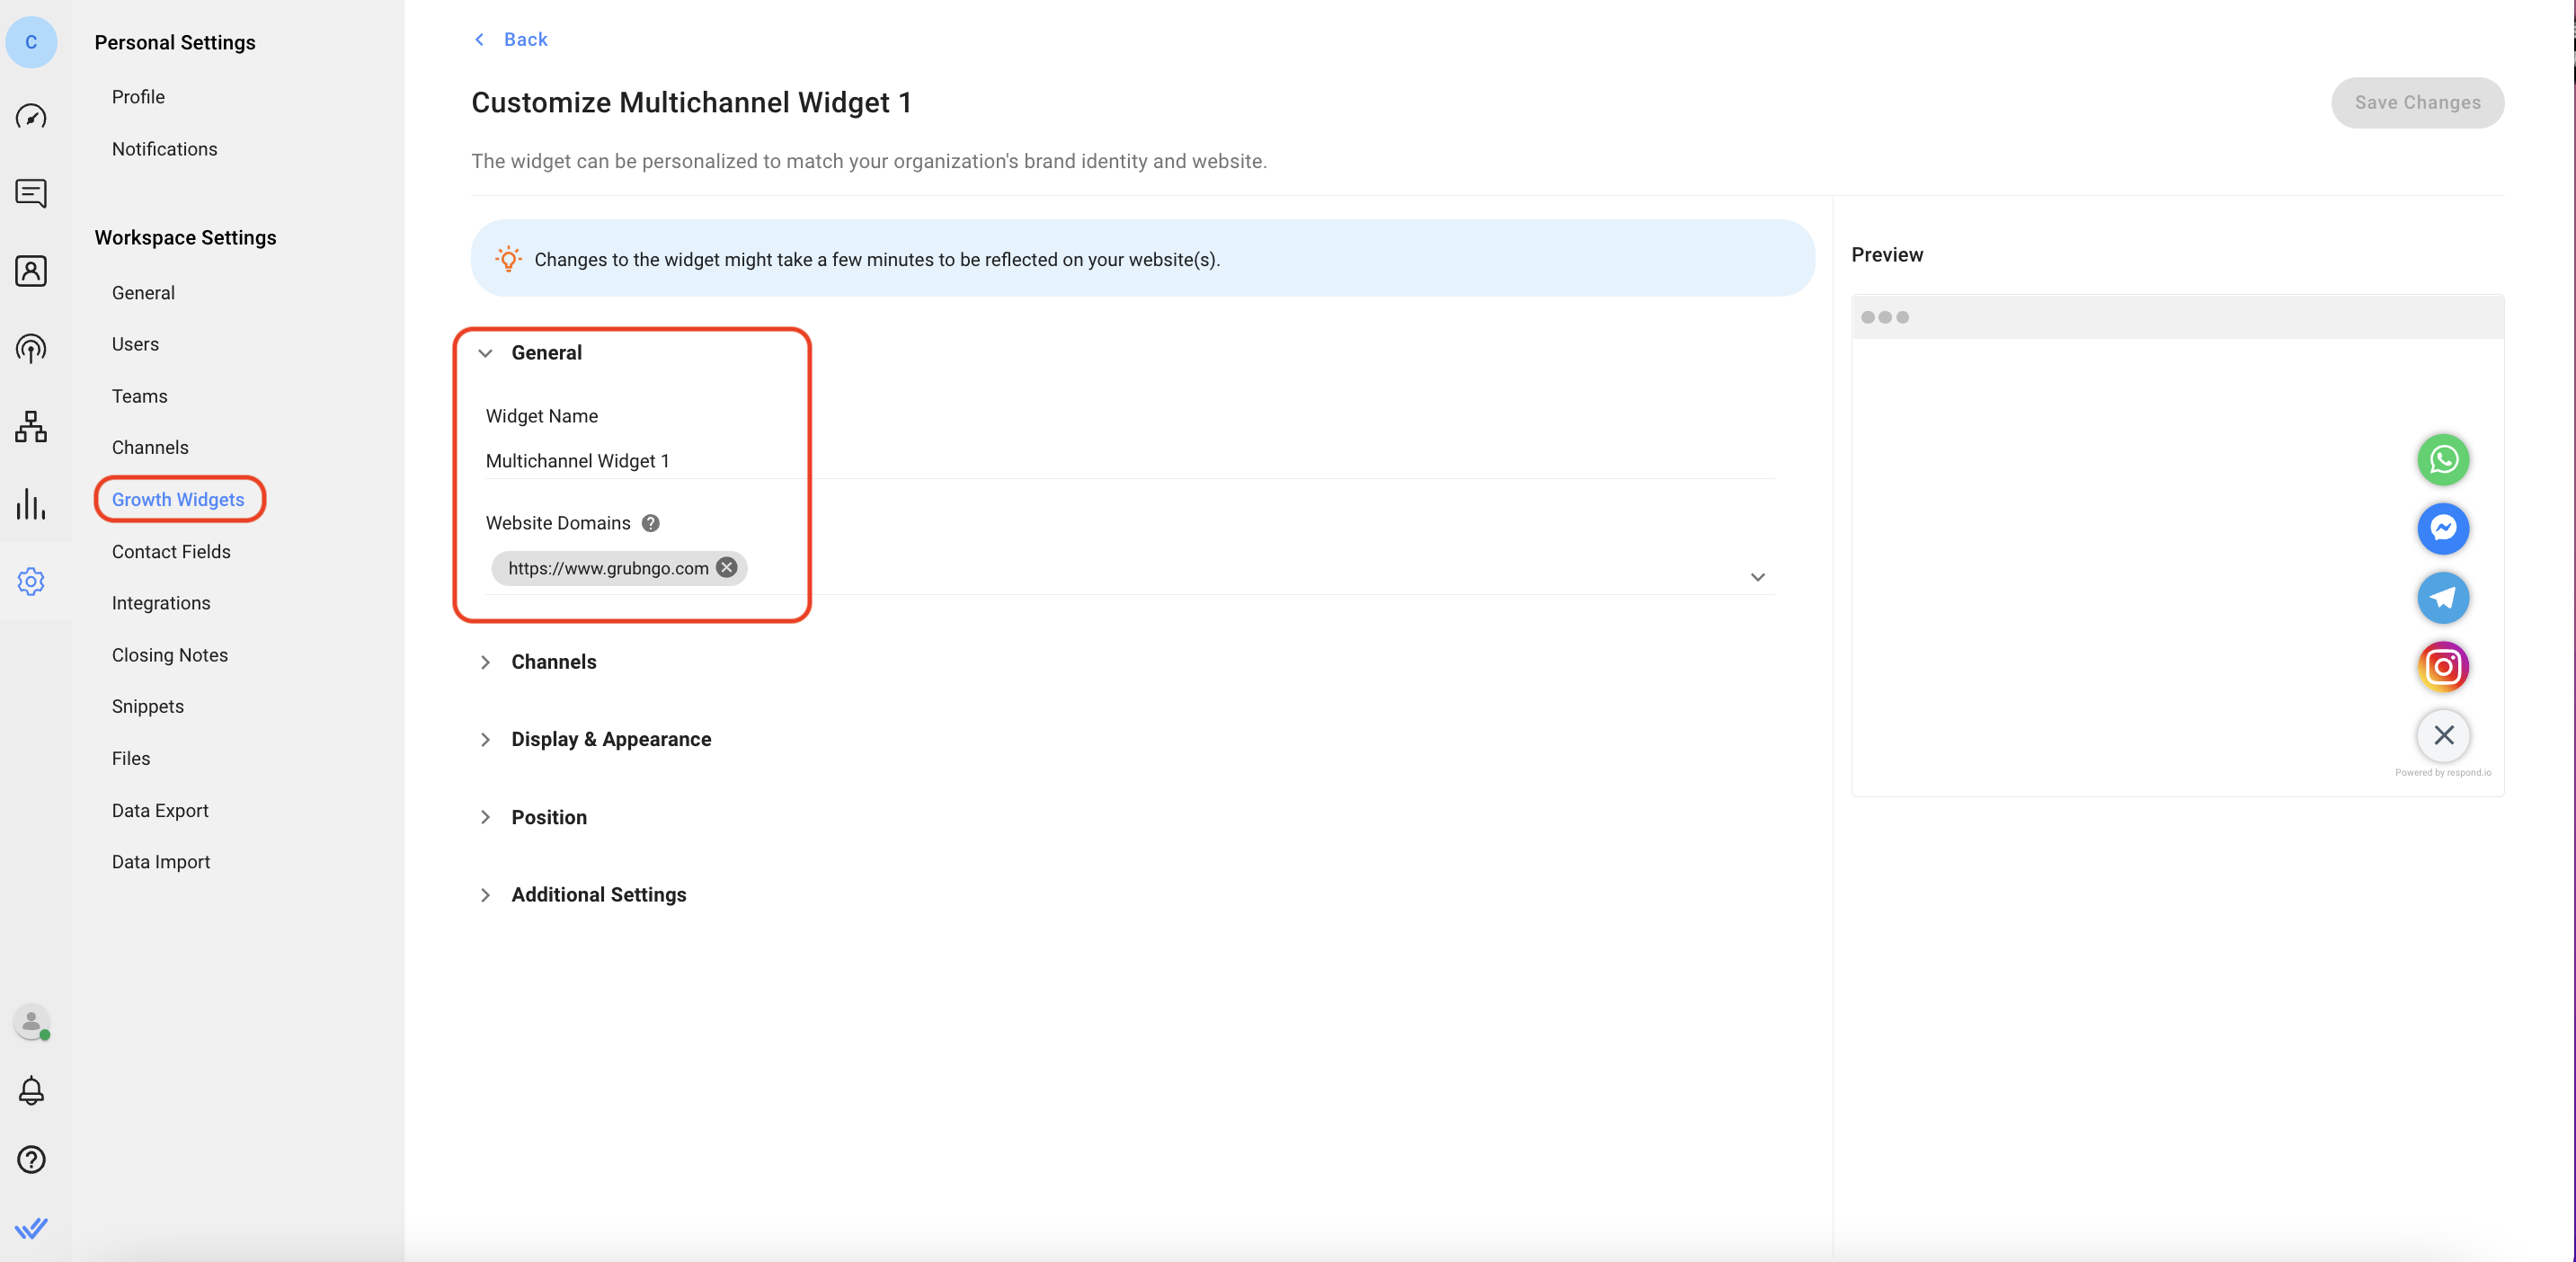
Go to IS-Messenger settings > select **Growth Widgets** > click on the widget you want to add to your website > in the **General** toggle, add your website domain to the **Website Domains** field.
#### Installing on WordPress
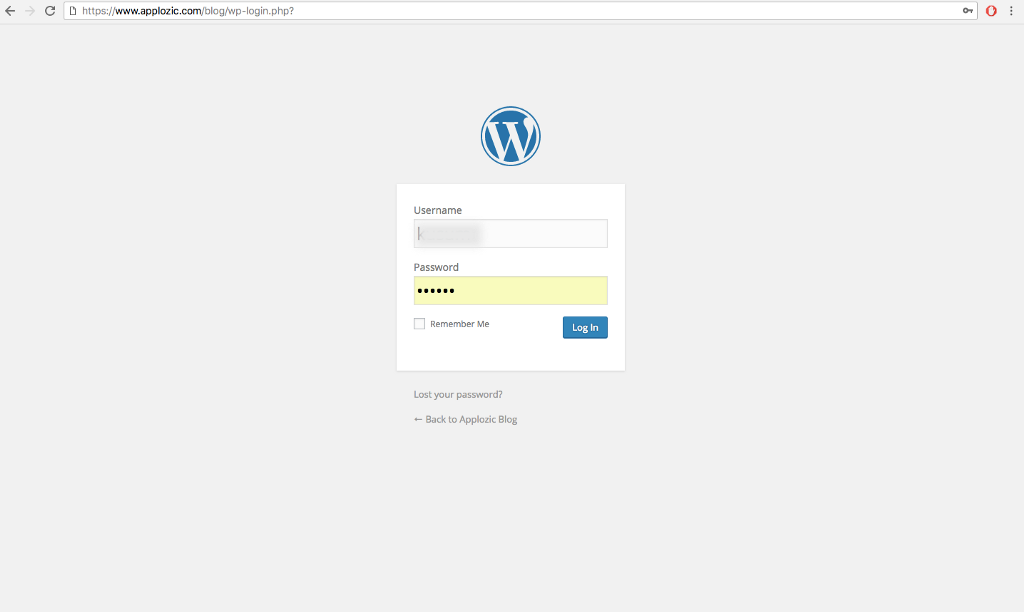
**Step 1: Log in to WordPress**
Navigate to your website’s WordPress Admin Dashboard and log in.
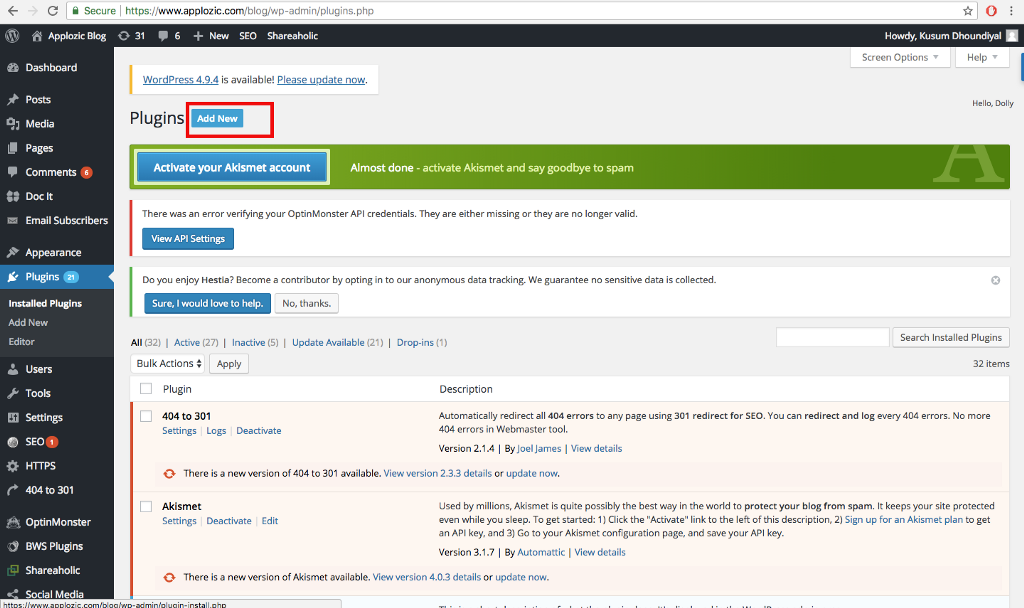
**Step 2: Navigate to the Plugins Page**
From the left navigation panel, click on **Plugins**. On the Plugins Page, press the blue **Add New** button on the top of the page.
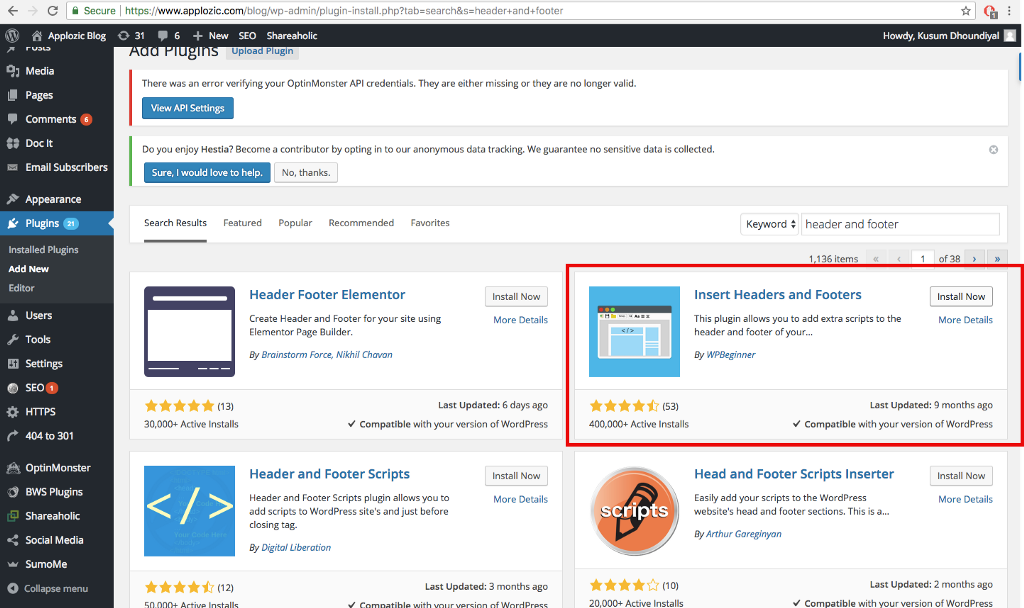
**Step 3: Add New Plugin**
Using the search bar, search for the **Insert Header and Footers** plugin. You will see many options on the search result page that you can use, but we will be using the "Insert Header and Footers" plugin by WPBeginner for this tutorial. Press the **Install Now** button and make sure you activate the plugin to make use of it.
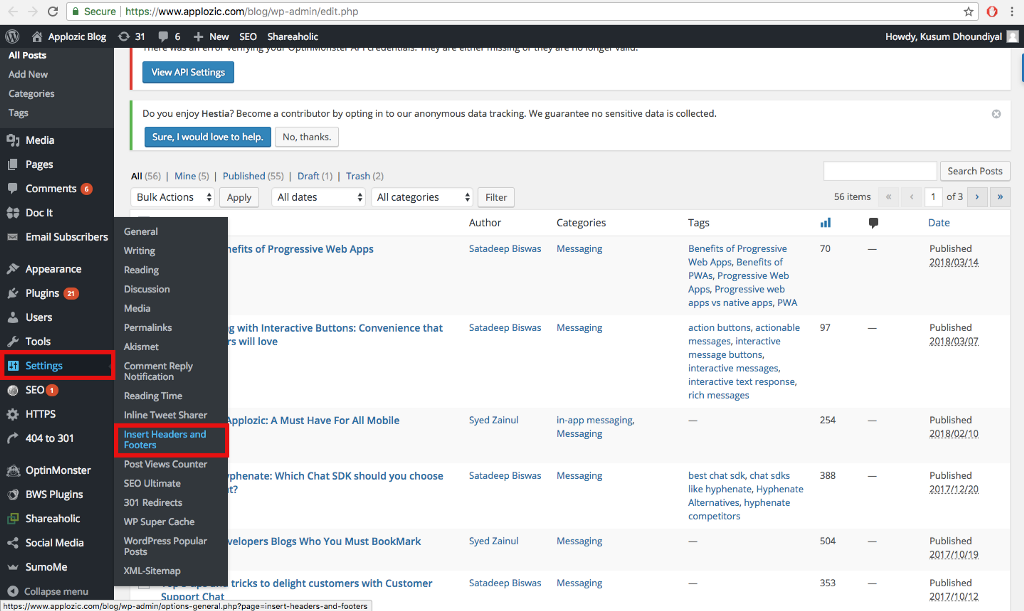
**Step 4: Open Headers and Footer Console**
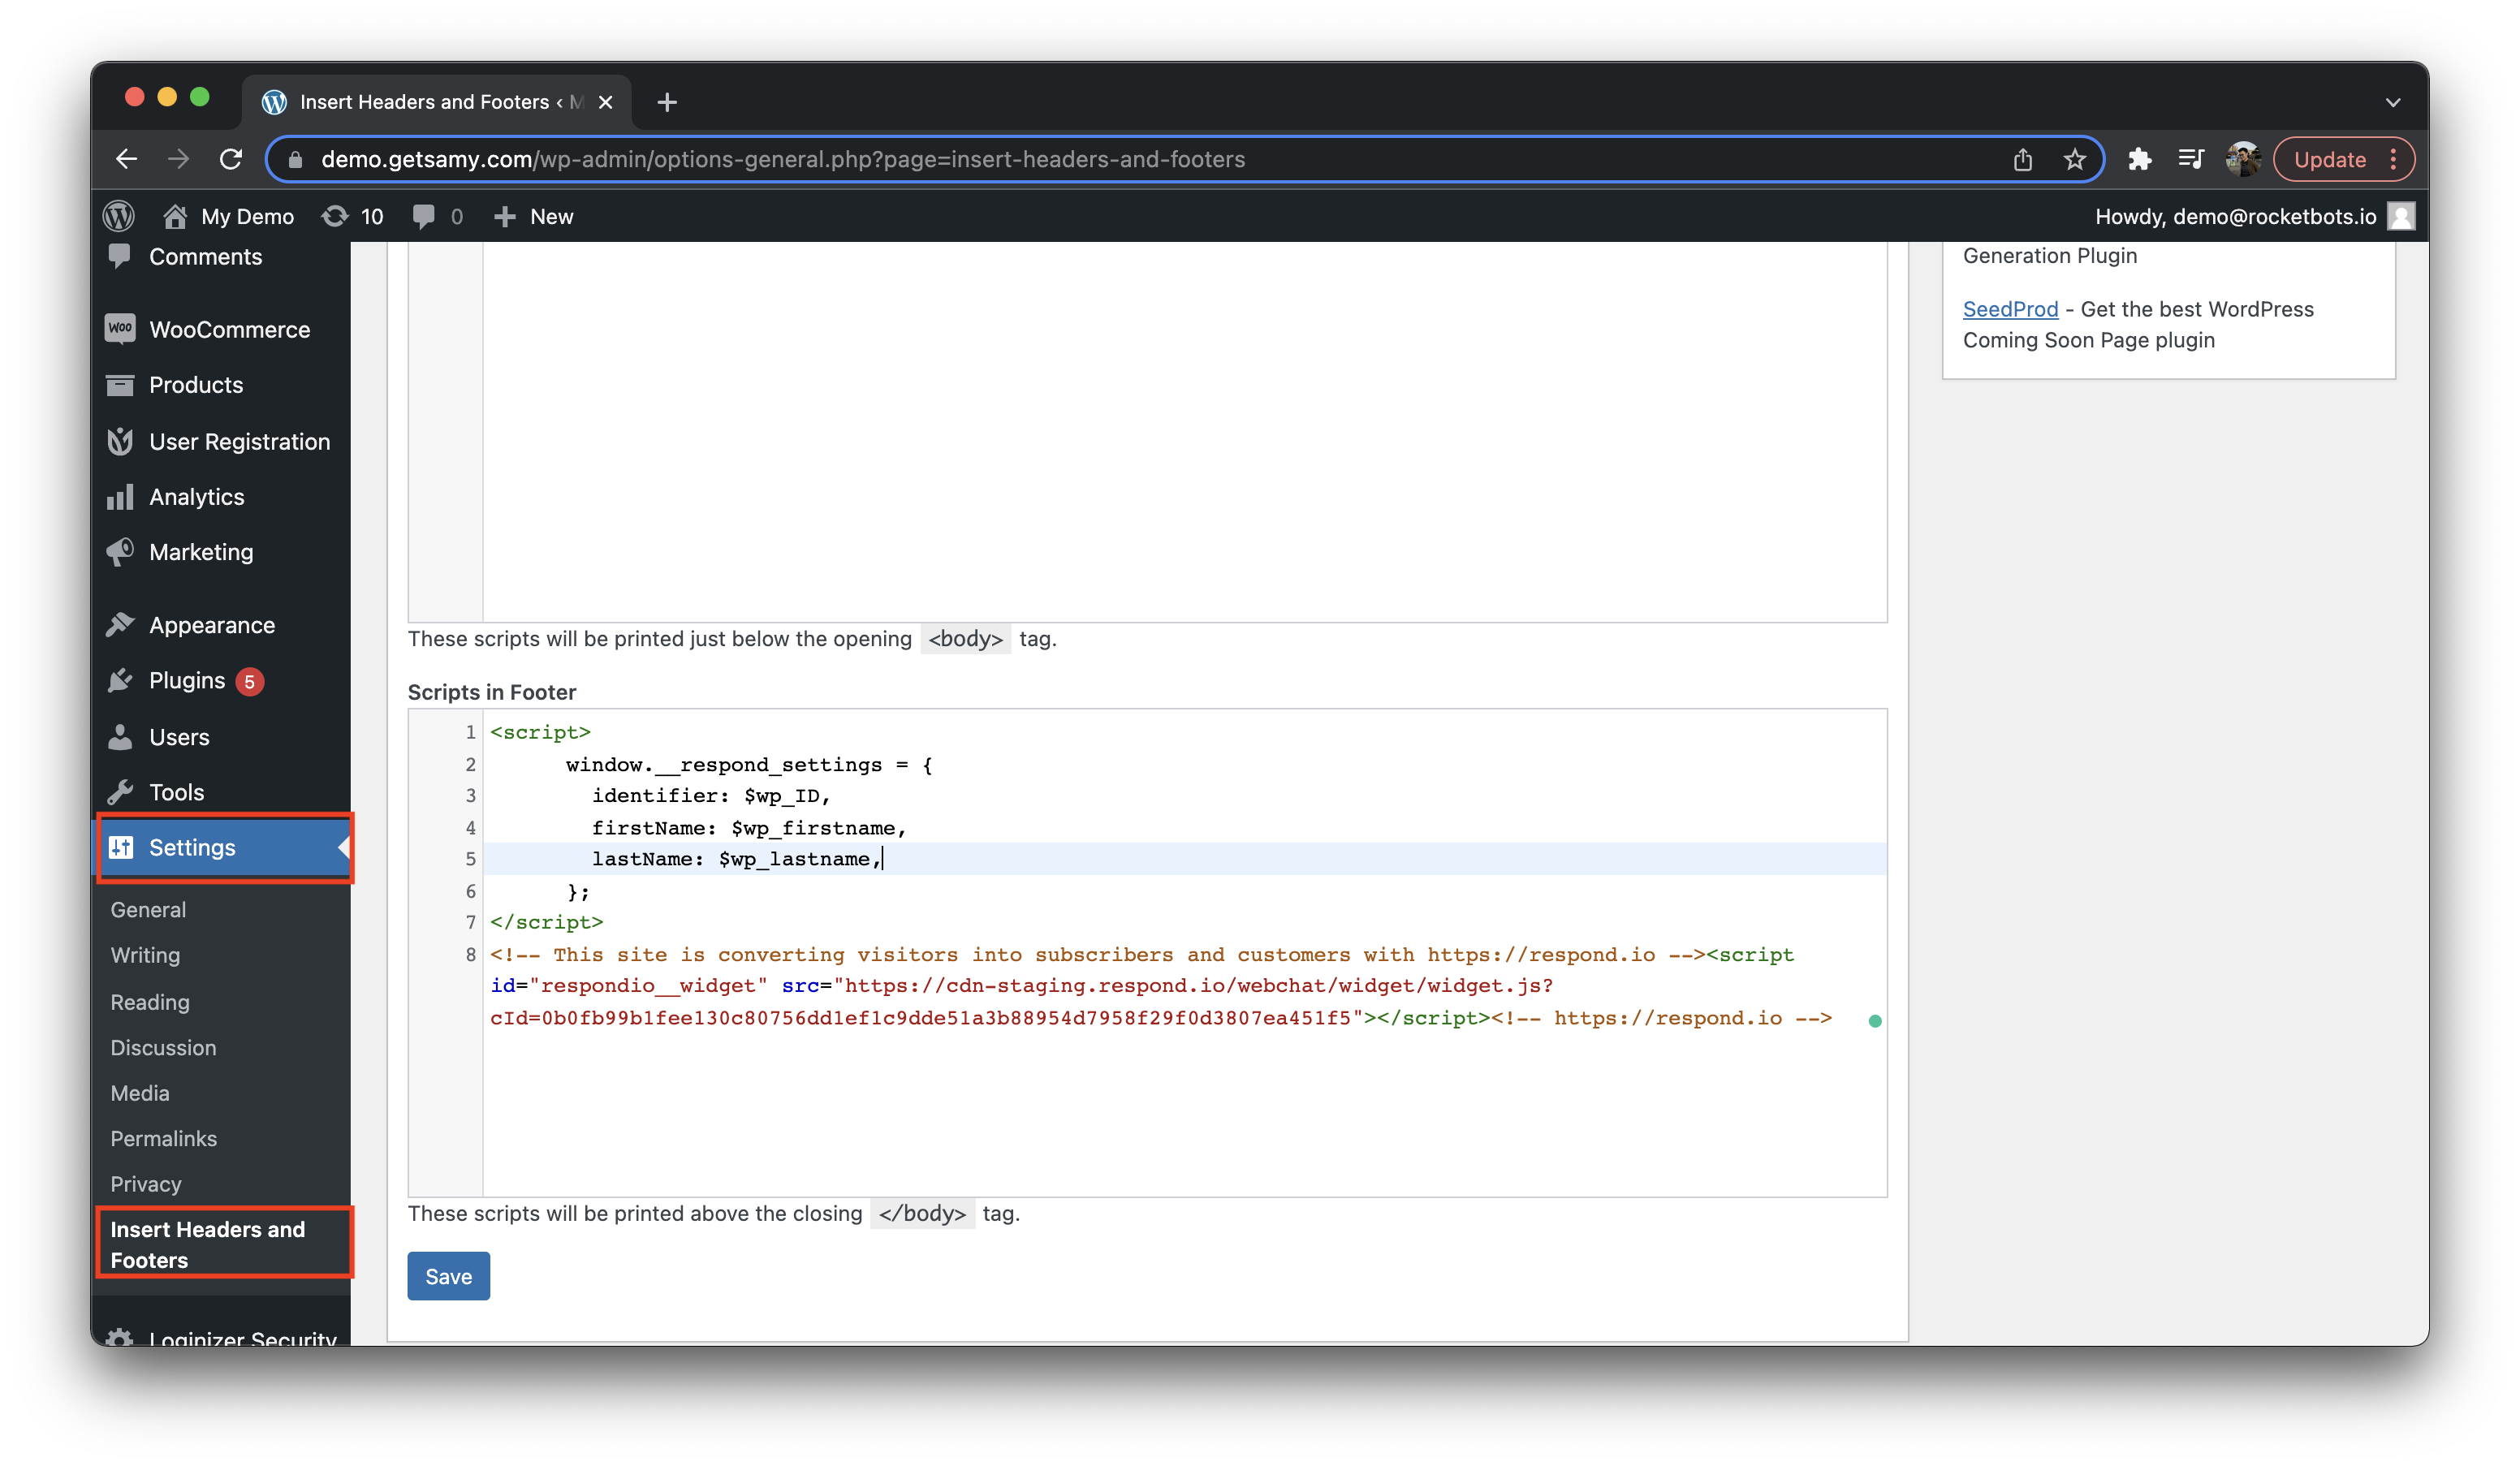
From the left navigation menu, click on **Settings** and select the **Insert Headers and Footers** plugin from the settings submenu.
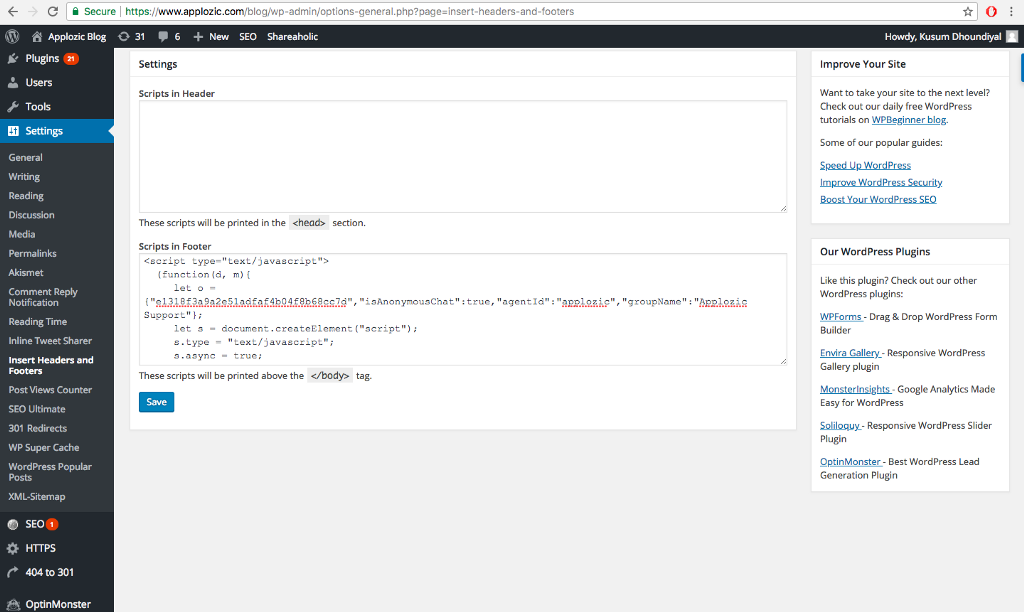
**Step 5: Add the Live Chat Script**
Copy your plugin script from IS-Messenger and paste it into the **Script in Footer** section of the Header and Footer console page.
Once you have pasted the script, click on the blue "**Save**" button at the bottom of the page.
**Done!**
Open the website and check out the chat plugin. You will find it in the bottom-right corner. Now your website visitors can chat effortlessly with you. If you used the code snippets generated from the IS-Messenger platform, you will be able to manage the conversations and update the appearance of the widget from the Platform.
{% hint style="success" %}
The chat widget is now active on your website!
{% endhint %}
#### Identify Logged-in Users
{% hint style="info" %}
This section is only applicable if your website has a user login feature.
{% endhint %}
**Step 1: Log in to WordPress account**
Navigate to your website's WordPress Admin Dashboard and log in.
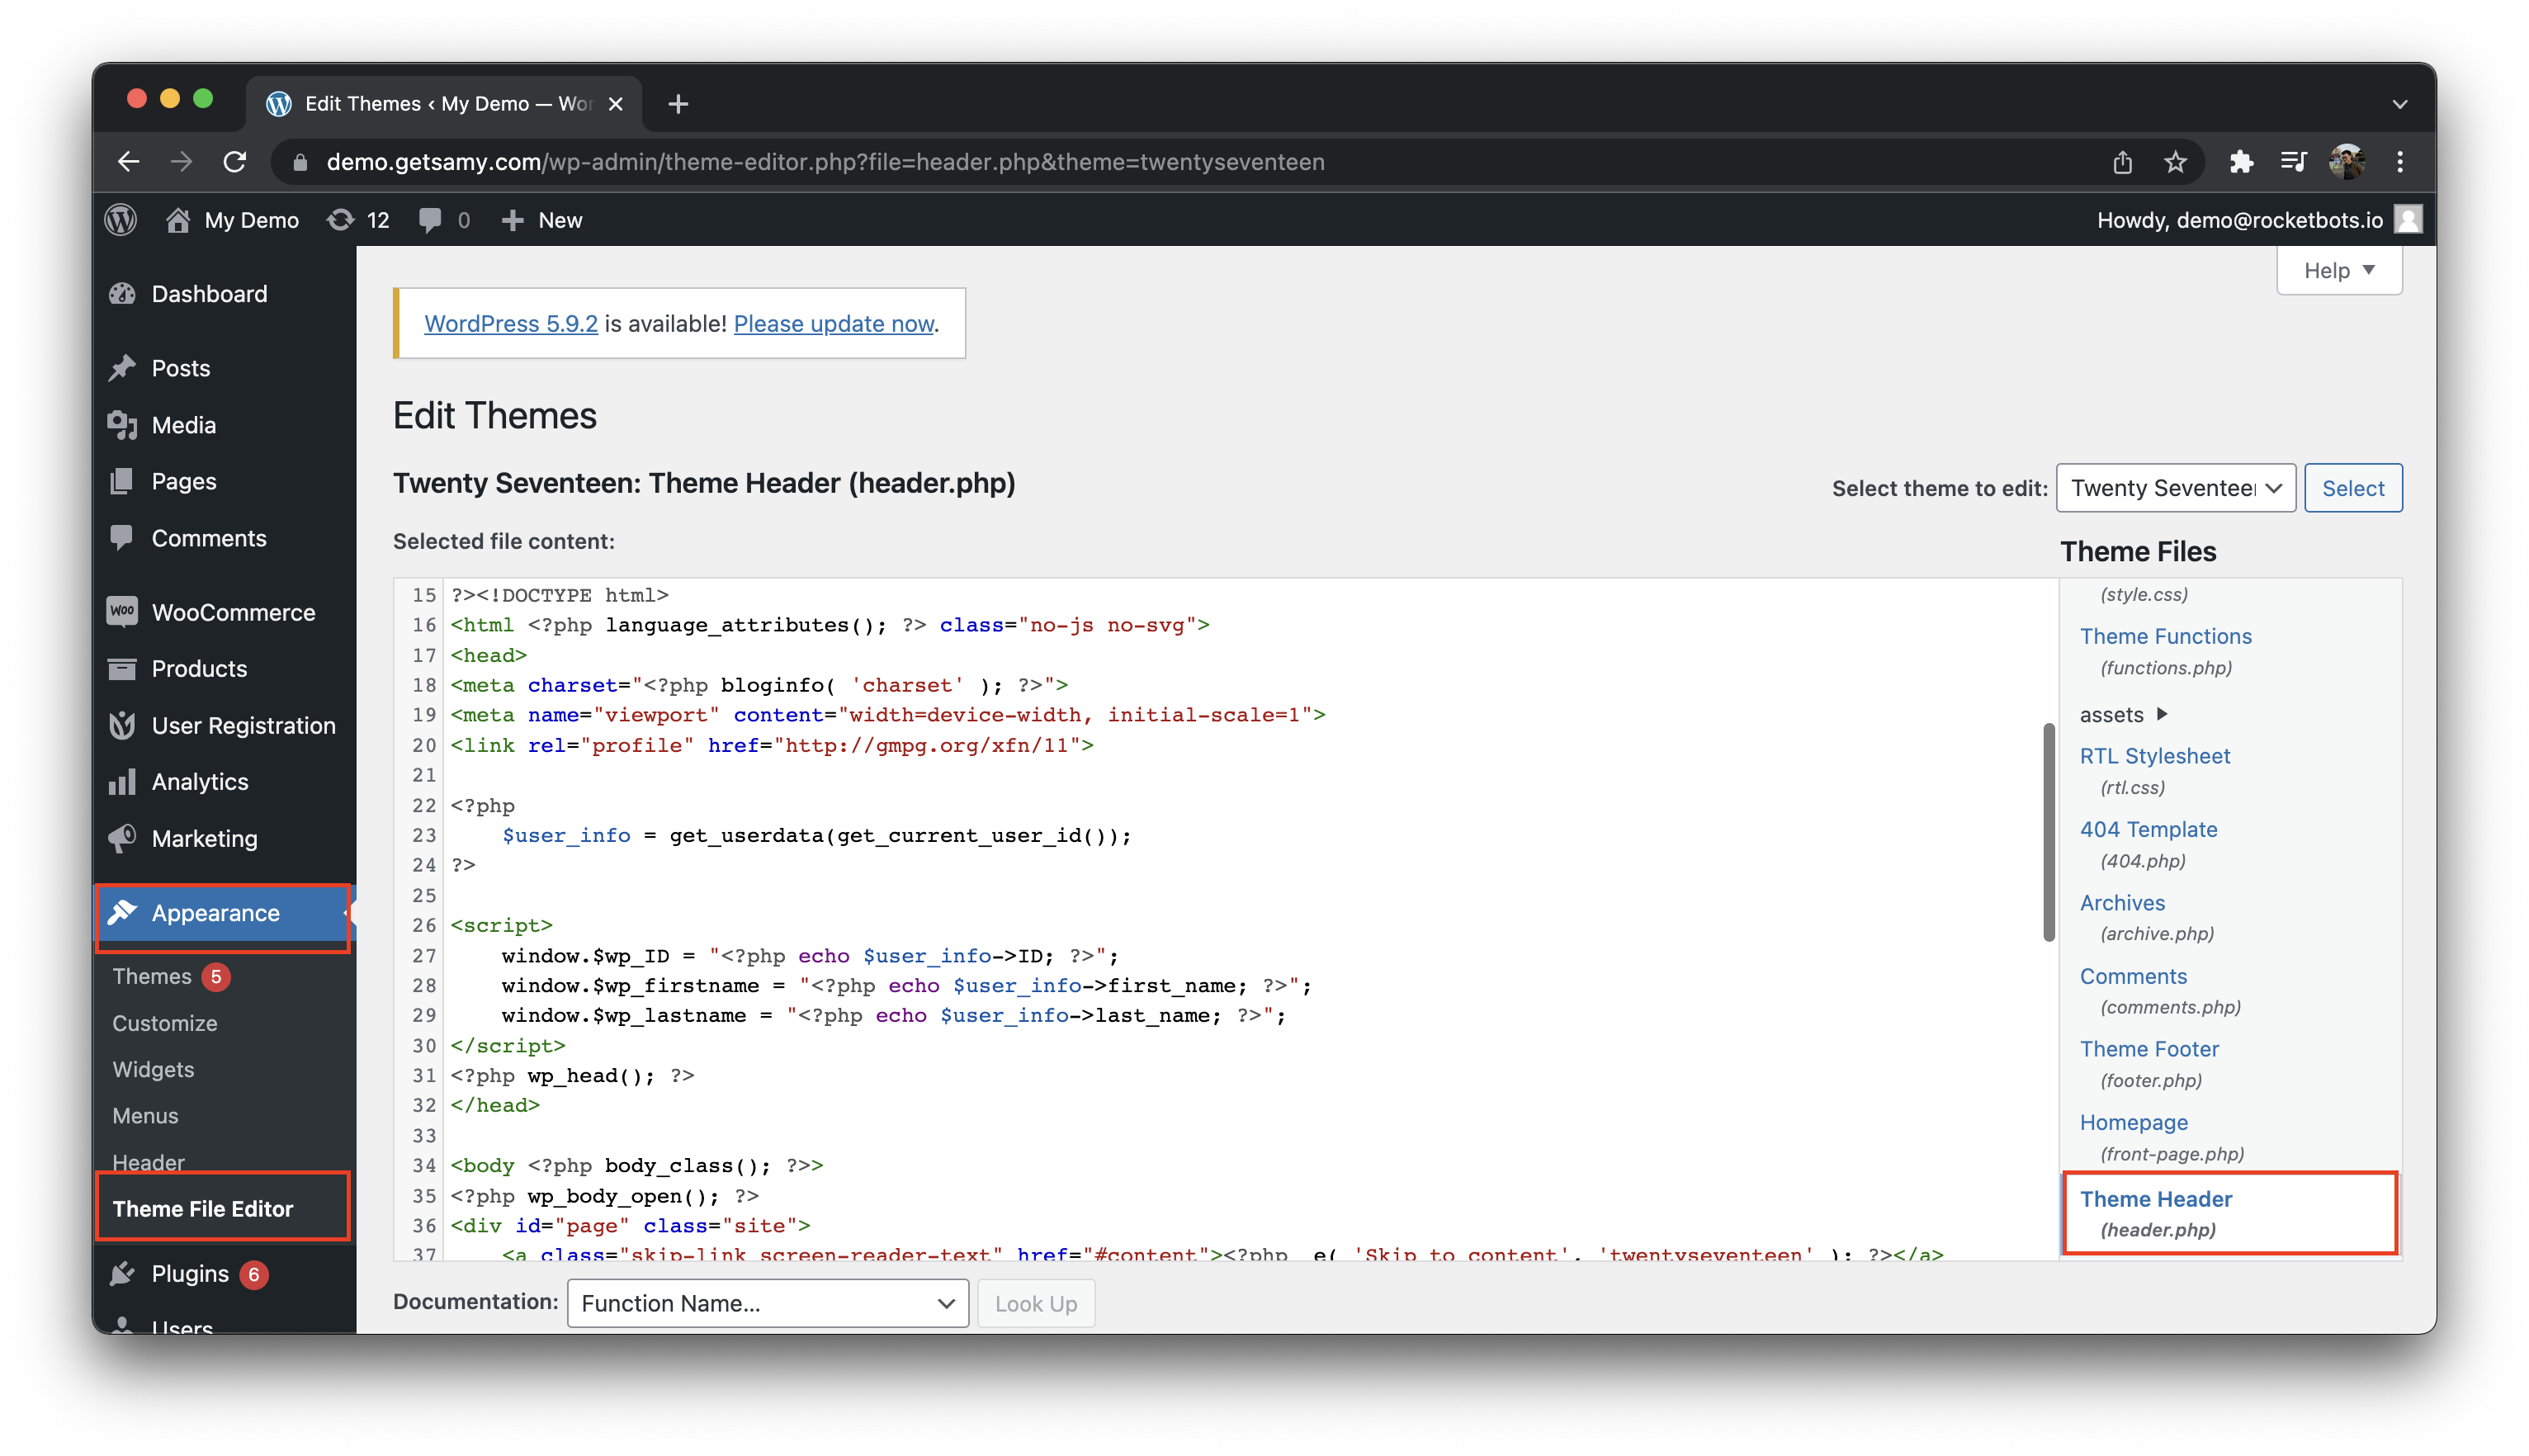
**Step 2: Open the Theme Header Files**
From the left navigation menu, click on **Appearance** and select the **Theme File Editor**. Proceed to select the **Theme Header** file.
Step 3: Add the retrieved User ID and name code
Copy the sample code below and paste it into the Theme Header file. Once you have pasted the code, click on the **Update File** button at the bottom of the page.
{% hint style="info" %}
The sample code below is to get the user Id, first name and last name from WordPress. Feel free to amend if you would like to get other contact fields.
{% endhint %}
```
```
**Step 4: Open Headers and Footer Console**
From the left navigation menu, click on **Settings** and select the **Insert Headers and Footers** plugin from the settings submenu.
**Step 5: Add the Identify Logged-In User Script**
Copy the sample code below and paste it into the **Script in Footer** section of the Header and Footer console page. Note that, the **identify logged-in user script** must be placed above **Live Chat script**.
{% hint style="info" %}
The sample code below is using the user Id as the identifier and passes along with the first name and last name. Feel free to amend if you would like to get other contact fields.
{% endhint %}
```
```
Once you have pasted the script, click on the blue "**Save**" button at the bottom of the page.
**Done!**
Open the website and check out the chat plugin. The logged-in users of your WordPress can be identified. Once the identifier passed is matched with an existing contact, the current conversation will be resumed.
#### FAQ and Troubleshooting
**WP-Rocket**
If you are using a WordPress cache plugin such as WP-Rocket, take these steps so that the widget appears correctly.
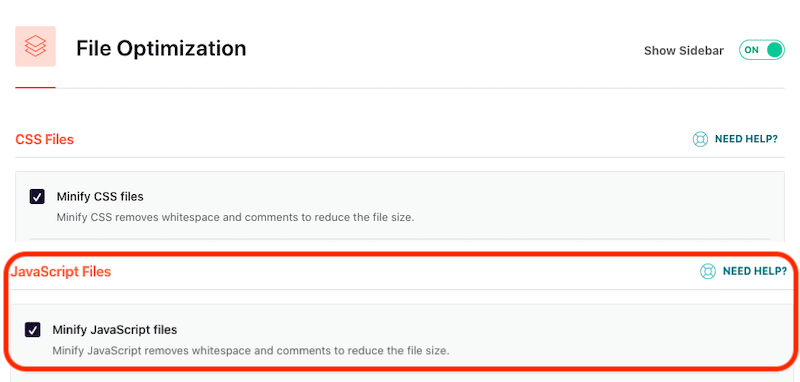
**Disable data-minify feature for JavaScript**
Go to **Wordpress Settings** > Select **WP Rocket** > On WP Rocket page, select **File Optimization** tab > untick **Minify JavaScript files**
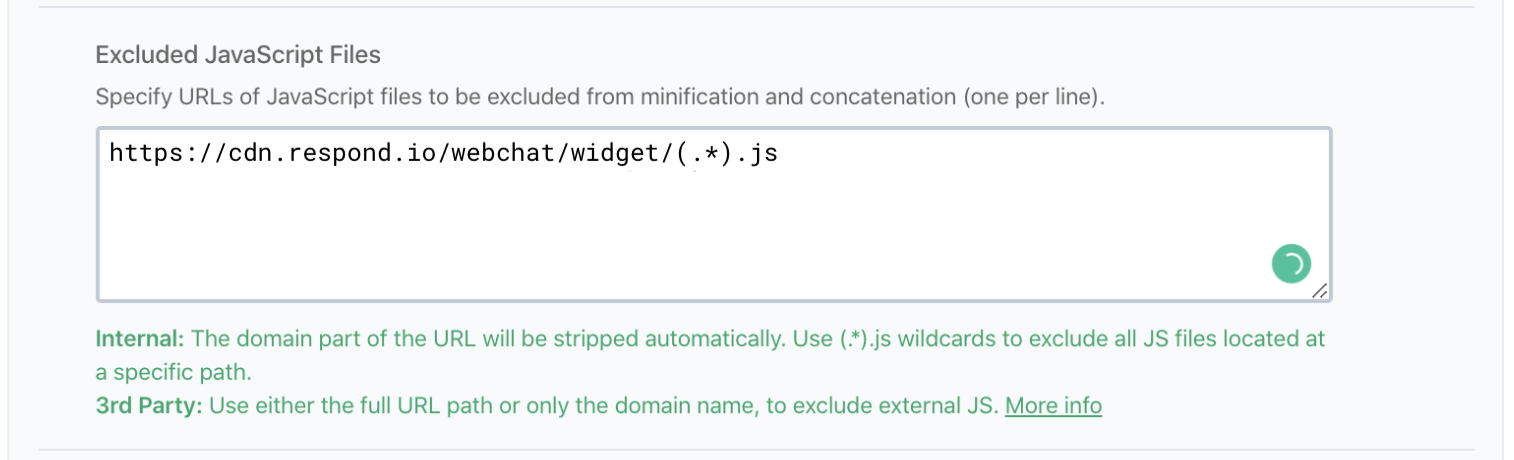
**Add our widget domain to the Javascript Excluded Files**
`https://cdn.respond.io/webchat/widget/(.*).js`
{% hint style="warning" %}
Once saved, it is recommended to clear the cache in WordPress.
{% endhint %}
---
# Agent Instructions: Querying This Documentation
If you need additional information that is not directly available in this page, you can query the documentation dynamically by asking a question.
Perform an HTTP GET request on the current page URL with the `ask` query parameter:
```
GET https://docs.is-messenger.com/ismessenger/workspace-setting/growth-widgets/install-website-chat-widget-on-wordpress.md?ask=
```
The question should be specific, self-contained, and written in natural language.
The response will contain a direct answer to the question and relevant excerpts and sources from the documentation.
Use this mechanism when the answer is not explicitly present in the current page, you need clarification or additional context, or you want to retrieve related documentation sections.